
Well, we've had our first official snowfall here in New York City, and it's beginning to look a lot like the holidays! We can't help but feel a little giddy at the thought of all of the upcoming baking and sipping and time spent with friends and family. Excited as we are, sometimes we look up and realize the calendar is nearing dangerously close to a party or holiday commitment and we're feeling underprepared!
Fear not, Susan Waggoner, author of Handcrafted Christmas: Ornaments, Decorations, and Cookie Recipes to Make at Home, is here with a holiday memory and a delicious recipe to get you inspired and in the spirit! Here's Susan:
Forget Black Friday and the insanity of 5 a.m. store openings. To me, the day after Thanksgiving will always be the day Christmas crafting and decorating begin. My mother me this. Start your crafting and decorating early and it will be fun; wait until mid-December and pressure will steal away the joy.
The day after Thanksgiving, a card table would go up in the family room. My mother would already have a list of things she wanted to make for gift exchanges, and a stack of magazine pages with decorating ideas she wanted to try. My father would be called away from the football games for engineering and carpentry input, and we’d be off and running. As my mother got out supplies and decorations, my job was to make a list of all that needed to be replenished and replaced.
Over a dinner of hot turkey sandwiches and mashed potatoes, we’d plot our path through the craft stores the next morning. Saturday afternoon and all day Sunday would be our work days, and by the end of the weekend, we’d have a good start on all we wanted to do. We were ready for snow. We were ready for Christmas.
The card table remained up throughout the entire season. When the crafting and decorating projects were done, it became our wrapping table. My frugal mother did not believe in buying expensive paper or matching tags. She saved cards sent to us in previous years, bought tissue paper, glitter, tape, glue, and ribbon (never pre-made bows) and let us decorate our own packages. I loved going through the old cards and finding an image that was just right for the recipient of the gift - outdoor woodland scenes with deer for my father, chic modern-looking motifs for my mother, skating Santas or Beatrix Potter scenes for my sister, who eventually confessed, as an adult, to disliking Potter’s art.
After Christmas, the table was cleared and brought upstairs to our den, where it held the annual jigsaw puzzle Santa left by our stockings. I have no idea what became of that card table, but I know what became of the memories - I still have them.
So take time to start your crafting and decorating early. Make the most of every Christmas minute and you’ll double your stock of good memories.
Here’s a Christmas treat from Susan that you can make ahead and set aside for holiday gifts and parties, or snack on while you craft and decorate:
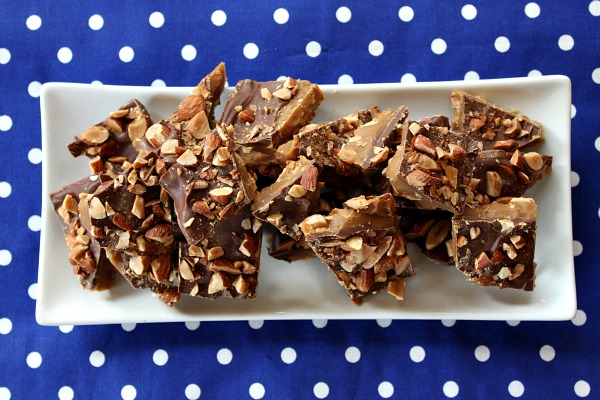 image (c) Lori Lange, 2011.
Almond Roca
For this you will need a candy thermometer and these ingredients:
2 tablespoons water
1/2 cup (1 stick) unsalted butter, cut into pieces
1 cup granulated sugar
1/4 cup packed light brown sugar
Big pinch of coarse salt
1 pound whole roasted salted almonds (may substitute roasted salted peanuts or pecans)
First, prepare a pan by placing a silicone mat or bakers parchment on a clean cookie sheet.
In a medium heavy‑duty saucepan, heat the water, butter, both sugars and salt over low heat. I have found that the secret to making good buttercrunch is a slowed-down heating process. Cookbooks suggest this can be done in 15 or 20 minutes, but this makes it easy to scorch the mixture or end up with a grainy result. I spend 30 to 45 minutes on this and have always been rewarded with crisp, perfect candy. Start over low heat, stirring and scraping down the sides occasionally to make sure everything is blended and the nothing is sticking to the corners of the pan.
Fit the candy thermometer onto the saucepan, making sure the is not touching the bottom of the pan.
You are now going to cook this mixture until it reaches a temperature of 300° F. (150° C.). Raise the heat slowly at first, and more quickly as you near the end. Stir mixture and scrape the sides of the saucepan occasionally at first, more often as the heat rises, and nearly continuously when the mixture begins to boil and foam.
The minute the temperature reaches 300° F., remove the pan from the heat. Stir in the almonds and spread immediately onto the prepared pan. You need to work quickly, as the mixture begins to set up as soon as it’s off the burner. Use a spatula to spread as thinly as possible.
Allow to cool and set up several hours or overnight. Store in a lidded tin lined with a napkin or a lidded plastic container.
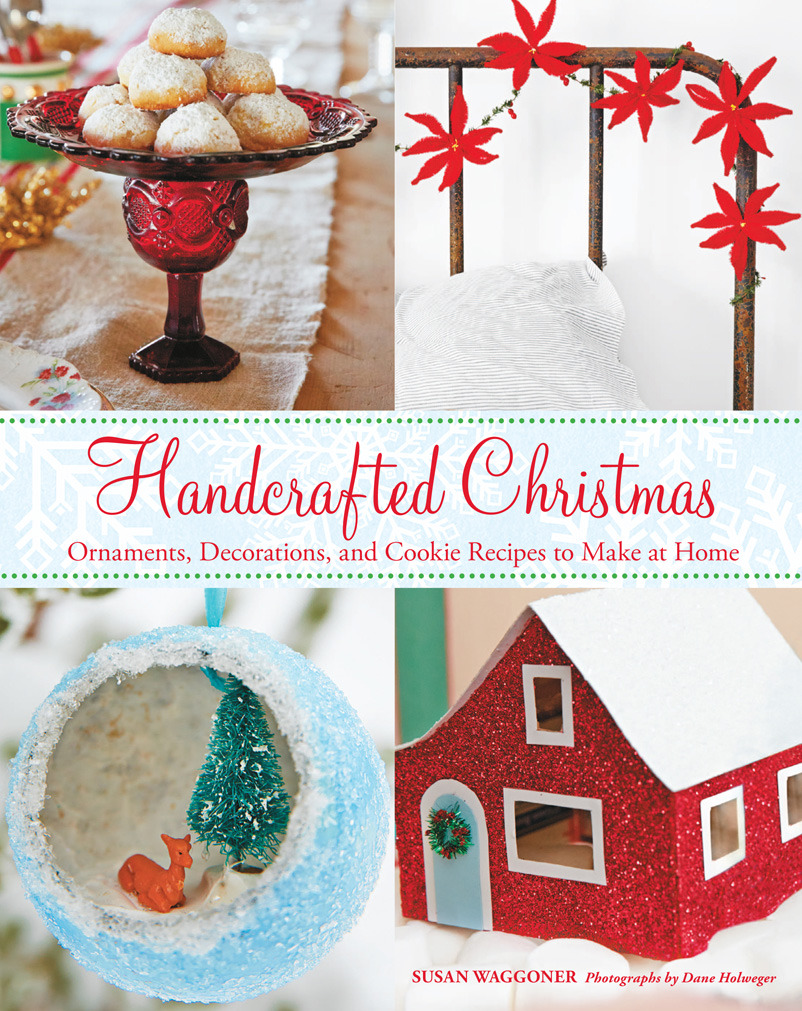
For more ideas for cozy vintage-inspired crafting and baking from Susan's latest book, view our image gallery or order it online.