
Welcome to week five of our Stitch Magic Stitch-Along! Today we’re talking about cording, which begins on page 85 of Stitch Magic by Alison Reid. Alison has tons of great ideas for unusual cording techniques. I have to say, today’s exercise was one of my favorites. I’ve been hard at work on my own book and doing this cording experiment was a great reminder of how fun and spontaneous sewing really is! It was just the break I needed.
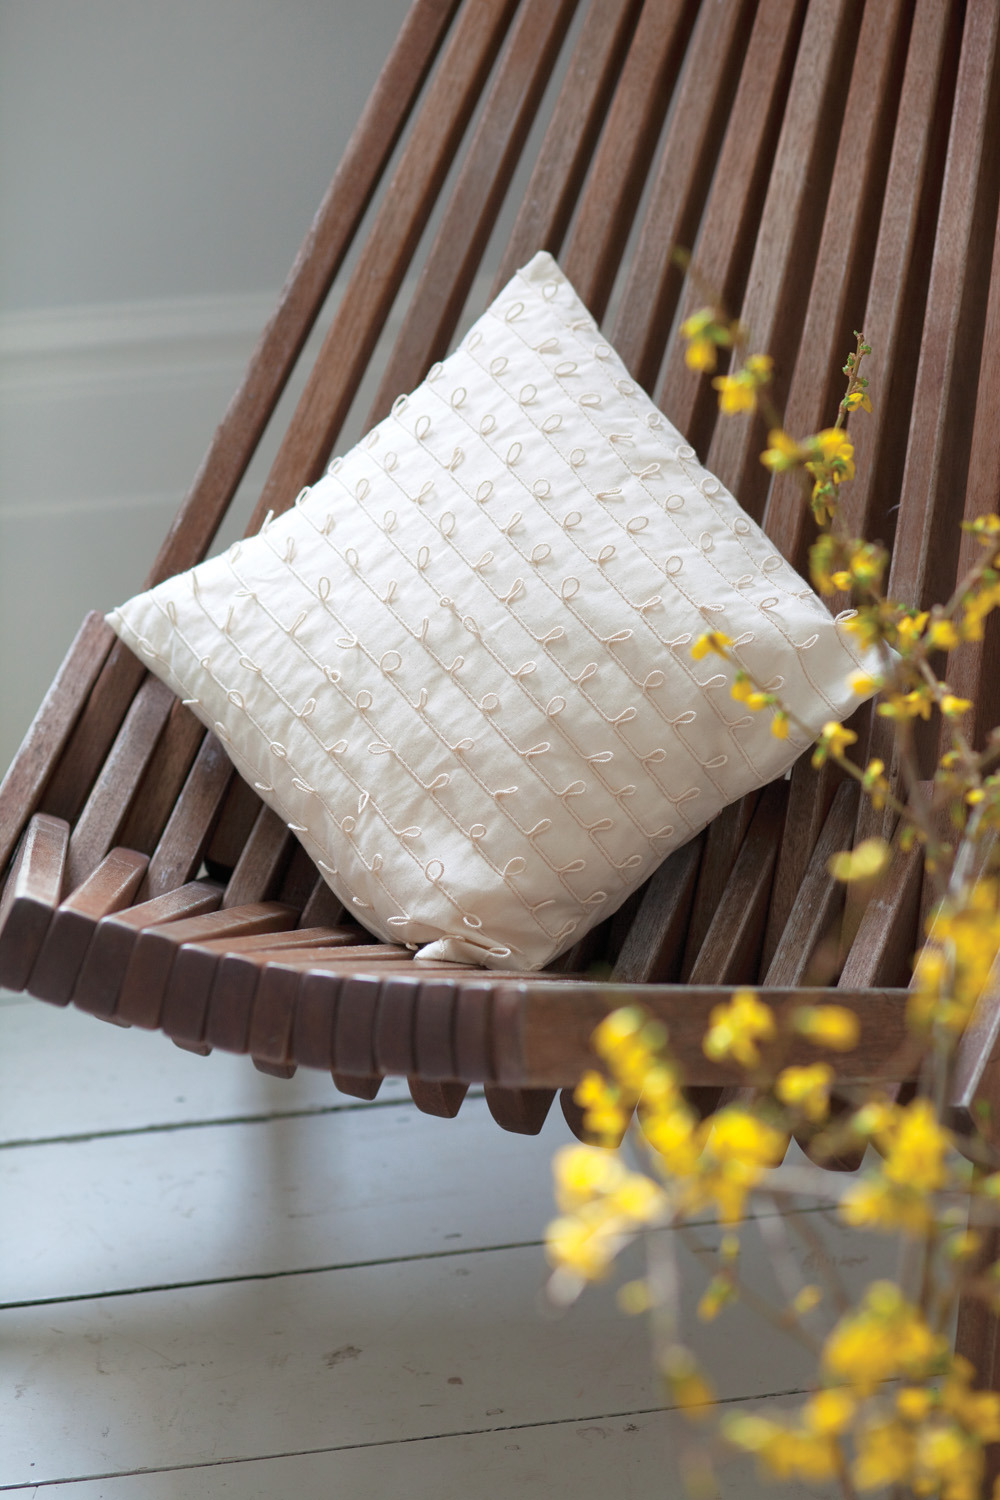
Let’s start with the technique that the author uses on the awesome pillow pictured above. I was especially drawn to this because I feel like it could be incorporated very easily and charmingly into apparel sewing. Wouldn’t these little loops look adorable around the border of a skirt?
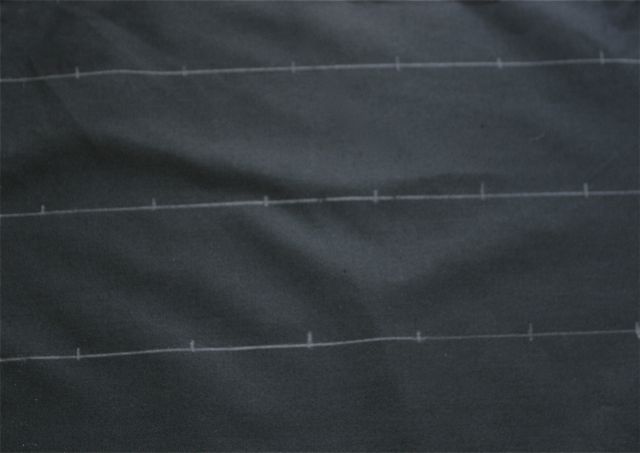
I started by marking my lines on a 10” square piece of scrap fabric. I made lines 2” apart and drew little marks 1-1/2” apart on each line to mark where the loops would occur.
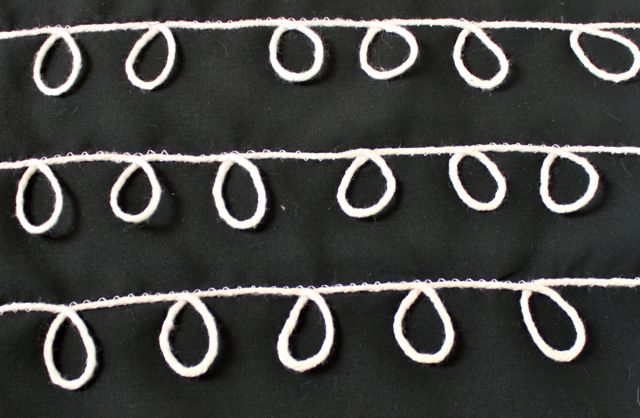
Now grab some cord (I used some natural-colored cotton cord that I had around the house). You can use a cording foot on your machine, but I wasn’t able to get one in time for this post. I started with my zigzag foot, but then found that my buttonhole foot was more effective since it has grooves on the bottom for the cording to pass through. (Mine is a traditional multi-step buttonhole foot, not one of the automatic buttonhole feet.) Zigzag over the cord and when you get to your little marks, stop with the needle down. Lift the presser foot and arrange the cord into a little loop with a twist at the top. Put your presser foot down and continue zigzagging. That’s it!
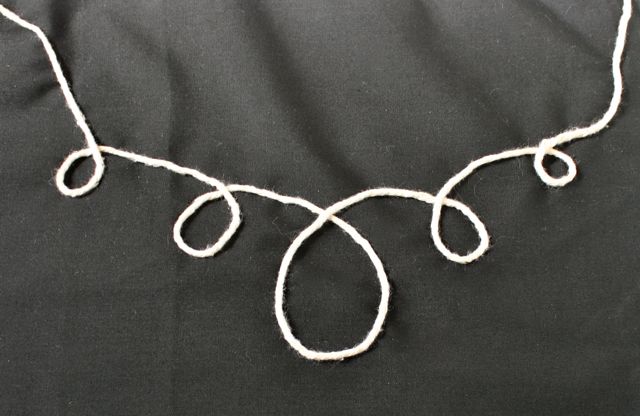
Here’s my practice version, which I did without marking lines and just improvising. Experiment with less regimented lines and loops!

Next I wanted to try something that was a little more intricate, inspired by this corded blouse tutorial. Get a new piece of fabric and arrange your cord however you please. You can make loops, bows, lines—whatever you want! Pin your design in place. Now stitch it down by hand, using a slip stitch. This means that you’ll take one little stitch out of the base fabric, followed immediately by one little stitch out of the cord. Your stitches should be on the underside of the cord to make them invisible. Match your thread to your base fabric to help it blend in.
Ta-da! Wouldn’t this be pretty on the neckline of a blouse?
I'm dying to try this with some premade satin cord, which is also called rattail cord. Ooh, I wonder if it comes in metallics?!
That wraps up this week’s stitch-along fun. Next week is our last week—smocking!
P.S. To see lots of images from Stitch Magic, cick here.