Gretchen Hirsch dazzles us again with Gertie's Ultimate Dress Book

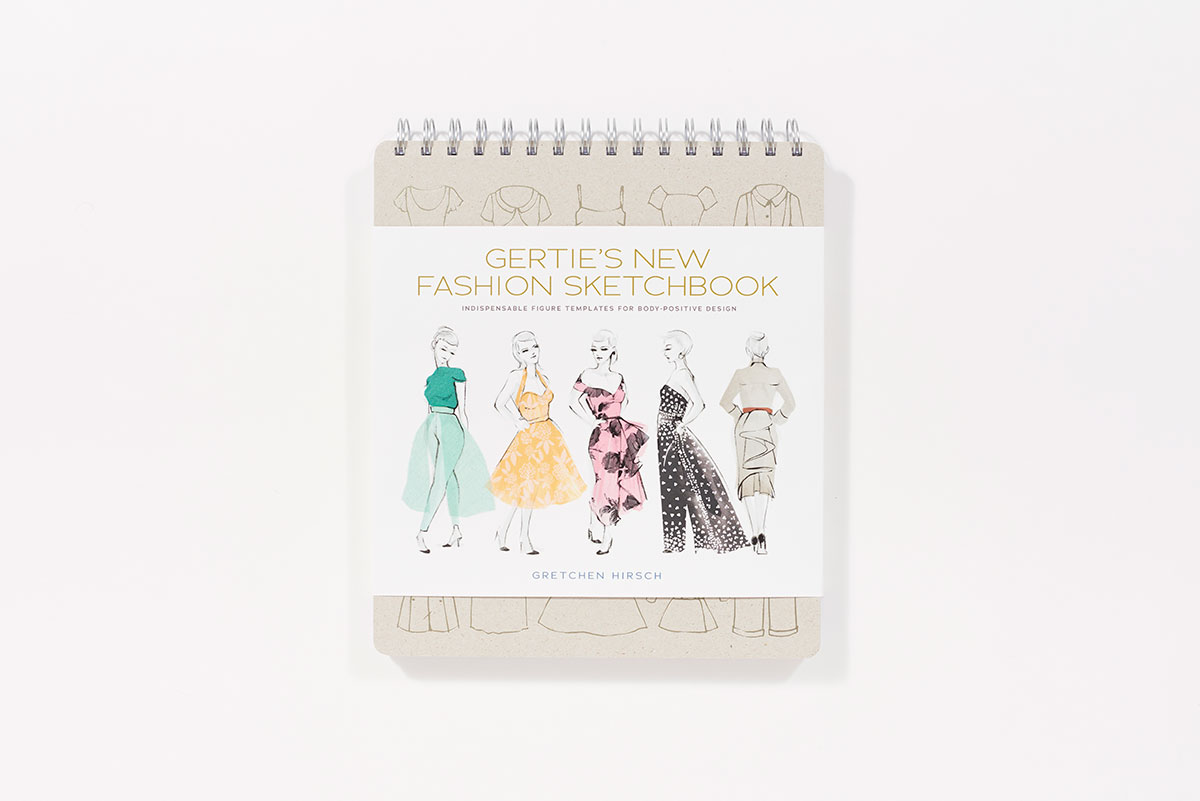
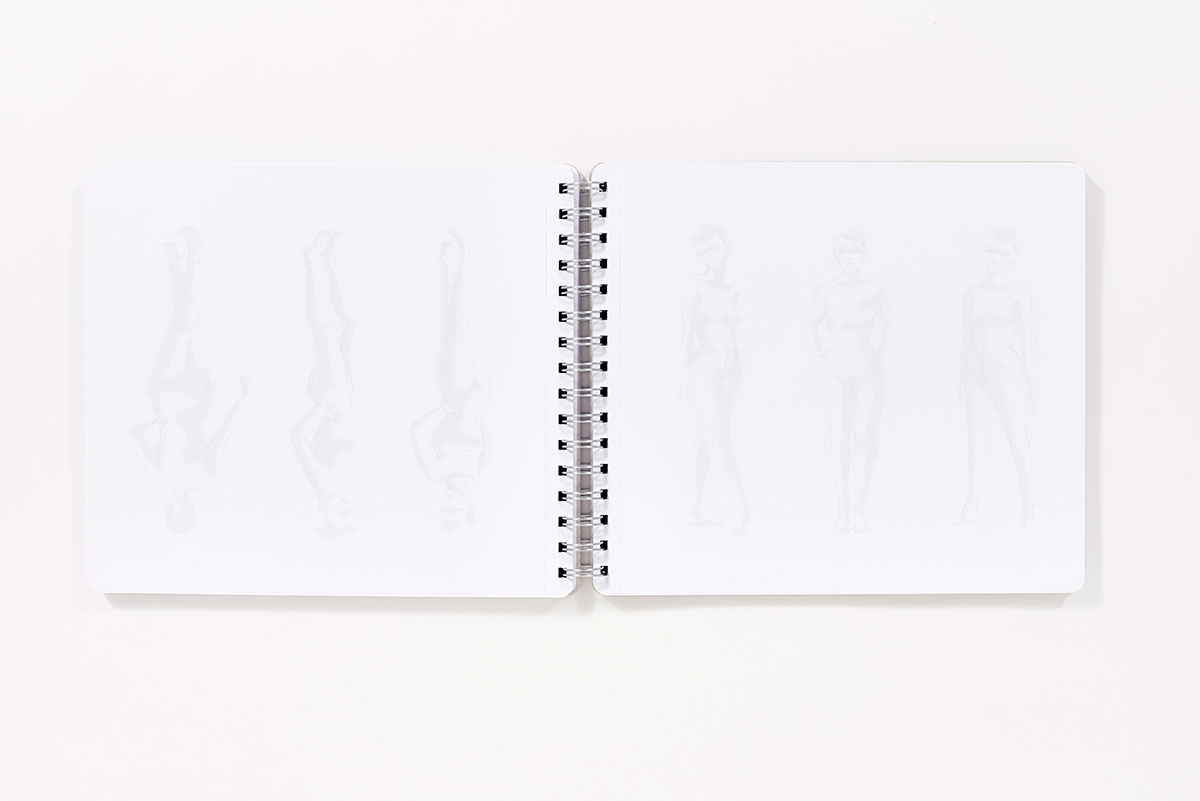
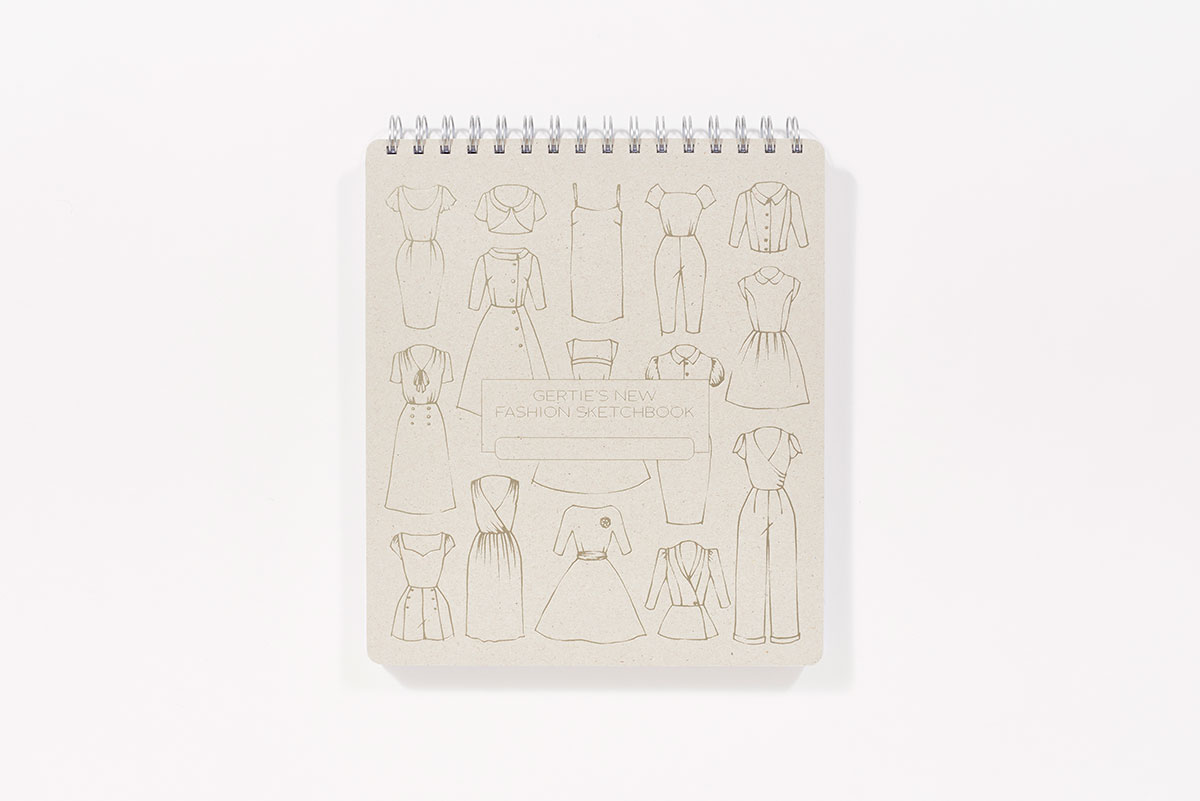
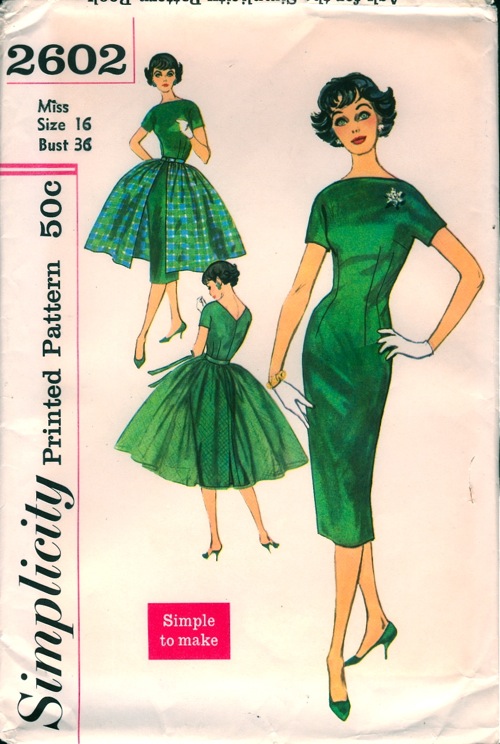
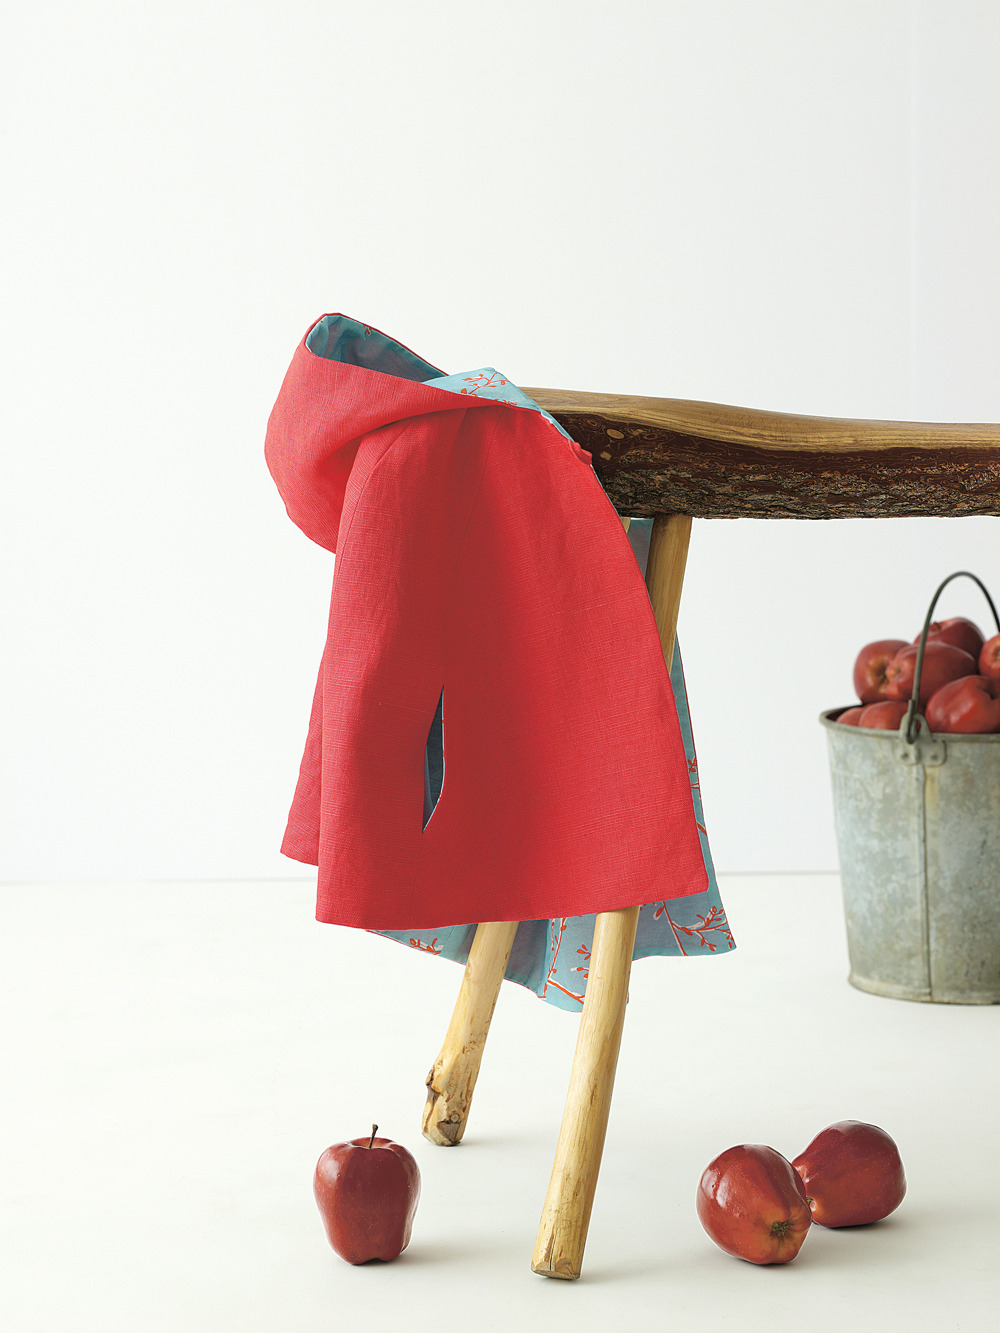
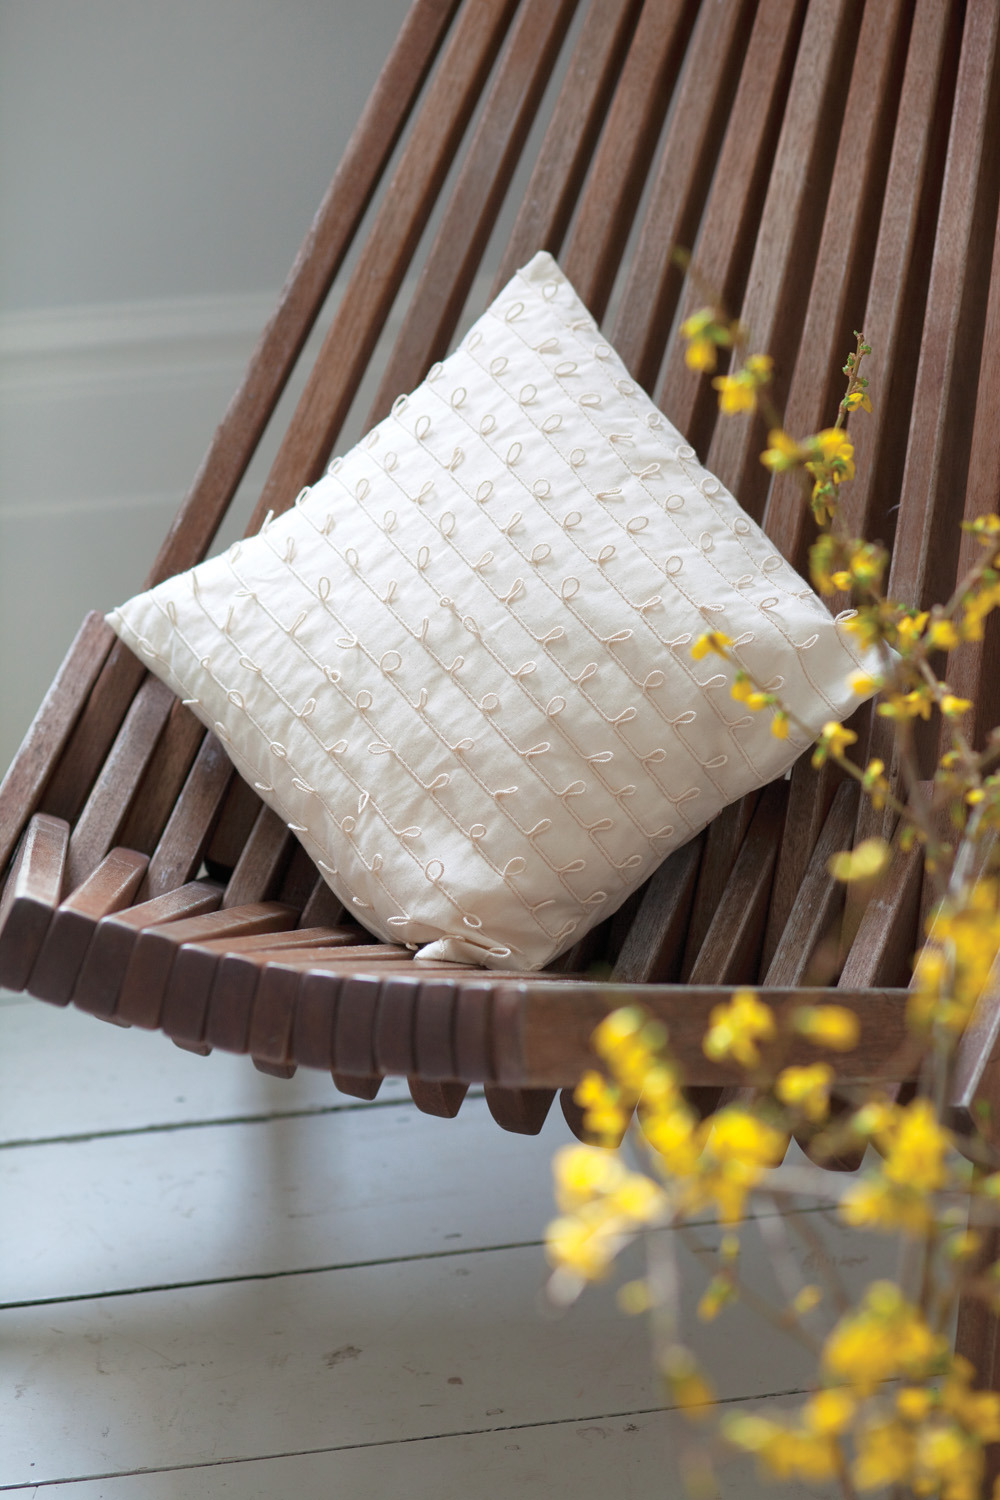
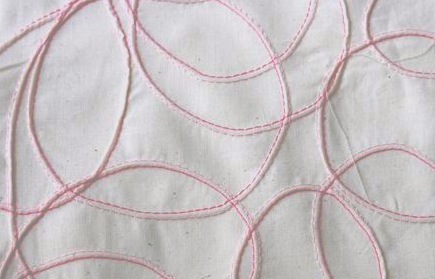
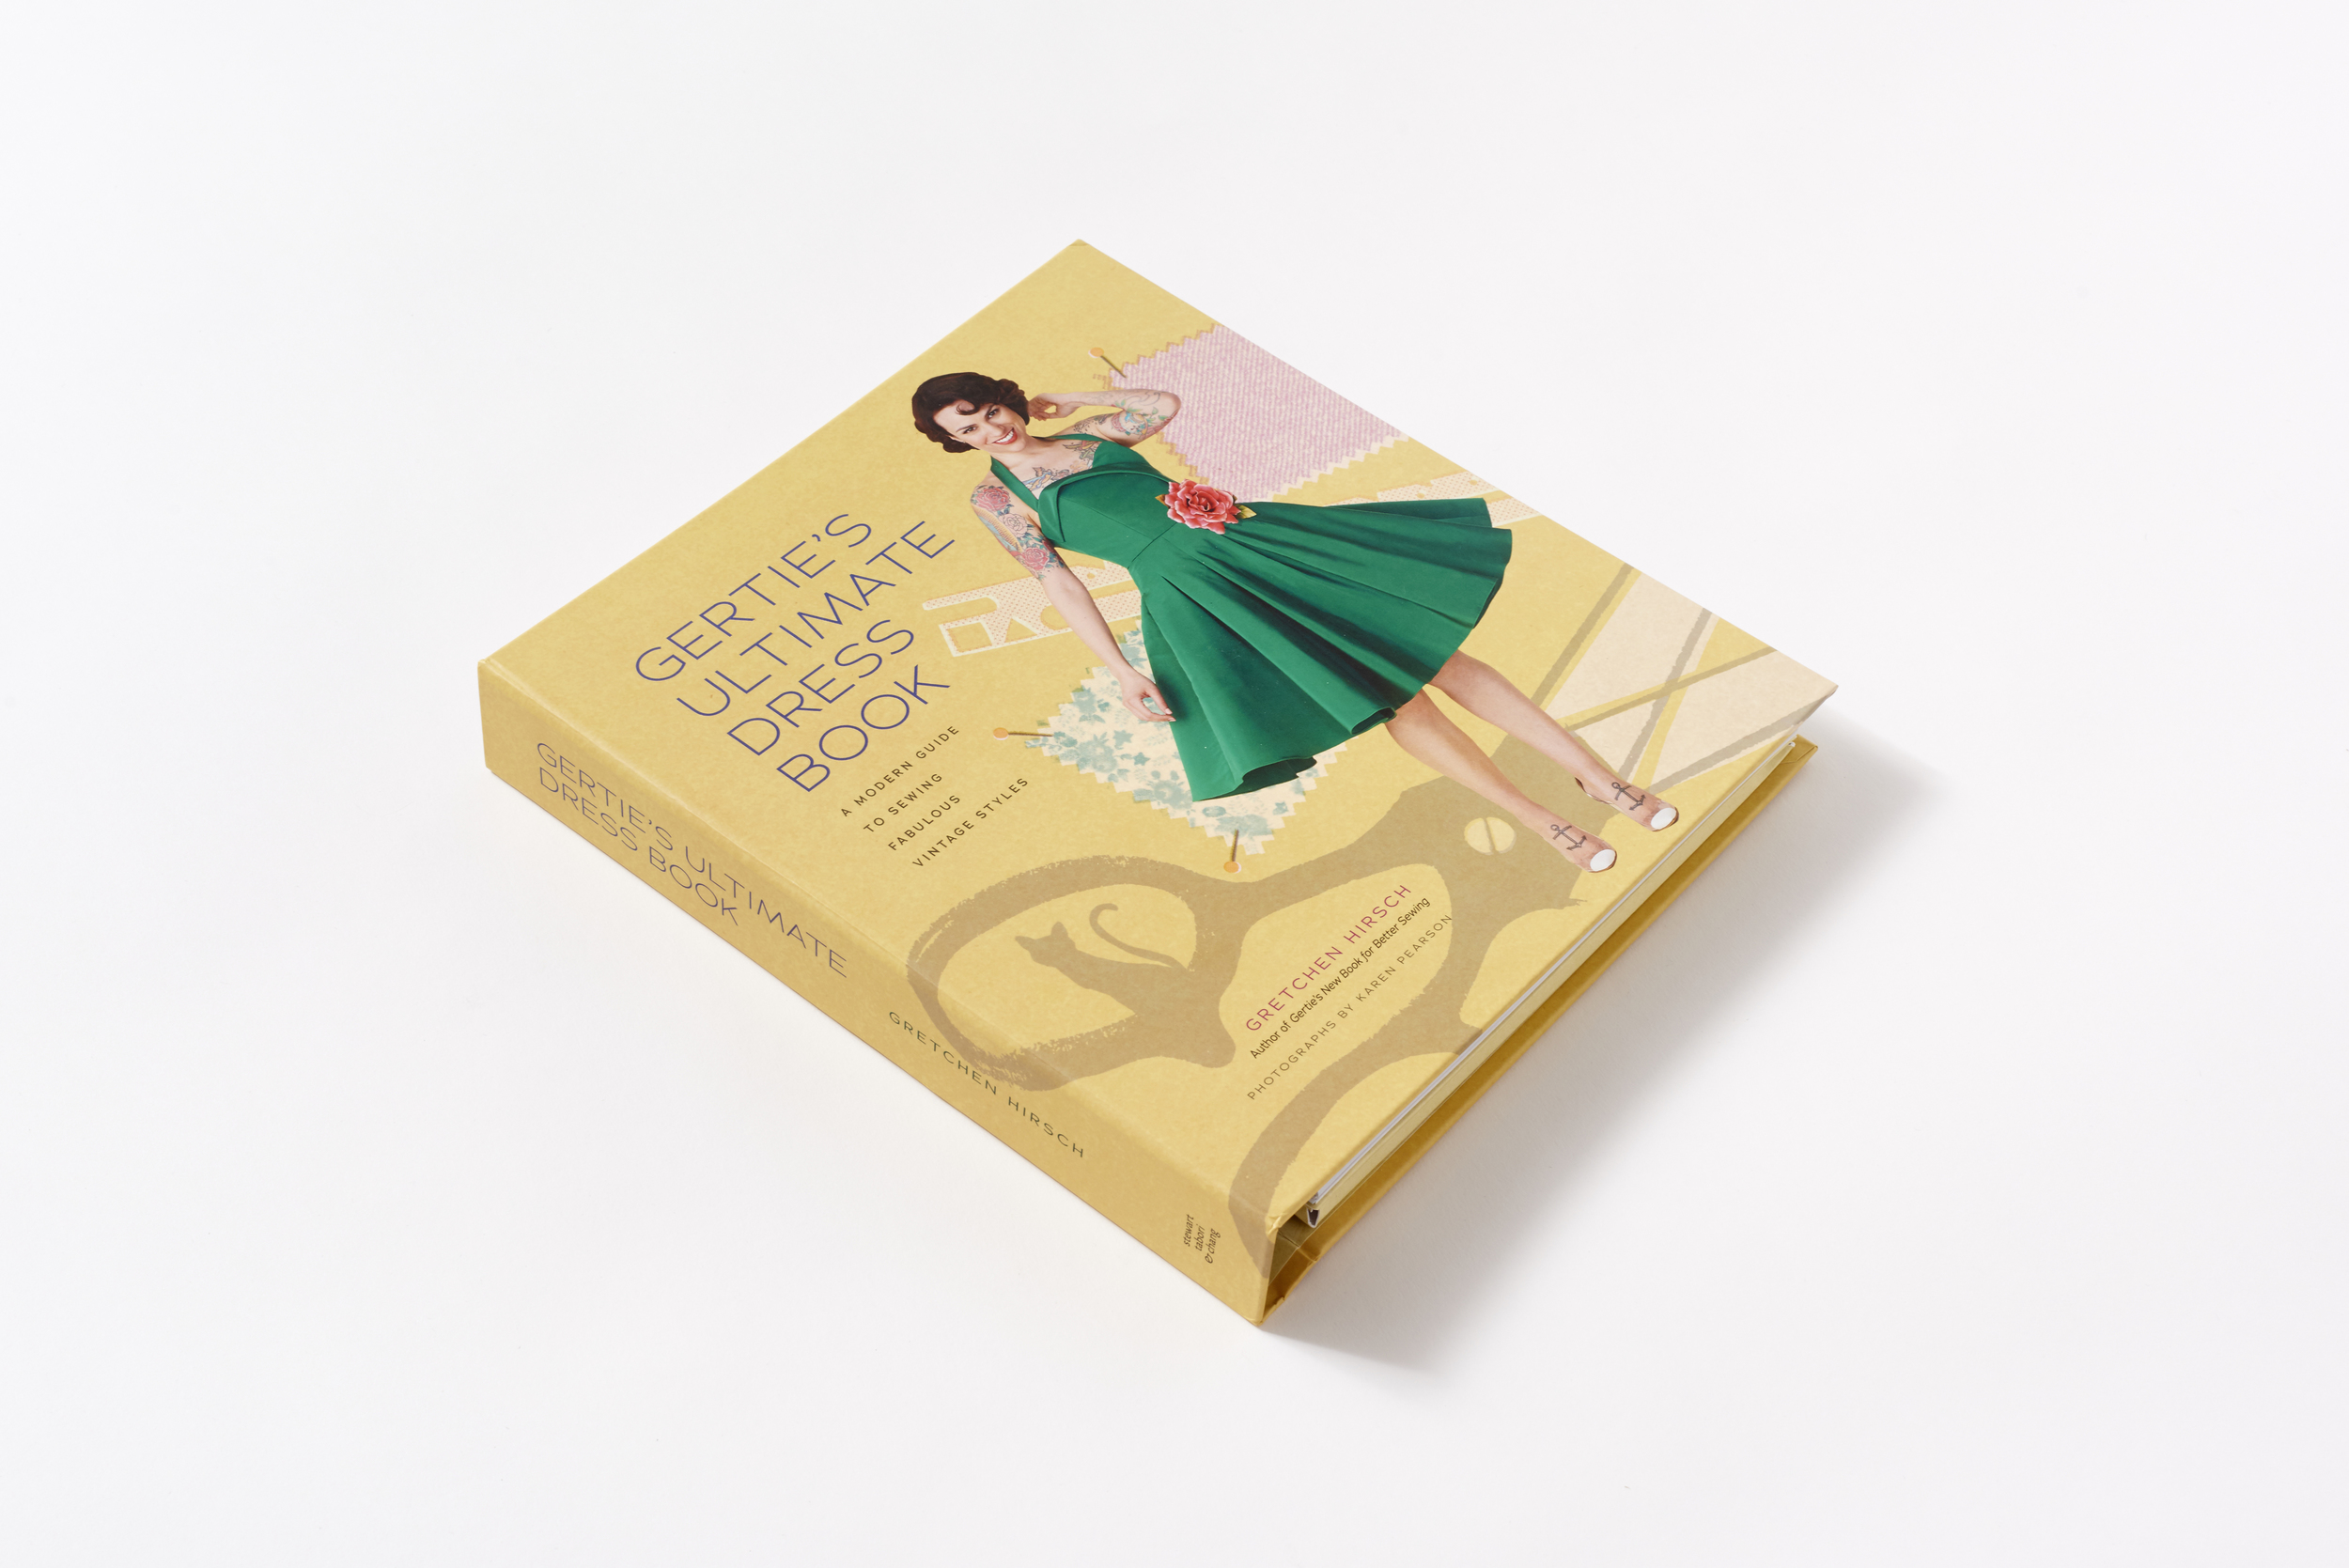
Lately, we've been dreaming of shedding our winter coats in favor of breezy spring dresses and flowy cottons. While we wait for March's lamb-like side to show up, we're eyeing the stunning dress patterns featured in Gretchen "Gertie" Hirsch's latest book. Gertie's Ultimate Dress Book: A Modern Guide to Sewing Fabulous Vintage Styles is officially on sale today, featuring essential techniques for dressmaking, plus instructions and patterns for 23 dresses for a variety of occasions.

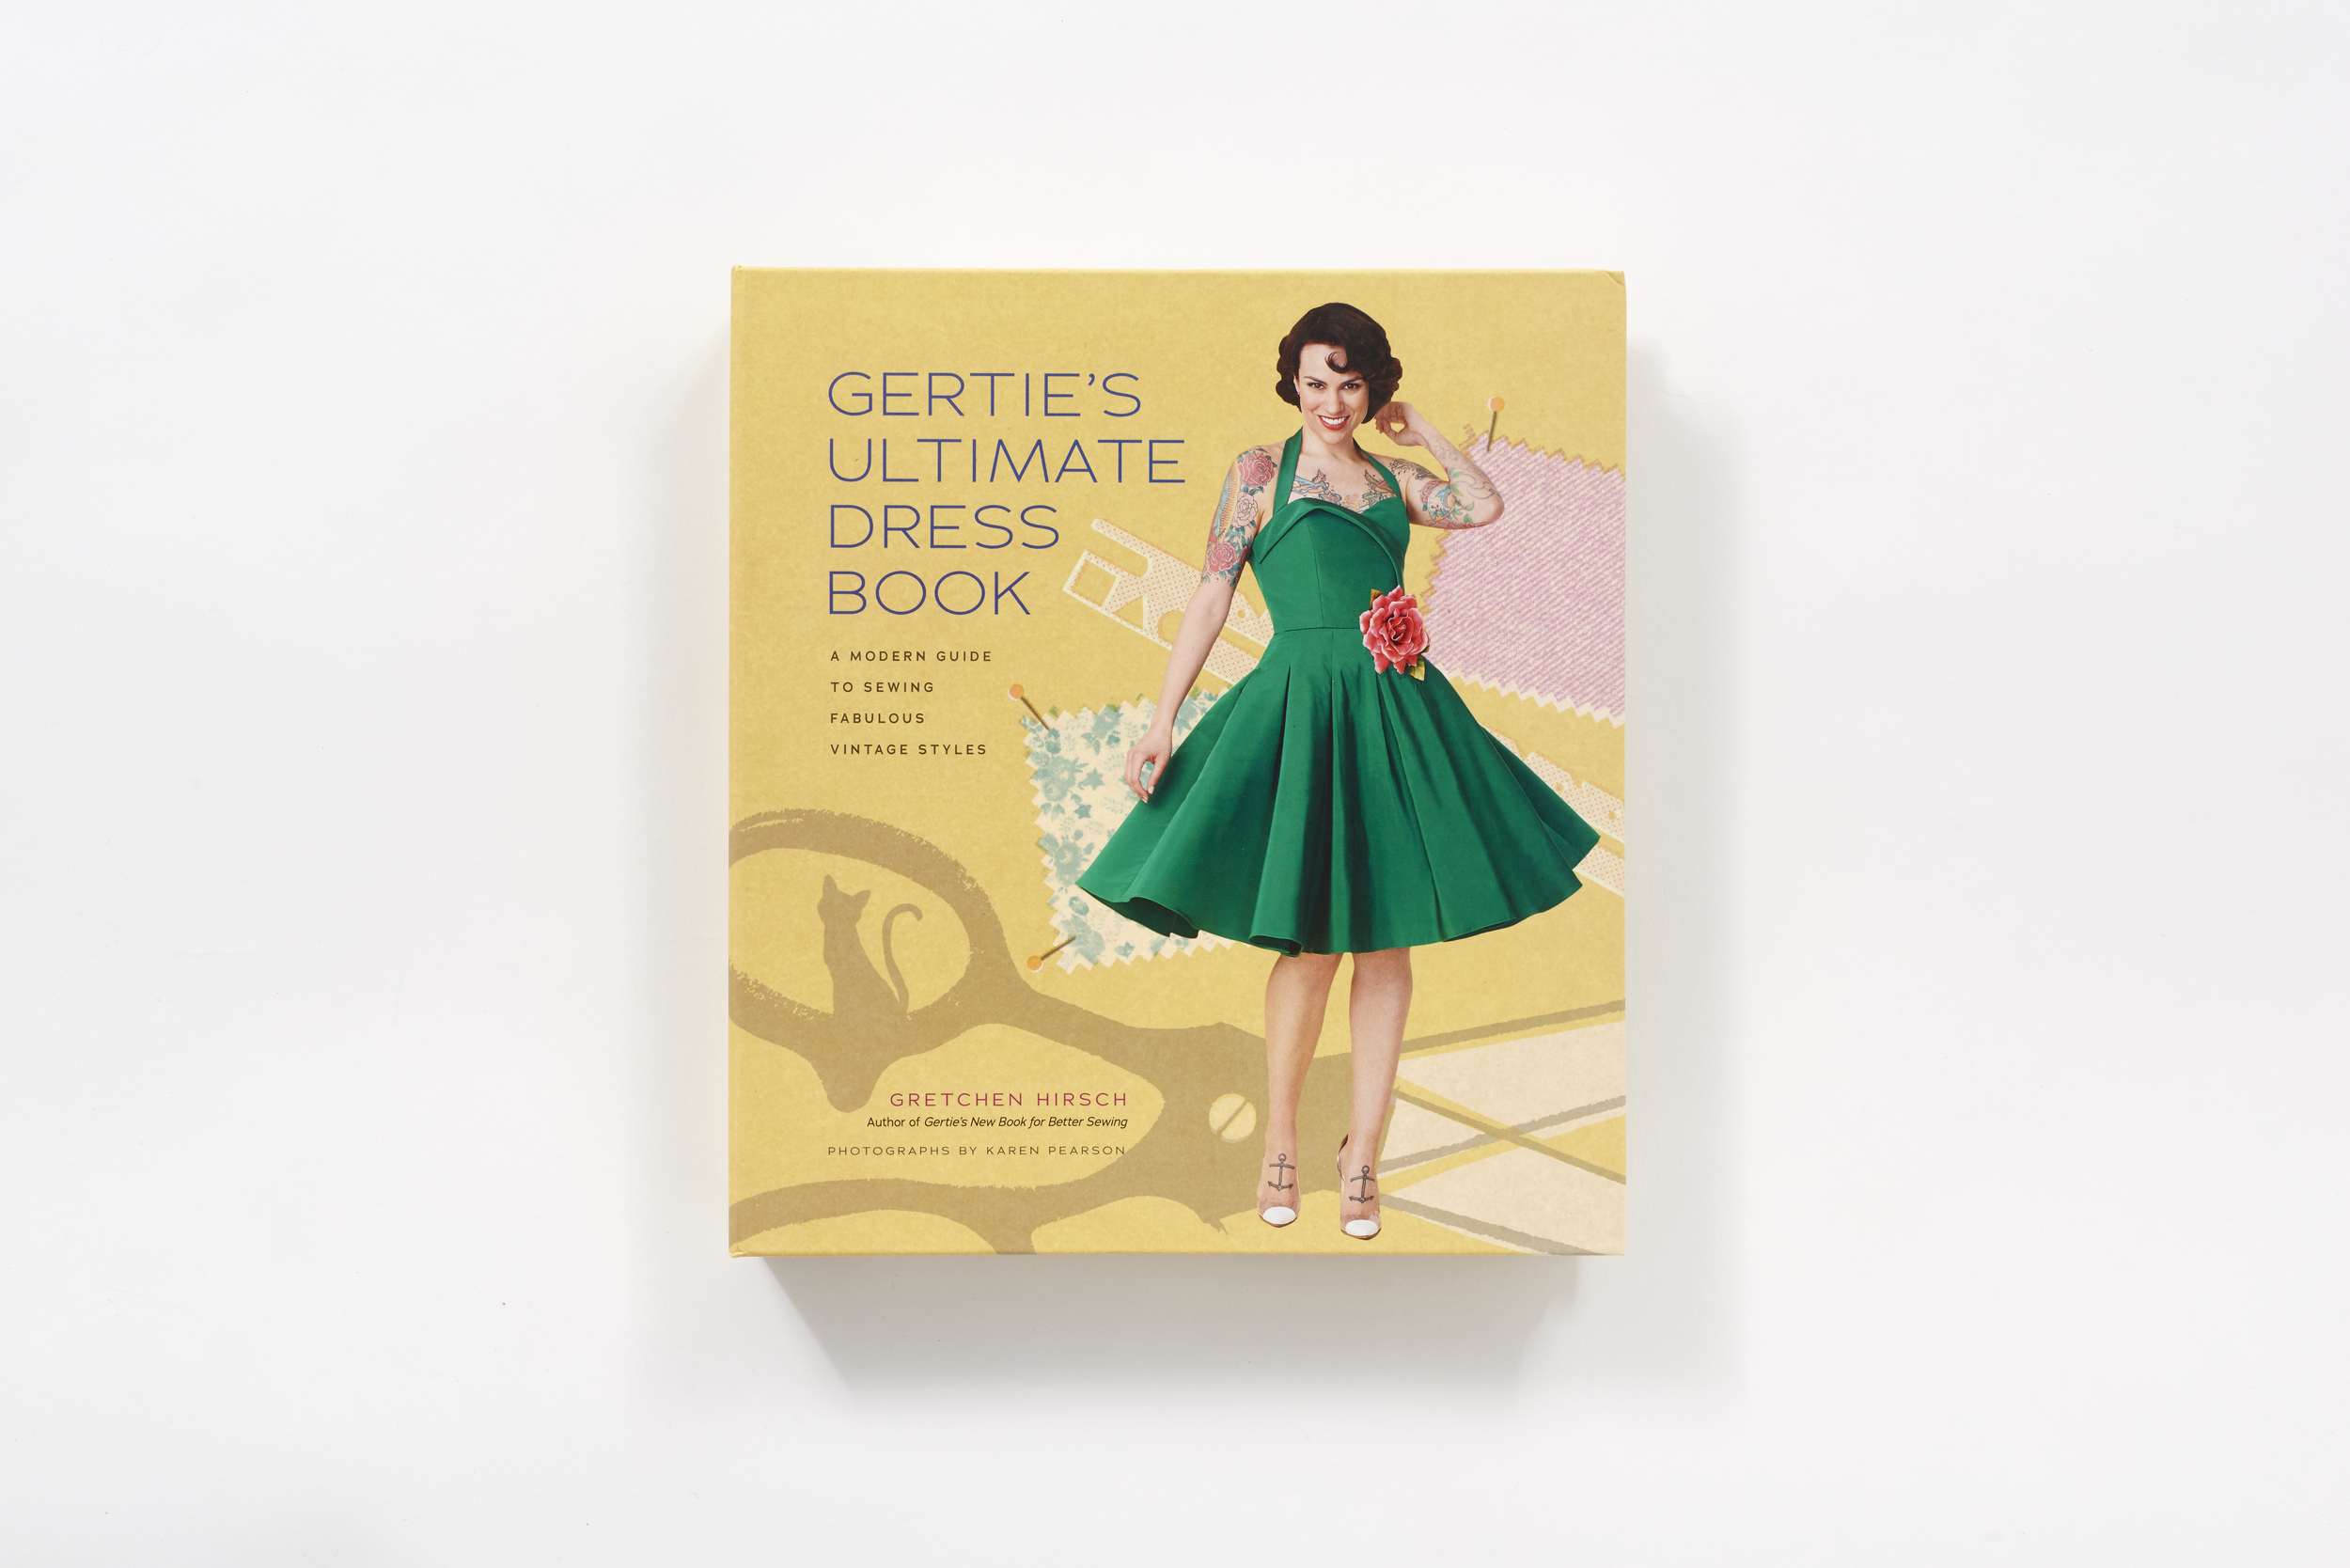
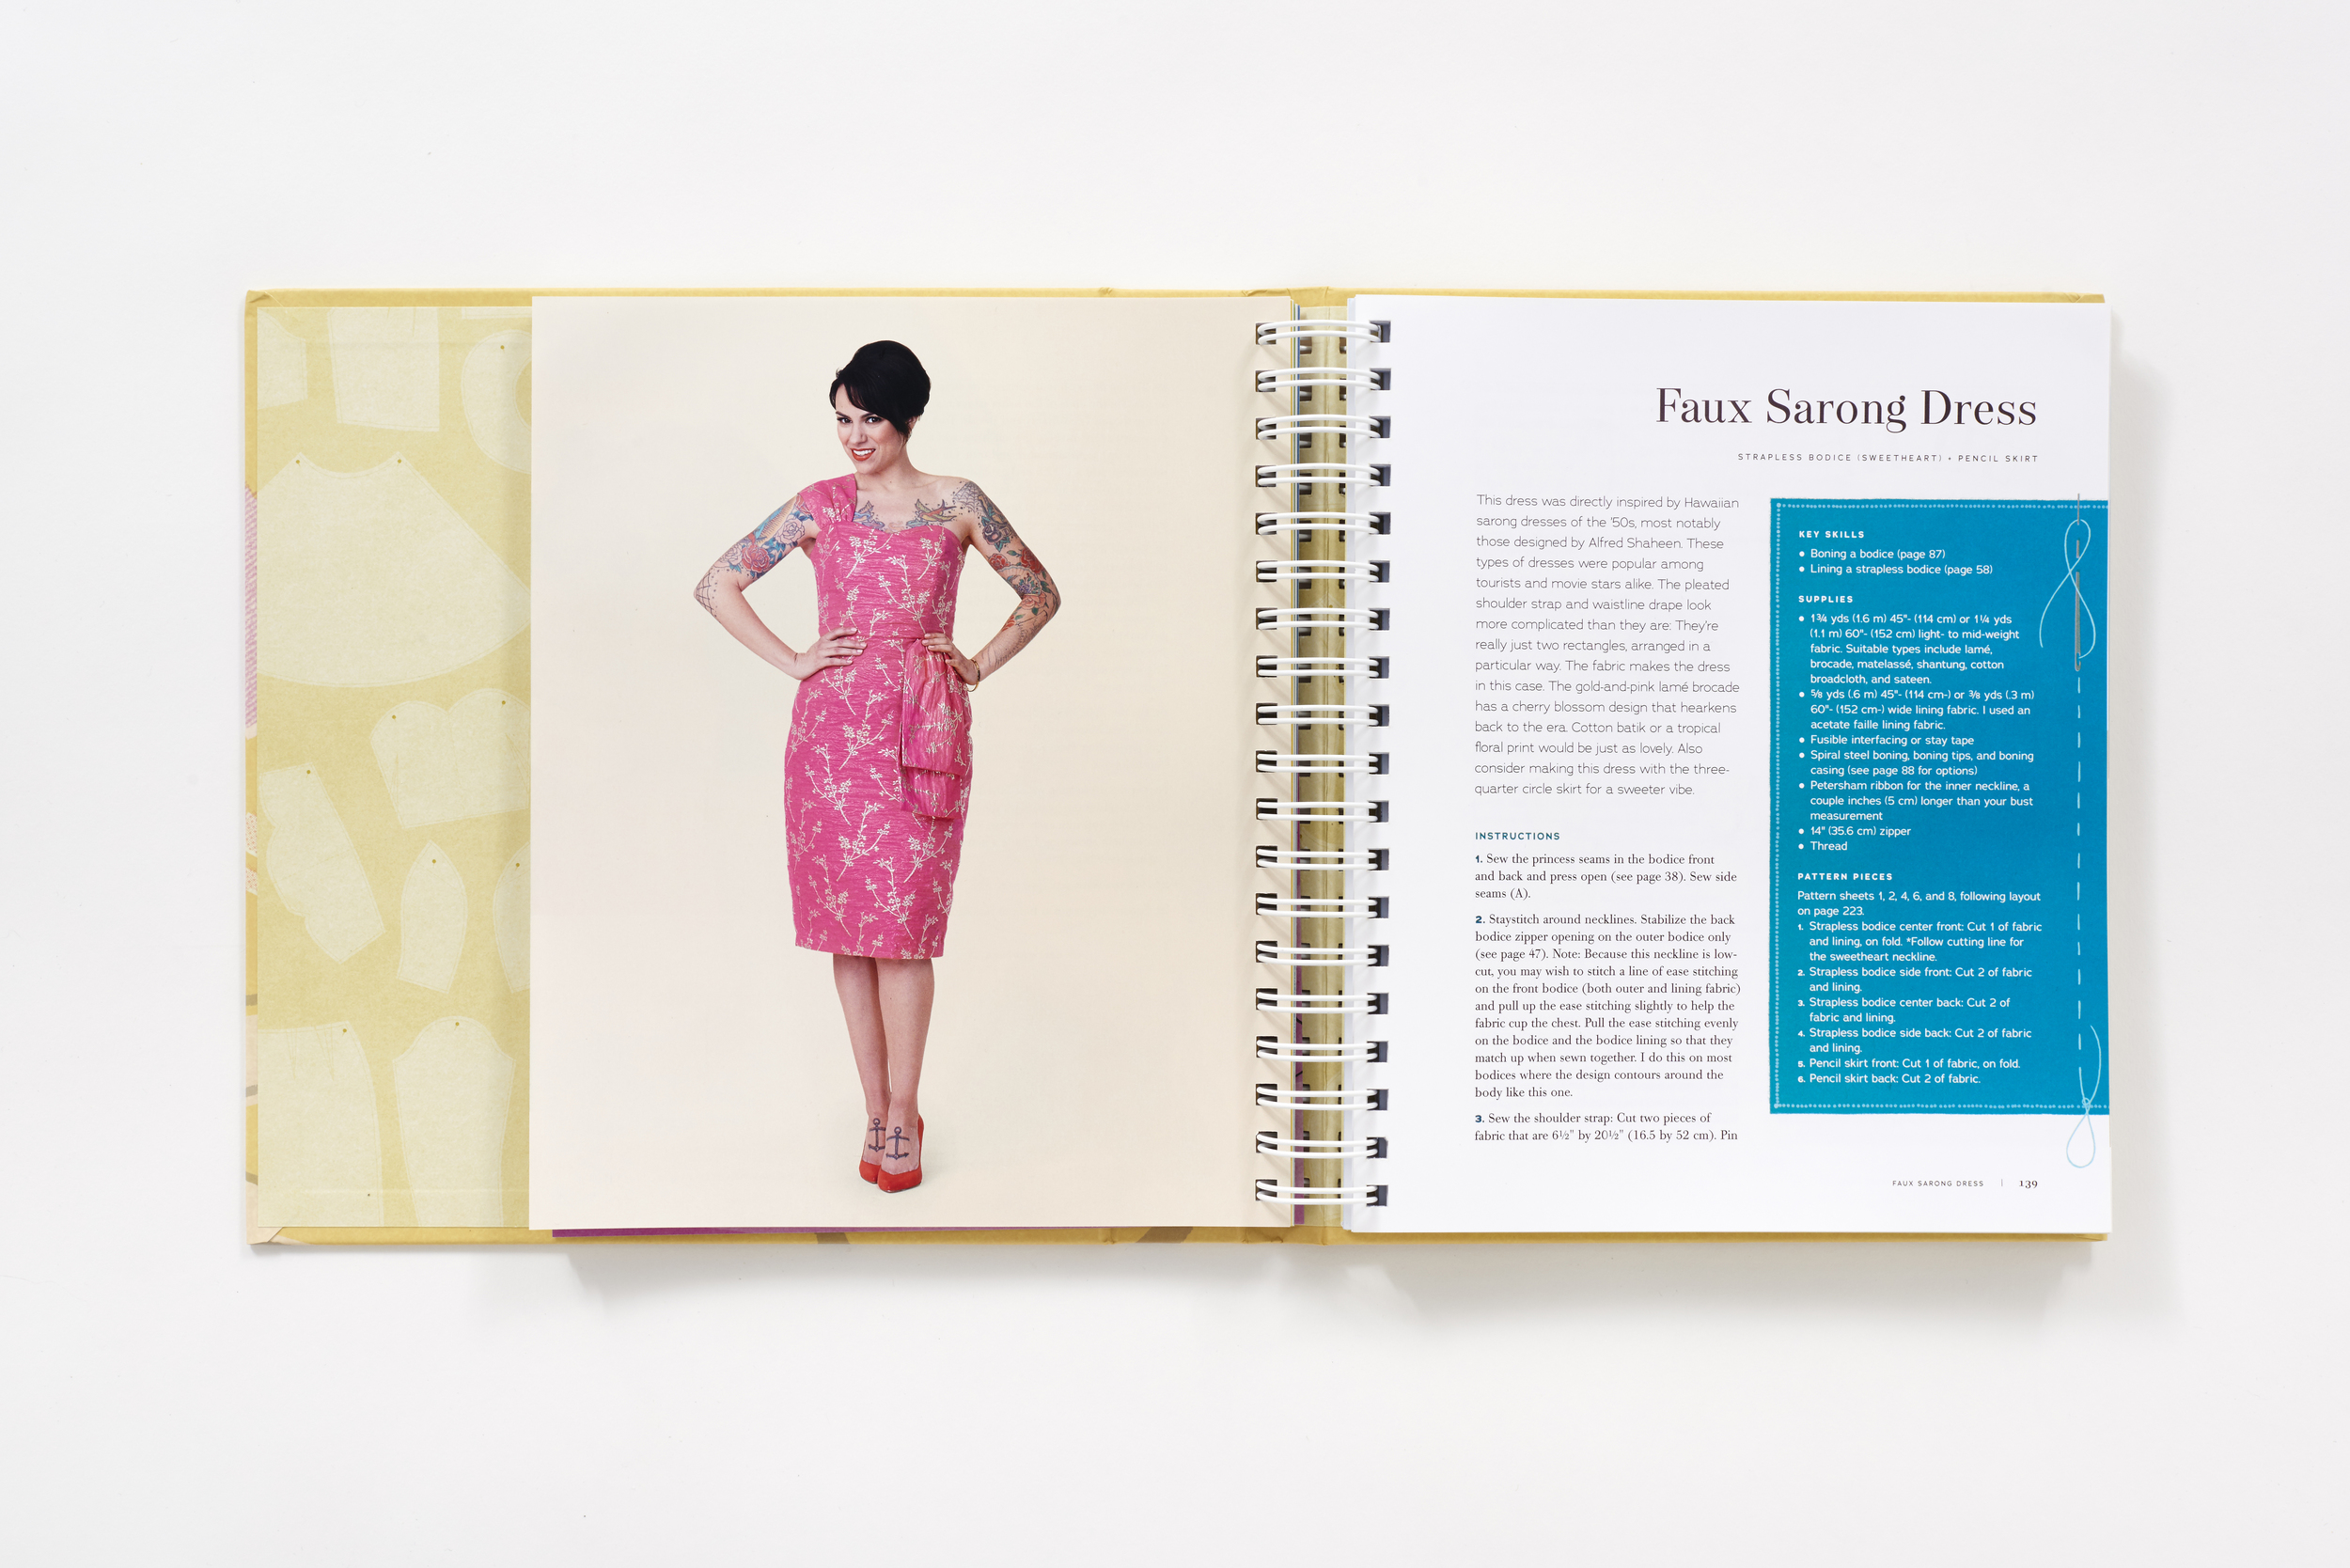
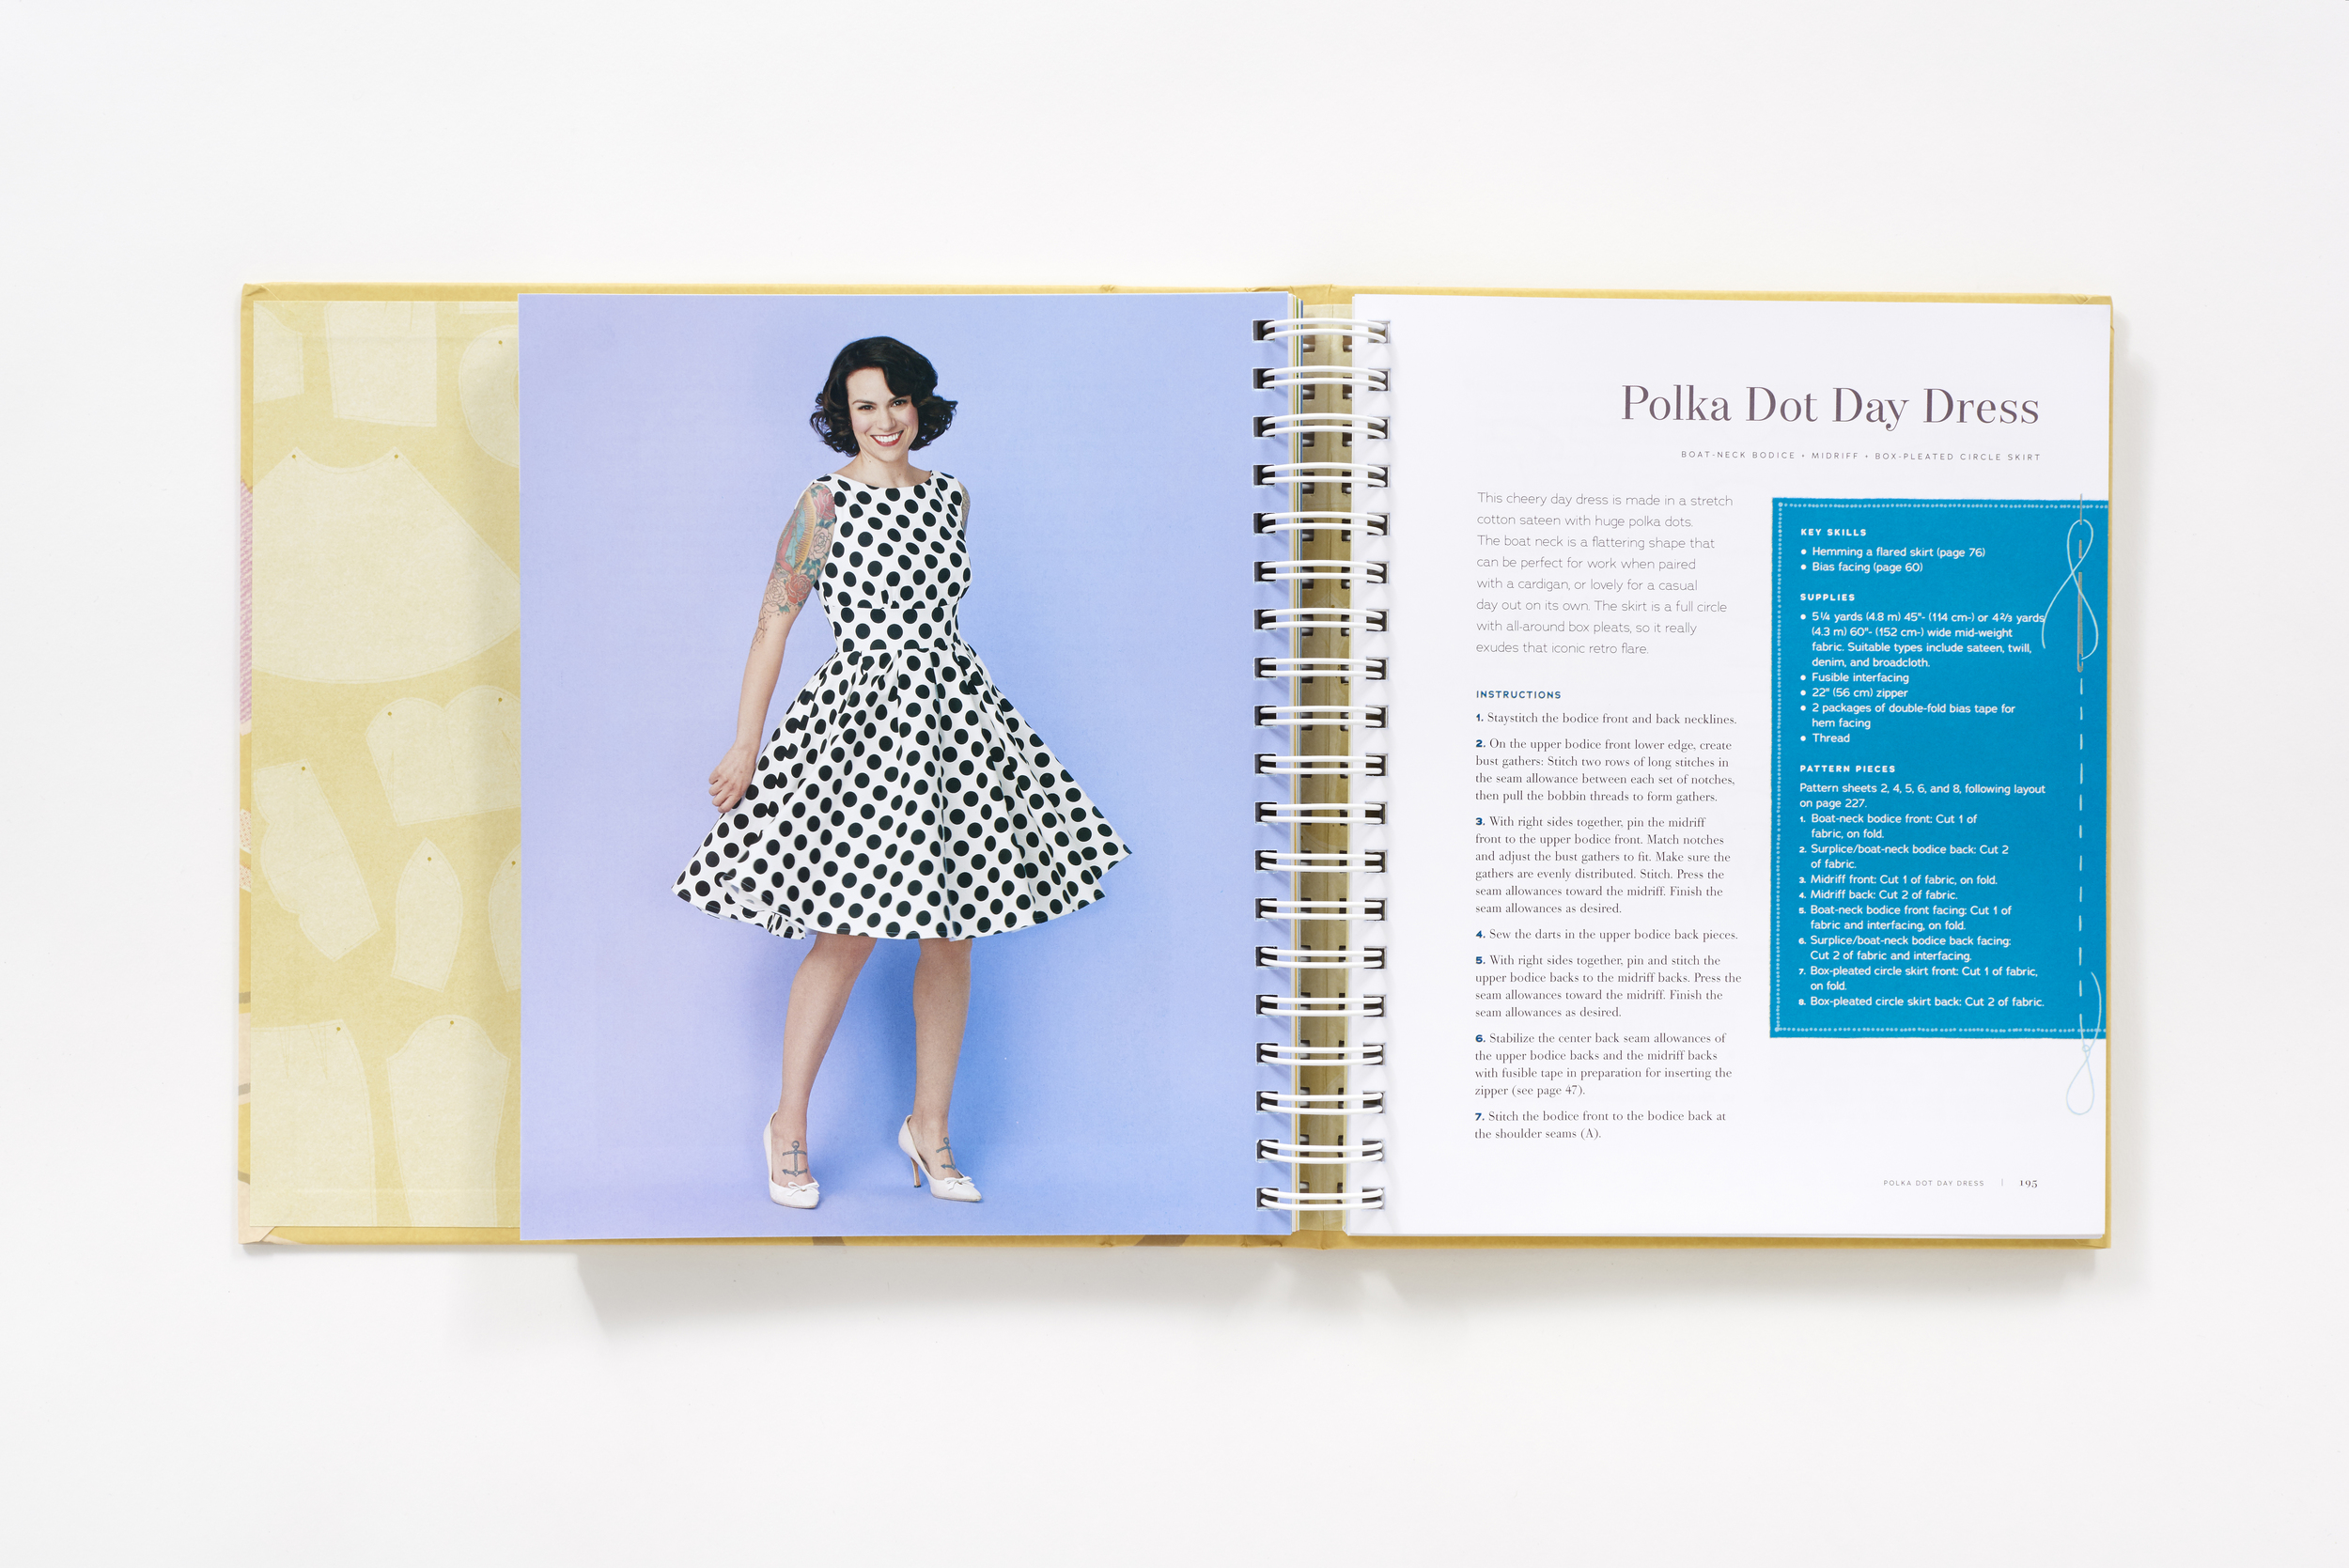
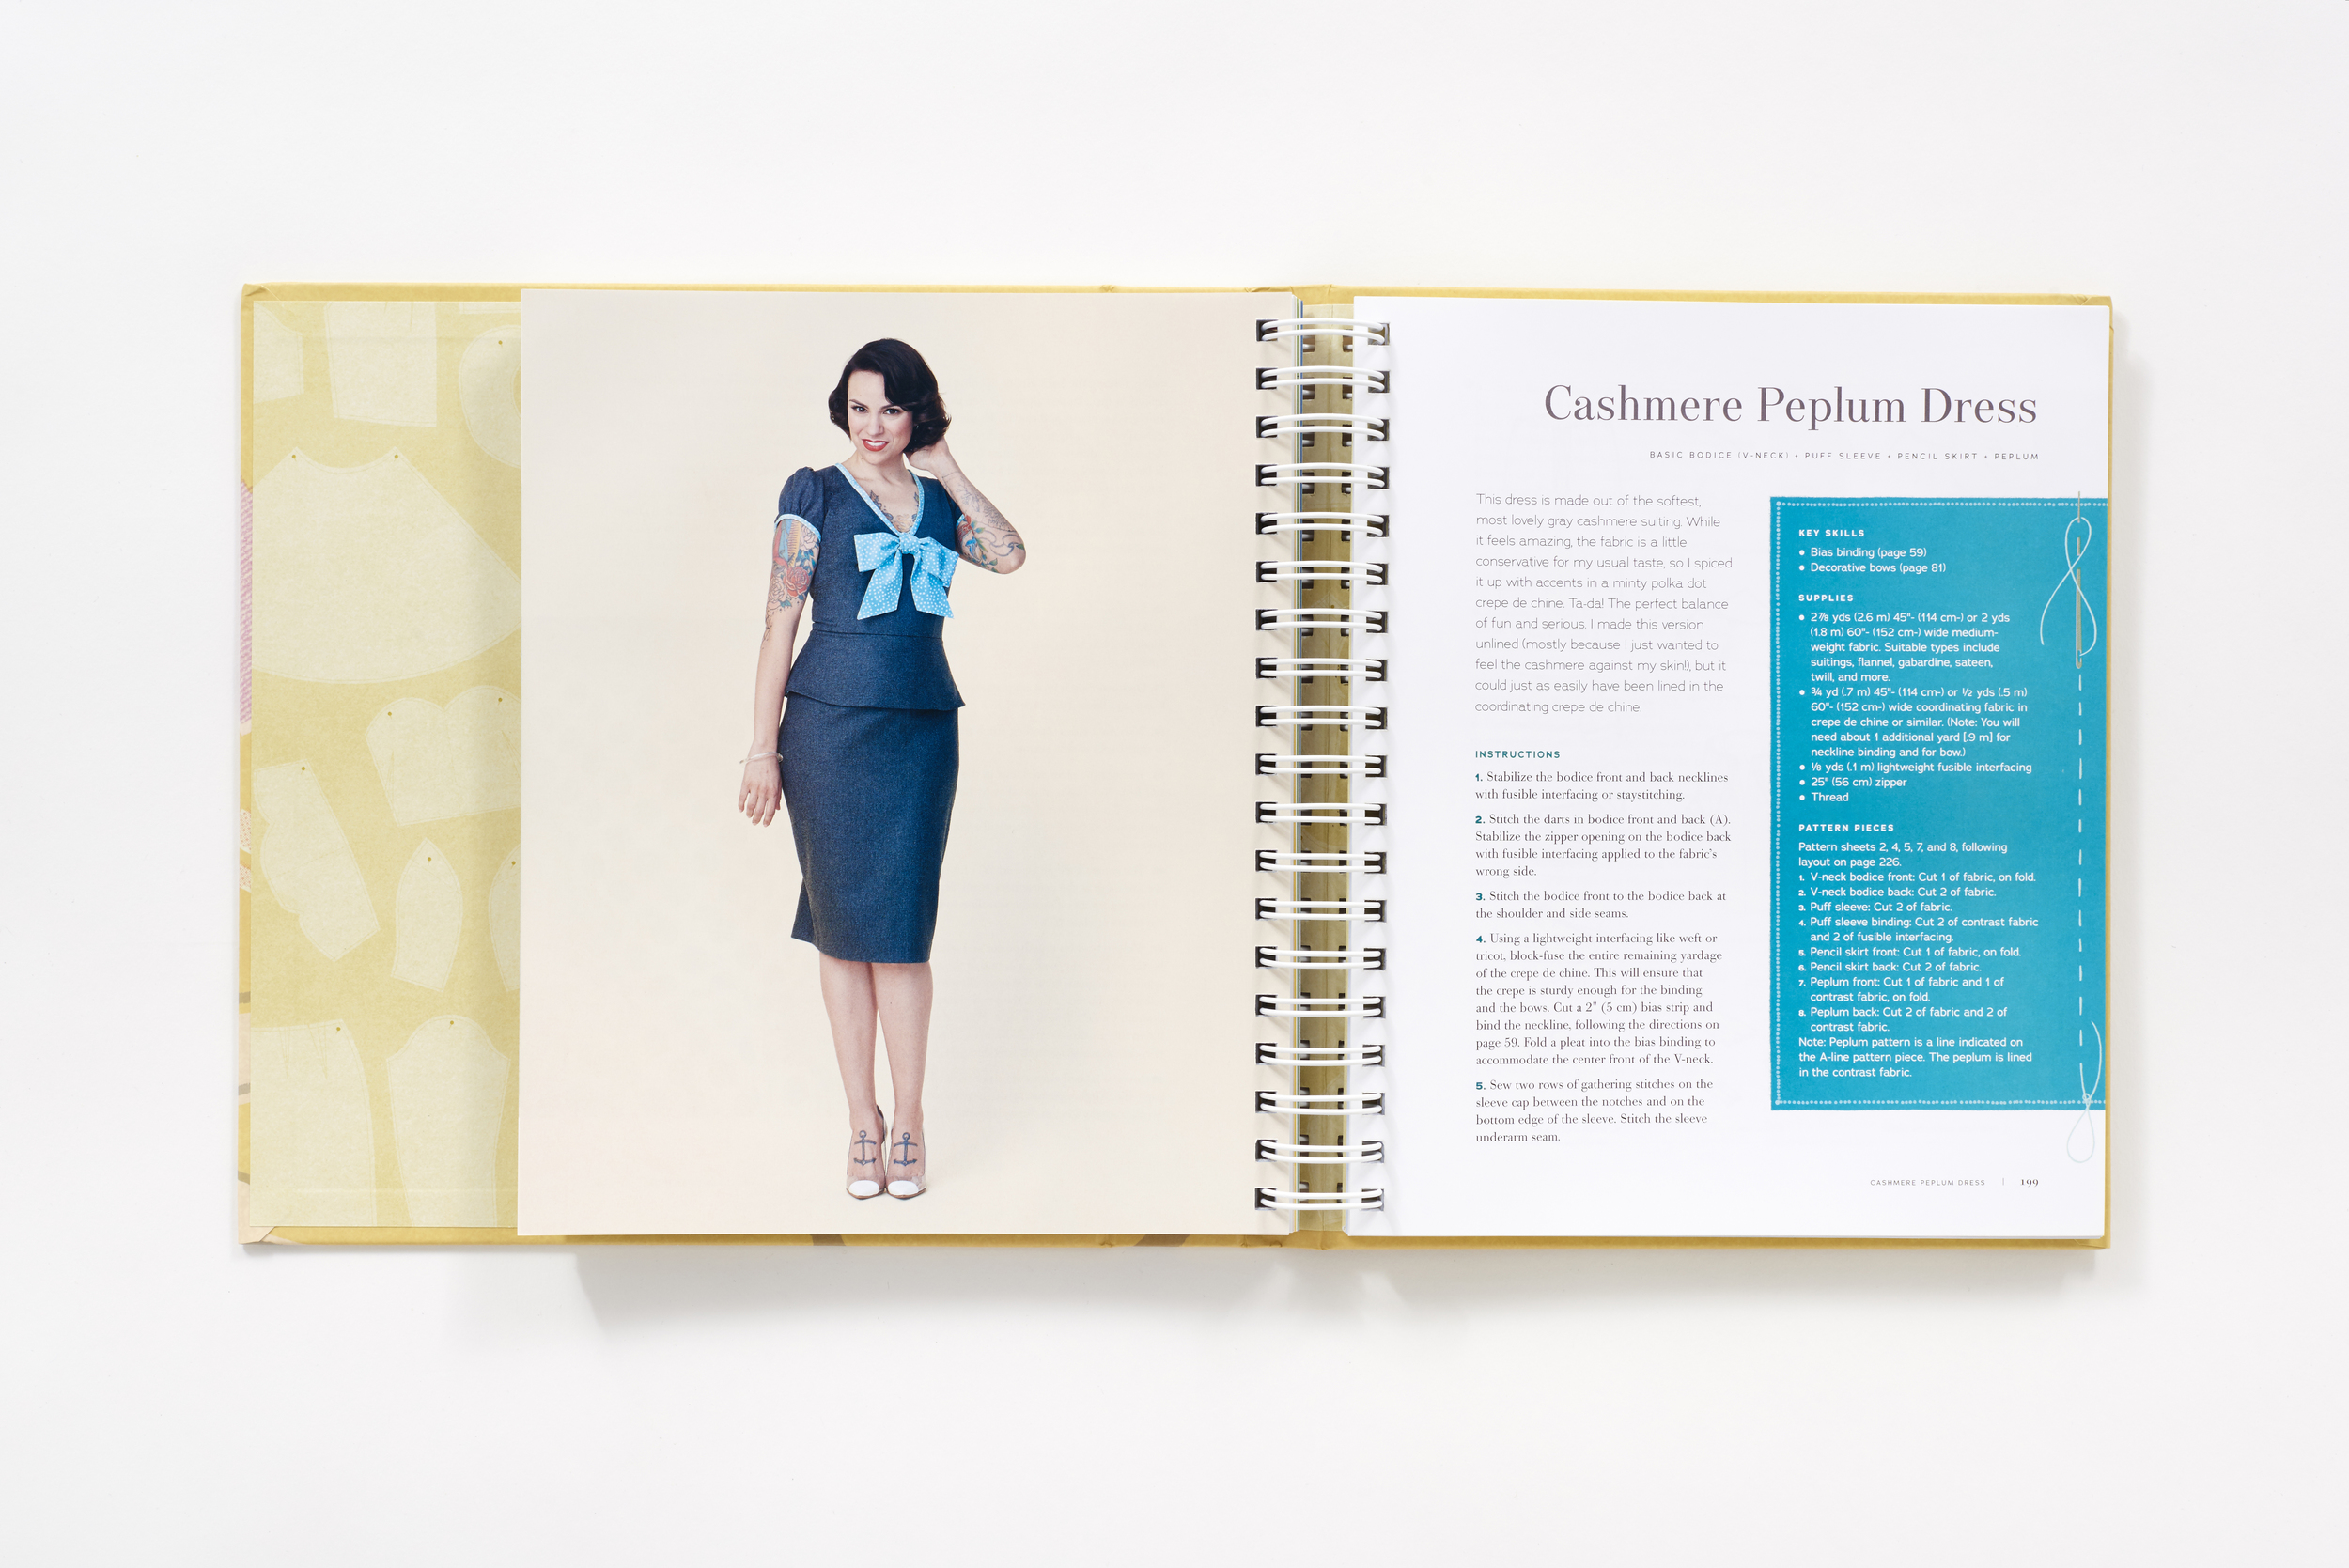
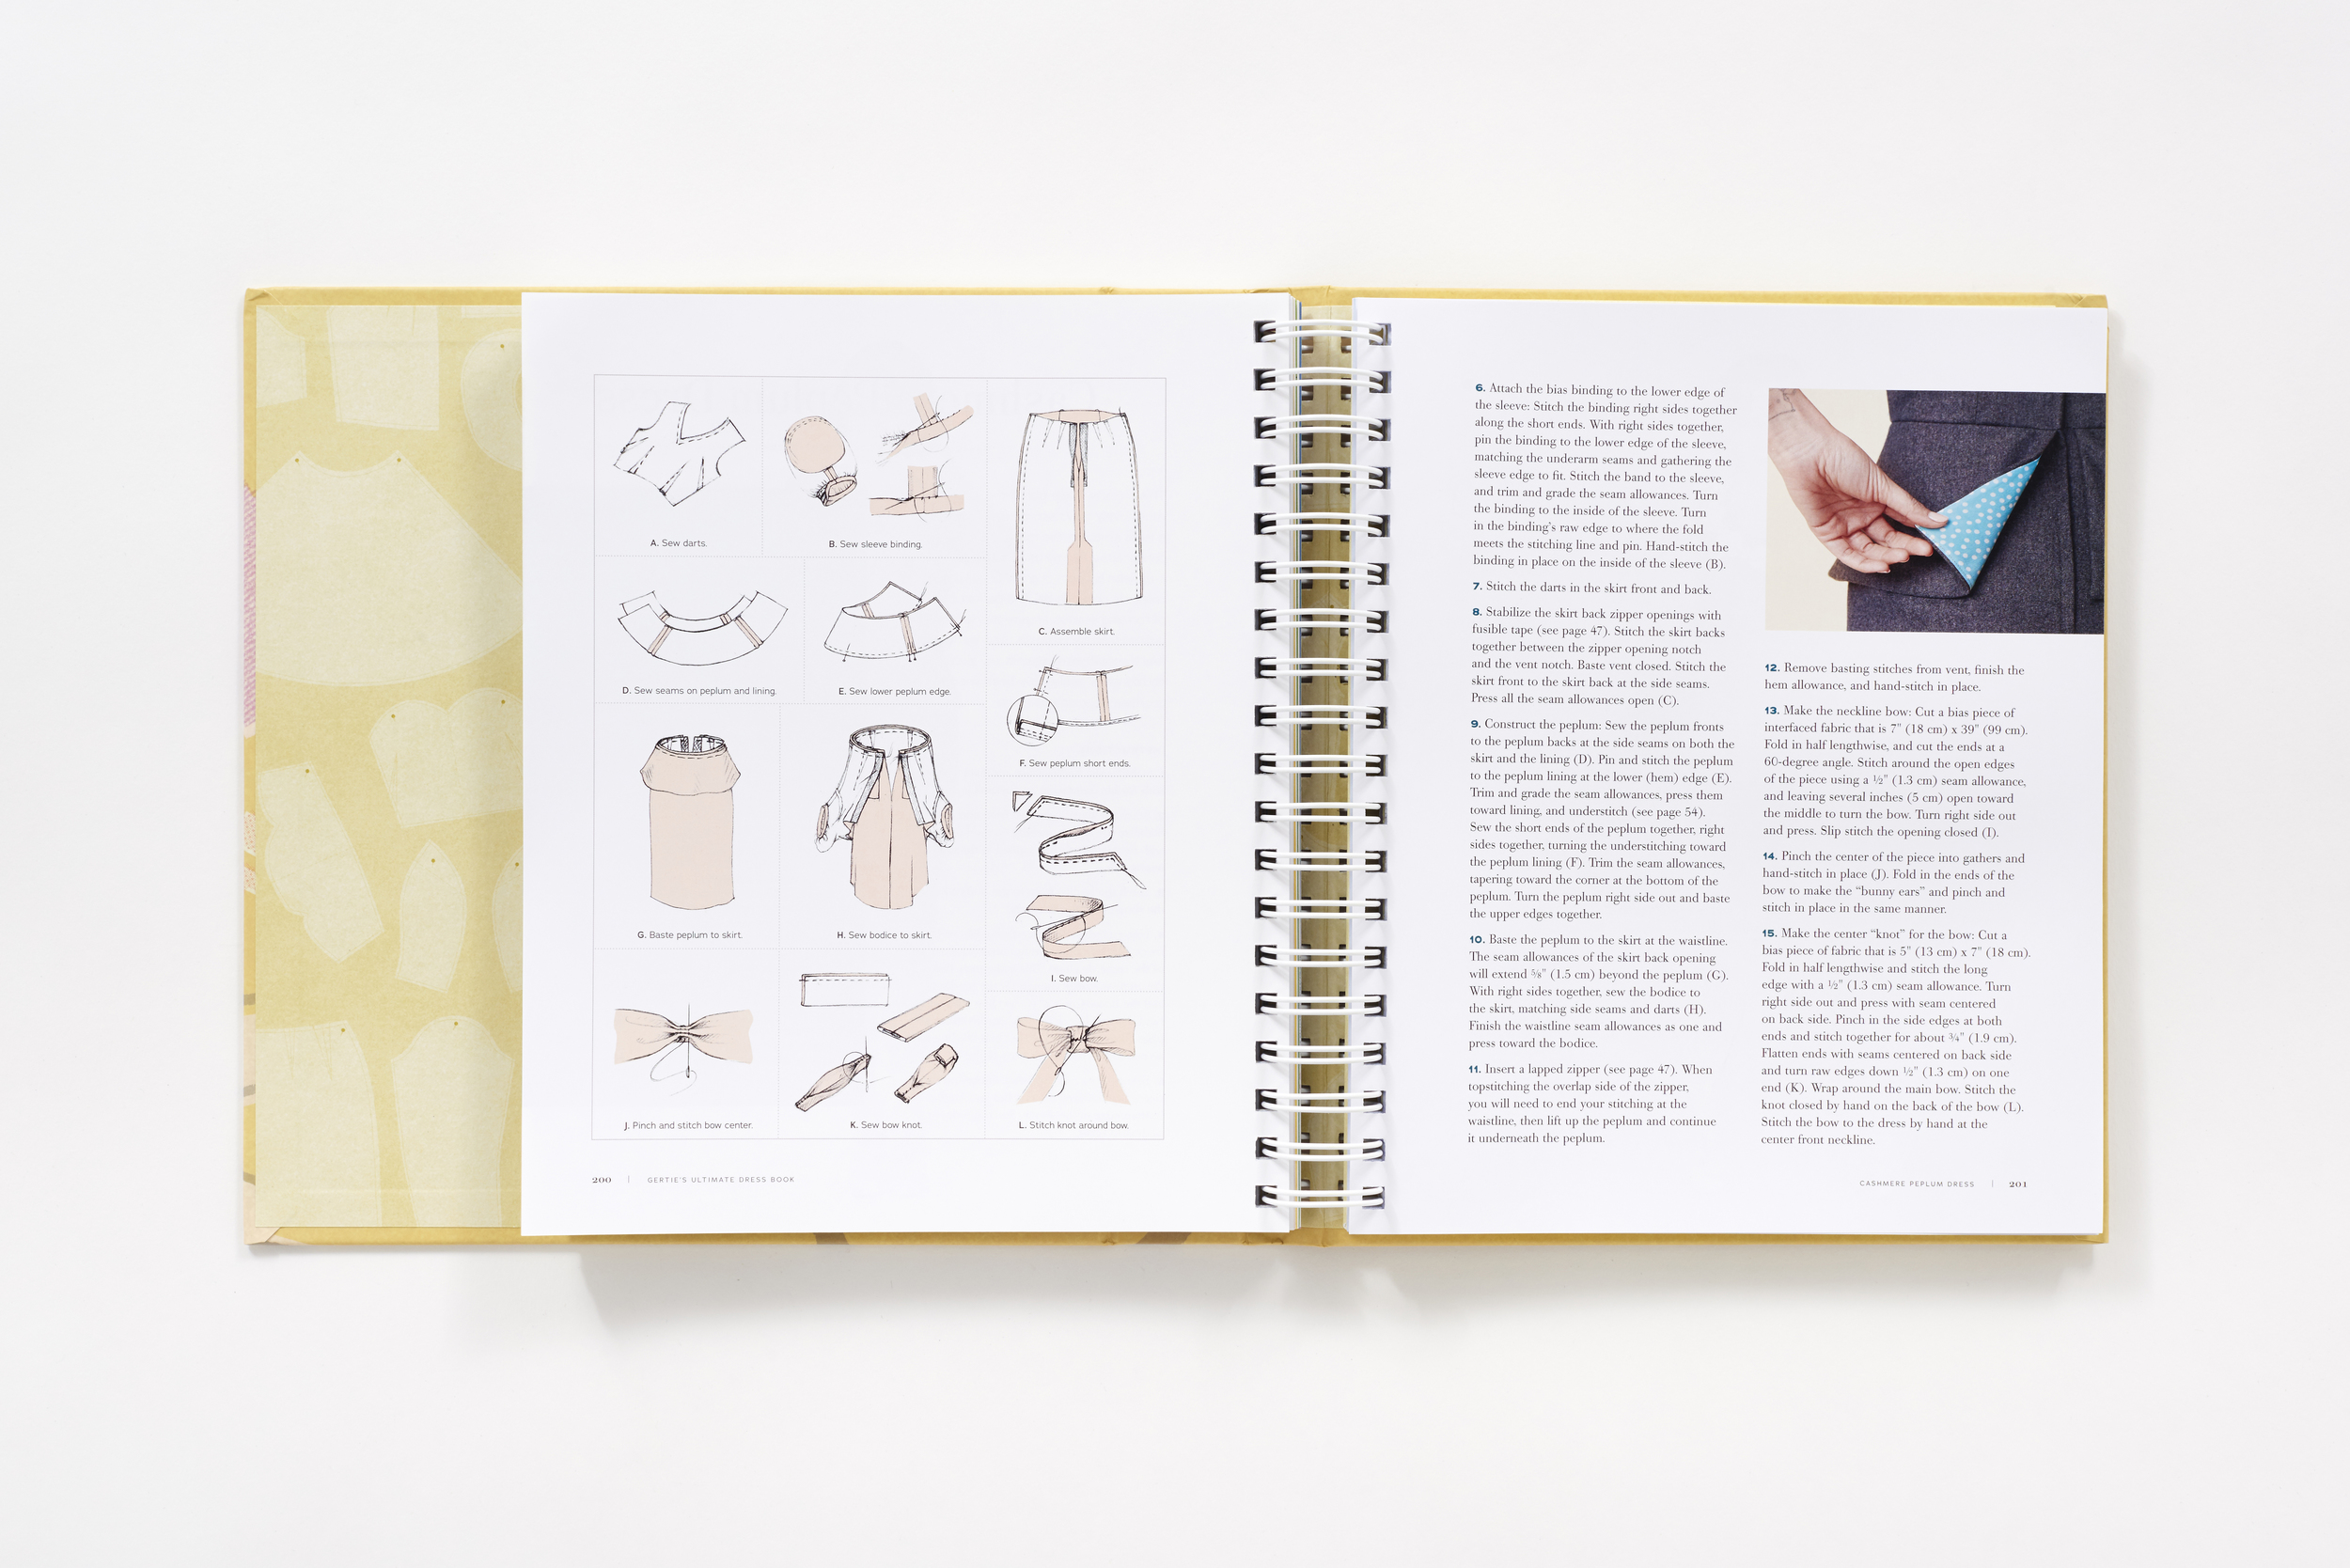
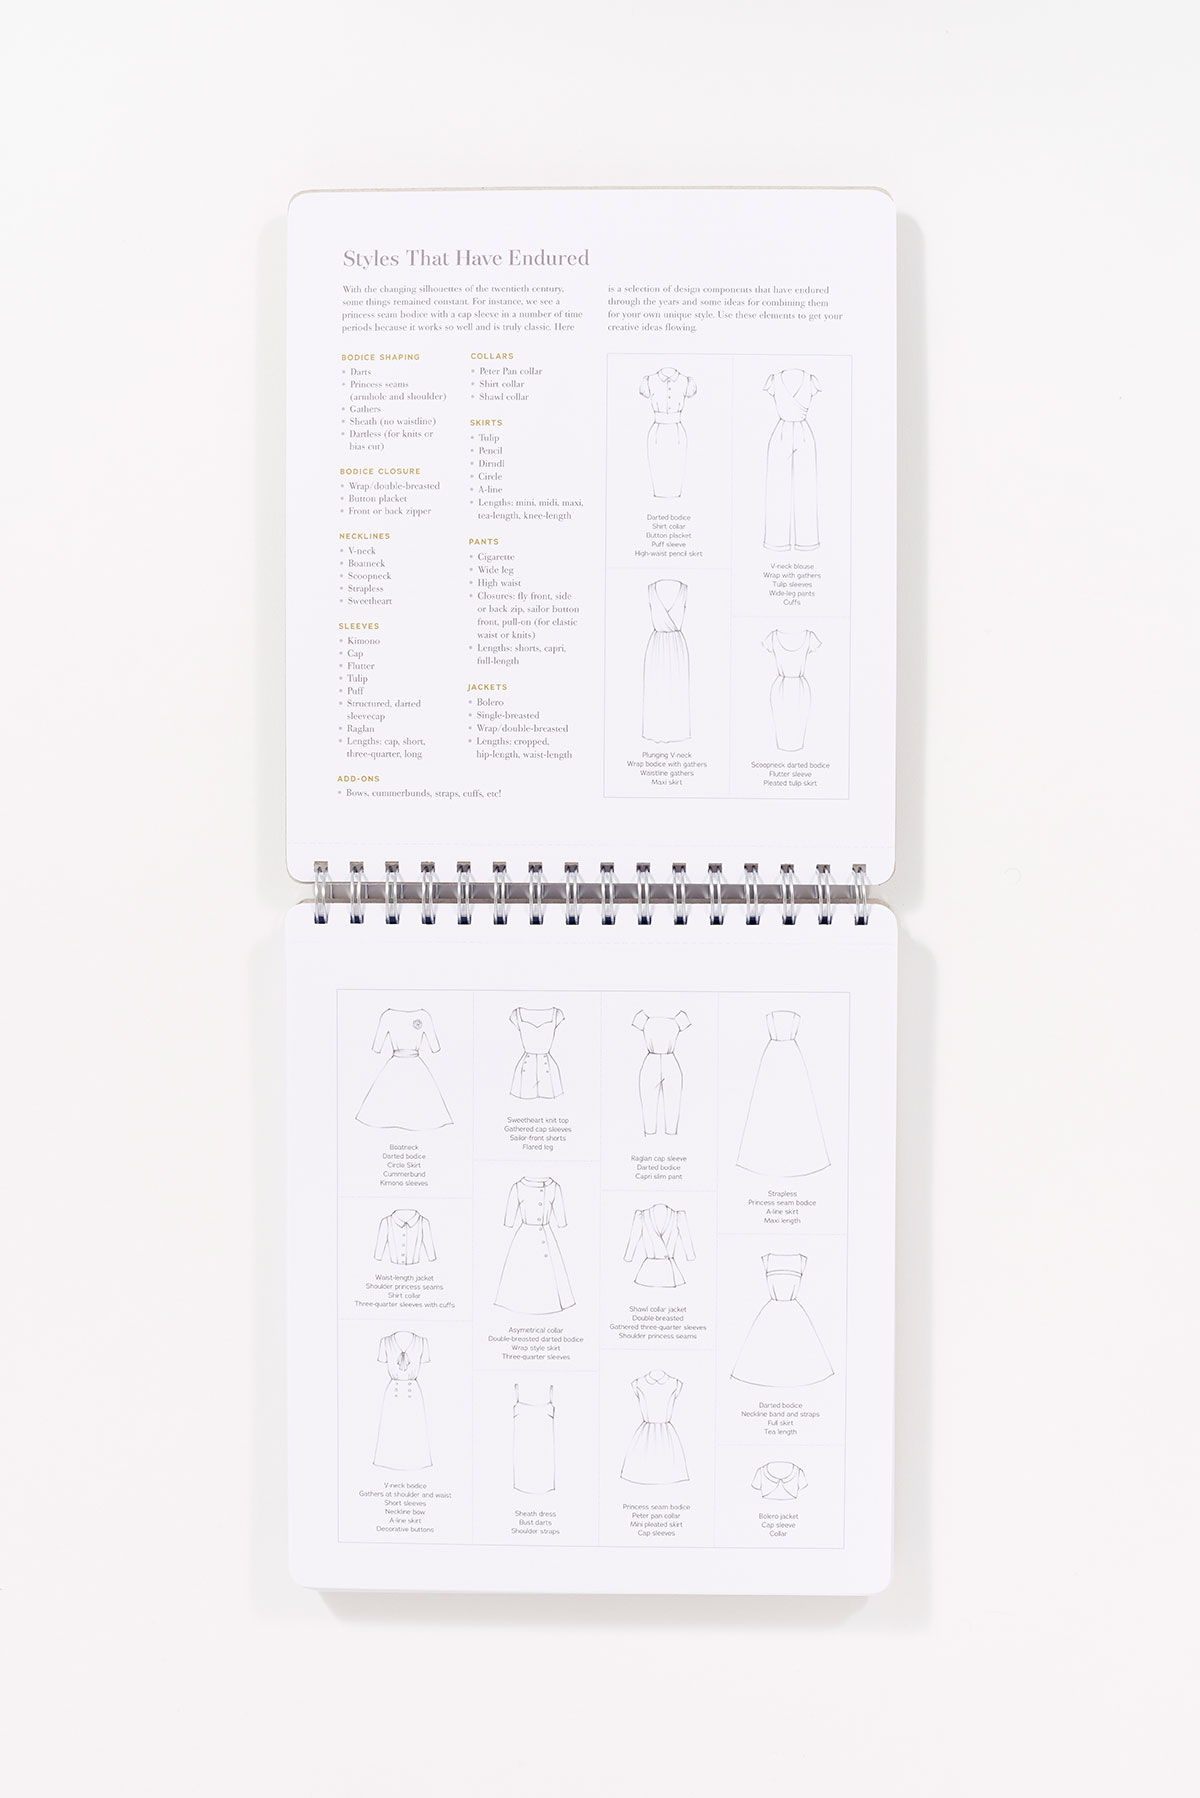
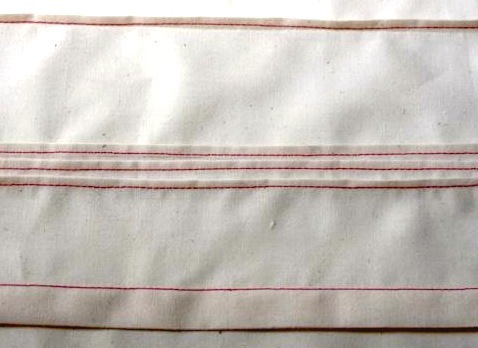
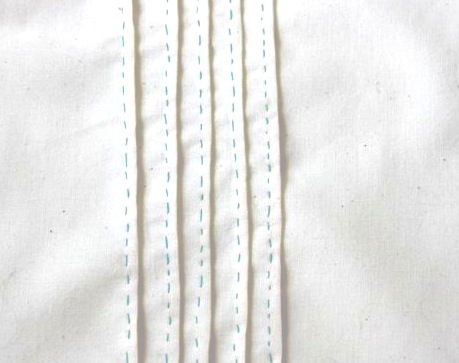
Elements from each pattern can be mixed and matched, allowing readers to customize the bodice, skirt, sleeves, pockets, and details of each dress for a truly unique, flattering, vintage-inspired creation.

The follow-up to the popular Gertie’s New Book for Better Sewing and Gertie Sews Vintage Casual, the latest from Gretchen Hirsch's collection is packed with all the information and patterns you could ever need to create a wardrobe filled with stunning vintage frocks.

That's not all: we're kicking off a blog tour today, and each stop will feature a chance to win a copy of the book and a bundle of Gertie-designed fabric from her exclusive line for JoAnn from Fabric Traditions.

Follow along, comment, and show us your own Gertie-inspired creations!

March 8 Brewer Sewing
March 9 Madalynne.com
March 14 By Gum By Golly
March 16 A Dress A Day
March 18 Lish Dorset

You can also head over to Gretchen's blog, Gertie's New Blog for Better Sewing, for a special publication day post and chance to win.

In case you missed it: we are also excited about this amazing Pinterest contest going on right now. The grand prize winner will receive $586 worth of patterns, fabric, a Jo-Ann Fabric and Craft Stores gift card, and a signed book! Click the image below for more information.


Happy Sewing!

GUEST POST: Gretchen Hirsch on her inspiration for 'Gertie's New Fashion Sketchbook'

I’m so excited about the release of my new book, Gertie’s New Fashion Sketchbook! Over the past several years, I’ve been busy writing sewing technique books with an emphasis on retro design (see Gertie’s New Book for Better Sewing and Gertie Sews Vintage Casual), so this is a bit of a departure for me. Today I’m going to share the inspiration for the sketchbook and why it was such an important project for me. 

Sewists often think of sketching as something that “real” designers do. But everyone who sews is a designer! The simple act of matching a fabric to a pattern is designing. Even picking out a zipper is a design choice. Every choice you make on a project is part of its design. With so many little decisions to make, it’s easy to get overwhelmed. That’s why sketching is such a helpful tool: you can map out your ideas visually, easily changing them if necessary. 

A wonderful tool for sketching fashion ideas is the croquis, a body figure template. That way you don’t have to be able to sketch a realistic figure from scratch! And nowadays it’s easy to go to a bookstore and buy a fashion sketchbook filled with croquis, ready to go. However, the problem with the available fashion sketchbooks is that the figures can look a little bizarre: they’re strangely elongated and spindly, and twisted into strange poses that I like to call the "broken doll" or the "sad alien." That's because fashion people work with a concept called "nine heads," where the figure is nine head-lengths tall. To put this in perspective, actual people are only seven to eight heads tall. Here's an interesting image that breaks it down:

One of my missions over the years has been to write about sewing and fashion in a body-positive, feminist way. So these nine-head ladies were bringing me down. And so the idea for this sketchbook was born and brilliant illustrator Sun Young Park brought it to life. Here's how it works:

The figures are presented in a "nested" configuration (almost like a sewing pattern!), so that you can follow the lines (bigger or smaller) to represent different figures. You can make the figures smaller on top or bottom to replicate a woman's actual curves and proportions. I tested the whole thing out with some wonderful sewing friends, and it really works! But my favorite thing about it is that the height of the figures is actually realistic. And that’s a beautiful thing.

Do you enjoy sketching ideas for your sewing projects? If so, I hope you love this new sketchbook! 


Wind those bobbins...Gertie Sews Vintage Casual is on sale today!

Our latest fall 14 book release comes just in time for the changing seasons. We're thrilled to introduce the latest from Gretchen "Gertie" Hirsch—Gertie Sews Vintage Casual: A Modern Guide to Sportswear Styles of the 1940s and 1950s.

In this follow-up to Gertie's New Book for Better Sewing, Hirsch returns with more iconic styles from the mid-20th century. Think sportswear made popular by fashion darlings like Audrey Hepburn and Marilyn Monroe, including knit tops, beach rompers, house dresses, wide-legged trousers, capri pants, and more.

With instructions for creating a 30-plus-piece casual wardrobe plus illustrations by the amazing Sun Young Park, this helpful guide offers all the inspiration and know-how you need to look delightfully dapper this fall.

Read more about the book on Gertie's New Blog for Better Sewing, and check out our image gallery here. Plus, stay tuned for news about Gertie's fall pattern collection from Butterick and a new fabric line with Fabric Traditions at JoAnn's stores this spring!

What will you sew this season? Tell us in the comments section!

Gertie at STC Craft: It's Not Your Grandma's Crafting (Or Is it?)


Hi everyone, I'm back! I got a little bogged down in other work for awhile (including finishing my book!) but I'm back to posting here on a regular basis (I don't want to make any promises that I can't keep so I'll keep it a little vague). I thought I'd jump back in with a discussion of the generational aspects of crafting. I know there are strong opinions on this matter, so I hope we can have a spirited conversation here!

It’s not news that there’s been a resurgence of young women getting involved in crafting for the last decade or so. (I just turned 33 so I feel like I'm smack dab in the middle of the whole thing) Hip knitting books, tattoo-style embroidery kits, and sewing patterns by Project Runway stars all speak to a new generation of DIYer. My personal blog has resonated with lots of twenty-something women, and if I can get them to start sewing, then I’m happy. But one thing bothers me about the young crafting movement: namely, the “it’s not your grandma’s sewing/knitting/embroidering!” mentality and marketing strategy. Because, well, it is your grandmother’s sewing, knitting, or embroidering. (And because I work with vintage sewing patterns and books, this is quite literal to me.)

Whether you’re knitting tea cozies or a skull motif sweater, you’re using the skills that have been passed down among generations of women. Crafting may have gotten a hip makeover, but there’s nothing new when it comes to hand crafting technique—and we have our grandmothers to thank for sharing these skills. Also, we have a responsibility to pass them on to the next generation ourselves. (I’m sure our granddaughters will think skull sweaters are so 30 years ago!)

But perhaps this distancing of the older generation is what it takes to get the young folk interested in crafting. I’ll readily admit to sometimes being drawn to hipster embroidery transfers and other products marketed to the under-35 demographic. But there must be a way to draw in that demographic without alienating our grandmother’s generation.  My Grandmother’s Knitting by Larissa Brown is a great example of this concept at work: it’s a collection of stories about the tradition of knitting in families, paired with patterns that appeal to the modern knitter.

Since we’re coming up to Mother’s Day, now seems like an appropriate time for this discussion. What do you think of this issue? Do slogans like “it’s not your grandmother’s knitting!” bother you? Or do you think it’s a necessary step forward for the craft movement? Please share!


Gertie at STC Craft: Feeling Thankful

Thanksgiving, more than any other holiday, is all about reflection for me. I was walking past Penn Station today, and it brought back a memory from exactly one year ago.

It was the day before Thanksgiving, and I had a half-day at work. I used to edit books for a big publishing company. While it was an interesting job, it gradually evolved into just a “day job” as my sewing blog took off and I wanted to devote all of my time to it. After I left work that Thanksgiving Eve, I had to get downtown for an appointment, but I had a couple hours to kill. I decided to walk to the Borders bookstore right by Penn Station to browse the craft section. When I got there, it became very clear that I had picked the wrong day to do that. 

“What kind of idiot decides to take a leisurely trip to Penn Station the day before Thanksgiving?” I wondered. Apparently, I was that idiot. As mobs of travelers rushed by me, yelling and jostling and ramming their suitcases into each other (and me), I had quite a dark moment. Sometimes I really hate New York, I thought.

Fast forward to today, the day before Thanksgiving. I no longer work at my day job. Many factors came together to make it possible for me to switch to a combination of sewing and craft-related freelance work. This afternoon I met with the illustrator for my book at the sewing studio where I teach. After we finished, I walked uptown to the Garment District to pick up a few supplies. Can you guess where I walked, readers? Right past Penn Station and the holiday travel hustle and bustle. Again, I was that idiot.

But this year, I barely noticed. Things felt calmer. Yes, people were yelling and smoking and taking up the whole sidewalk waiting for the Bolt Bus, but it didn’t occur to me to feel annoyed by all this. Perhaps I’m just having an unusually serene day, but it did really highlight the differences in my life between last year and this year.

Melanie and I were chatting on the phone earlier this morning, and she reminded me of a conversation we had when we traveled to Palm Springs together last January. She had recommended me to teach at Heather Ross’s weekend sewing workshop there, and Heather obligingly agreed, even though I was a very small name in her lineup of star-power teachers. As Melanie and I chatted the entire way out to California, she told me that she had a fantasy of me coming to work at STC Craft with her. I was incredibly flattered and agreed that was indeed a great fantasy.

Amazingly, it did happen. Not exactly the way we thought it would, but what in life ever does? Earlier this year, many people came together to support my big career move. Melanie gave me regular freelance work to make the transition easier, along with many words of wisdom as a friend.  My amazing husband, Jeff, continues to work at his “day job” so I don’t have to--and has been nothing less than supportive and optimistic. I have an amazing readership of passionate sewing enthusiasts who have made my blog what it is. A couple readers have even become my “interns,” working for me for free to help me juggle all the amazing things going on in my life.

To make a long story short, there’s a lot to be thankful for. I can’t believe the way my life has changed in the past year, and I’m grateful to all of you reading this for being a part of it.

Have a fabulous Thanksgiving!

Gertie at STC Craft: Awesome DIY Hairdos


I've been a Bust magazine reader since way back, and I've always loved their smart and sassy attitude. A feminist magazine with sewing projects and beauty tips? Yes, please!

So, of course, I was super-excited to get a copy of the new book, The Bust DIY Guide to Life. After flipping through it, I fell in love with the section on hairstyles. So I hatched the idea of trying out a couple of the 'dos (there are ten in total) and reporting the results to you here. Here goes!

First, I tried the "Go Go Kahlo," an homage to Frida the Great.

Here's my version.


The front is done in French braids down the side of the head, which then get flipped up to the top of the head and pinned in place. (I don't think I've French braided since I went to Girl Scout camp! It was a good refresher.) The book gives you several options for how you can finish the back of your hair, and I chose to twist it into pin curl-like shapes.

Of course, chandelier earrings were a must! This would be a great look for an elegant evening out.

Next, I tried "The Do in Doo-Wop," a bouffant style reminiscent of girl groups of the 60s, with a punk edge like Amy Winehouse (RIP).

I decided it needed glasses and more black so I did a quick wardrobe change. (And extra eyeliner would have been good, but I was on a tight schedule.)


I loved the messy approach to this style. As the book says, "Don't aim for perfection--this is rock 'n' roll, not a beauty pageant!" I dig that. This coiffure really spoke to my inner bad girl; it would look amazing paired with a motorcycle jacket, don't you think? (Note to self: Look into sewing motorcycle jacket ASAP.)

The best part about these two styles is that they worked with my hair's natural texture, so no blow drying or curling or straightening was needed or recommended. No fuss and super stylish--what more could a girl want out of her DIY life? The only hard part will be deciding which one to try next!

Also! See a gallery of project images from the book here.

Gertie at STC Craft: Oliver + S Is Not Just for Kids

When I was in the STC Craft offices a few weeks ago, I managed to get my hands on a copy of Liesl Gibson’s new book, Oliver + S: Little Things to Sew. And it is gorgeous and completely inspiring.

Now, I don’t sew for kids. I hardly know any kids. But this book is so stylish that you could make some of the projects for your grown-up self and no one would be the wiser. Let’s take this tutu skirt.

Sure, little girls will love it. But don’t you think the subtle loveliness of the multicolored layers of tulle would be much better appreciated by adults? And don’t you think it would be marvelous in just-below-knee length over a fabulous sheath dress?


Even better: the tutu skirt doesn’t require a pattern; you just cut the tulle to your desired waist measurement and skirt length.

And how about this chic "red riding hood" cape?


I can just see myself swanning about New York in something similar. I could just grade the pattern up a few sizes and it would be mine all mine! It even reminds me of the fabulous Red Riding Hood-inspired Vogue spread from a couple years ago.

I think lots of grown women have responded similarly to oliver + s patterns because they have a clean sophistication that’s rare in children’s wear. And the book totally, completely mirrors that aesthetic vision. The styling is just gorgeous, so simple yet completely striking. It was done by Diane Gatterdam, who has also done amazing work on store windows like Burberry and St. John.

So even if you live a child-free existence like me, do check out the book if you want some gorgeous visual inspiration--as well as your very own tutu!

P.S. You can see more beautiful photos from the book in this gallery.

Gertie at STC Craft: Alabama Chanin Ribbon Embroidery


Hello readers, I'm back! After a couple of months filled with travel to various craft and sewing shows, I'm home again and back to my weekly guest blogging here at STC Craft. Oh, and I'm also working diligently to finish up my own book, Gertie's New Book for Better Sewing. (Melanie is making sure of that!)

In my first post here, I wrote about proofreading the new Alabama Chanin book, Alabama Studio Sewing + Design. I fell in love with the ribbon embroidery in the book (see above), and just couldn't wait until the book released to try it out. Author Natalie Chanin was kind enough to send me a sample kit of a stenciled swatch, Japanese cotton ribbon, and some embroidery thread. It took me a little while to get the hang of embroidering with the tape-like ribbon, but once I did, I was addicted. (Tip: use a sharp needle with the biggest eye you can find; Chenille needles worked best for me.) I carried my sample around with me in a small plastic baggie, and would pull it out every chance I got. My subway rides have never gone so fast! There's something so soothing about doing such intricate handwork in the midst of New York City commuter chaos.

The pattern, called Climbing Daisy, is done with simple straight stitches and French knots in the cotton ribbon. The vines are stitched in regular embroidery floss in a stem stitch. You'll usually see ribbon embroidery done in silk ribbon, but Natalie's version is done in cotton, which adds to its simple charm, I think. The ribbon is a special Japanese trim; it's very rustic-looking with a gauzy weave. Don't worry if your local craft shop doesn't sell it; Natalie's company, Alabama Chanin, will be stocking it on their website by the time the book comes out in Spring 2012. If you're in New York, you can also find it at Mokuba, a fabulous Japanese trim store on west 38th Street.

Anyway, here's how my sample turned out. Not bad, huh?

I was pretty devastated when I reached the end of my little square, and I had to call up Alabama Chanin right away to order a full-sized project. They indulged me by stenciling a dress kit with the Climbing Daisy pattern. I'm not really one for wearing lots of neutrals (understatement alert), so I chose a deep rose pink with ivory embroidery. The long pink stitches are for basting the two dress layers together.) 


I've only started one panel, and couldn't help embellishing it further with clear sequins too. The whole dress will likely take me months. Actually, I'm counting on it taking a long time since I need my commuting fix!

What do you think? Are you looking forward to trying the ribbon embroidery in the new Alabama Chanin book? If it's not your speed, don't worry. There's a ton of other embellishment ideas, plus fabulous new garment patterns, including a totally glam long dress with a short train.

That's it for today, readers. I have lots more of my crafty adventures at STC to share with you--see you next week!

An Interview with Alison Reid, Author of Stitch Magic

We wrapped up our Stitch Magic Stitch-Along last week and I'd say it was a rousing success. I now have several new skills under my belt to incorporate into my sewing projects, like smocking, pintucks, and cording. But the most inspiring thing for me was following Stitch Magic author Alison Reid's experimentations with fabric. I love her non-fussy, freeform techniques. I was lucky enough to do an interview with Alison and ask her some of my burning questions. I hope you enjoy it--and I very much hope you enjoyed the stitch-along!


What is your process like when developing your techniques? I imagine a lot of experimentation is involved.

 
I start by buying fabric, often it’s fabric that might be slightly unusual-looking. As I wrote in my book I live with it for a while and handle it. By doing this the fabric almost dictates what can be done with it. I never just launch myself in, I always have to appreciate the fabric first. Once I get going it’s just a matter of experimenting. Once I hit on an idea another one will follow. In other words, one thing informs the next.

How would you describe your philosophy when it comes to sewing and fabric manipulation?

 
I don’t actually have a philosophy. This creates boundaries and takes control. I have no rules; it’s all about how you feel and see things. It’s important to be creative and to be experimental. I am an art teacher as well as an author. One thing I always tell the children in my class is never be afraid to take risks. Be experimental, try new things, and never be afraid to make a mistakes. Mistakes do happen, but I find that often something great can happen out of a mistake.

What's your sewing background? Do you have traditional sewing training?


I attended art school in the 1980s and studied fashion and textiles. I specialized in woven textiles and my focus was weaving fabrics for interiors. The weaving process taught me a lot about patience and concentration. Dressing and setting up a loom could take days; you really had to be patient during that process. After finishing my own studies I taught for 20 years and it was during that time that I was sent to train in sewing at Manchester Metropolitan University.

Do you have any advice for readers looking to incorporate your techniques into garment sewing?


I love the idea of incorporating the techniques into garments. Garments are blank canvases for many of the techniques in the book. I have pattern-cutting and garment-making skills and I suppose if I was to give one piece of advice it would be to make a toile prior to using your chosen fabric. A lot of the techniques are folded, tucked, etc, so youreally need to work out how much fabric the technique needs.

What are you working on now? Can we look forward to more books from you?


Yes, I am working on some other things right now. I am not allowed to say what they are at the moment but, yes, you will see more books by me.


Thanks, Alison! And thanks to all the readers and stitchers who joined our stitch-along!

Stitch Magic Stitch-Along: Smocking

 Hello and welcome to week 6 of our Stitch Magic Stitch-Along! This is our final installment, smocking. I saved this technique for last because it’s always seemed so mysterious to me. I’m happy to say that I now have a novice understanding of how this whole thing works. We’re going to do a honeycomb smocking technique to add to your group of samples. You can follow along on page 115 of Stitch Magic by Alison Reid. The above image of smocked and embroidered melton wool is taken from the book and you can see lots more pictures in the gallery.

Cut a long strip of fabric that is 10” tall by about 30” wide. Make a grid of dots on the wrong side, 1” apart from each other. I made 16 horizontal dots and 8 vertical dots.


Thread a needle with a long strand of all-purpose thread and enter the fabric on the uppermost righthand dot. Using your dots as a guide, stitch a running stitch through your dot pattern, going in at one dot and up at the next.


Pull the threads, two at a time, so that they form even folds.

Secure the thread ends together by placing a pin in the fabric and looping the thread tails around it in a figure 8 pattern.

Now you’re ready to smock! Note: Do NOT do what I did and do your smocking on the wrong side of the fabric, where your dots are. Those are meant to be on the backside. Oops!

Thread a large-eyed needle with 6-strand embroidery floss. Start at the uppermost left fold and enter the fabric from the back. Stitch the two folds together using a couple backstitches. From the back of the fabric, proceed to the 2nd and 3rd folds, moving down a row diagonally. I loved Alison’s illustrations explaining this:


Continue in this way until you’ve smocked the whole grid. Here it is! Pencil marks and all, I still think it's pretty cool.

I love how stretchy and sculptural it is. I’m eager to try this on some garment projects, and Stitch Magic has a great apron with smocked pockets for inspiration.

Well, readers, that concludes our stitching portion of the Stitch-Along. But I have a treat for you! An interview with the author is coming soon, which will wrap up the whole series.

Stitch Magic Stitch-Along: Cording


Welcome to week five of our Stitch Magic Stitch-Along! Today we’re talking about cording, which begins on page 85 of Stitch Magic by Alison Reid. Alison has tons of great ideas for unusual cording techniques. I have to say, today’s exercise was one of my favorites. I’ve been hard at work on my own book and doing this cording experiment was a great reminder of how fun and spontaneous sewing really is! It was just the break I needed.

Let’s start with the technique that the author uses on the awesome pillow pictured above. I was especially drawn to this because I feel like it could be incorporated very easily and charmingly into apparel sewing. Wouldn’t these little loops look adorable around the border of a skirt?

I started by marking my lines on a 10” square piece of scrap fabric. I made lines 2” apart and drew little marks 1-1/2” apart on each line to mark where the loops would occur.

Now grab some cord (I used some natural-colored cotton cord that I had around the house). You can use a cording foot on your machine, but I wasn’t able to get one in time for this post. I started with my zigzag foot, but then found that my buttonhole foot was more effective since it has grooves on the bottom for the cording to pass through. (Mine is a traditional multi-step buttonhole foot, not one of the automatic buttonhole feet.) Zigzag over the cord and when you get to your little marks, stop with the needle down. Lift the presser foot and arrange the cord into a little loop with a twist at the top. Put your presser foot down and continue zigzagging. That’s it!


Here’s my practice version, which I did without marking lines and just improvising. Experiment with less regimented lines and loops!


Next I wanted to try something that was a little more intricate, inspired by this corded blouse tutorial. Get a new piece of fabric and arrange your cord however you please. You can make loops, bows, lines—whatever you want! Pin your design in place. Now stitch it down by hand, using a slip stitch. This means that you’ll take one little stitch out of the base fabric, followed immediately by one little stitch out of the cord. Your stitches should be on the underside of the cord to make them invisible.  Match your thread to your base fabric to help it blend in.

Ta-da! Wouldn’t this be pretty on the neckline of a blouse?


I'm dying to try this with some premade satin cord, which is also called rattail cord. Ooh, I wonder if it comes in metallics?!

That wraps up this week’s stitch-along fun. Next week is our last week—smocking!

P.S. To see lots of images from Stitch Magic, cick here.

Stitch Magic Stitch-Along: Pleats


Welcome to week three of the Stitch Magic Stitch-Along! My apologies for the delayed post this week. I’m writing to you from lovely Cleveland, where I’m filming an episode of a PBS sewing show.

Today we’re talking about pleating, which begins on page 41 of Stitch Magic by Alison Reid. But first, a note: the author uses the terms pleats and tucks to apply to her own techniques, which are gorgeous (like the beautiful throw pillows pictured above). In the sewing community, there have been downright impassioned discussions about the difference in terms. For this sew-along, don’t worry too much about what the “proper” terminology is, but rather focus on how the author utilizes the techniques in her own designs—and how you can customize them for yourself!

Okay, let's dive in. Pleating requires very precise marking and folding, so I’ve only gone over two design samples this week. There are several more techniques in the book to try; I especially like the origami box pleats, shown below.


We’re going to start out with knife pleats, which are flat pleats that are generally uniform in size. Each pleat takes up three times its width. So, for a one-inch pleat, you need to allow yourself three inches of fabric. Make sense?

Start by marking your pleat lines. Mark two-inch pleat sections one inch away form each other. Mark them on the bottom of the fabric as well. Bring one pleat line to the other and pin in place.


To retain the soft, sculptural feel of the pleats, we’re not going to press our sample. (If you want crisper pleats, go ahead and press them.) Now take some six-strand embroidery thread and stitch the pleats down in incremental lines with running stitches.


It’s hard to get a straight line, so mark your fabric with disappearing ink or some sort of tape that doesn’t leave a residue. Masking tape has worked well for me; you might also want to look for Tiger Tape, a quilting notion that has incremental stitch marks along a tape that doesn’t leave any gunk on your fabric. Genius!

Now let’s try another technique. This is a sort of grid, with small projecting pleats in both the horizontal and vertical directions.

Make ¼” pleat marks on your fabric. The pleat marks should be 1-1/4” away from each other.

Fold and pin the vertical pleats. Now, stitch along the side of the pleat that isn’t folded. Next, do the same with the horizontal pleats. But! When you stitch the sections that intersect, pull back the little flap to form a sculptural detail. Your presser foot will want to do this naturally anyway, so you’ll only need to help it along a bit.

My sample got a little crooked at points (See? Marking well is so important!) but I still like how it looks. In fact, it reminds me of the bodice of a designer dress I saw recently. Zac Posen, anyone?

I hope you’ve enjoyed a look at Stitch Magic’s pleating techniques! Next week we’ll be trying cording, which is completely new to me. If you can, get yourself a cording or braiding foot for your machine. This isn’t crucial though—methods with a regular presser foot as well as hand stitches will be shown.

Stitch Magic Stitch-Along: Pintucks

 Welcome to week 2 of the Stitch Magic Stitch-Along! Today we’re talking pintucks, a beautiful design detail to add texture and interest to your sewing projects. This chapter begins on page 55 of Stitch Magic by Alison Reid. Do check it out, as there are tons of great ideas plus two beautiful projects—a table runner and a very cool tote bag.

First, let’s talk about the method that the author uses, which is a twin-needle pintuck with a special pintuck foot on your sewing machine. (Don’t worry if you don’t have these supplies, I’ll give you hand and machine alternatives later in this post.)

Pintucking with a Twin Needle and a Pintuck Presser Foot 

Install the foot and needle in your machine, and thread two spools of all-purpose thread in your upper thread mechanism. (Yes, I just wrote the word thread three times in a sentence. It couldn’t be helped, I’m afraid!) It’s just like threading as normal, but with two strands, which then go into the two separate needles. You can use different colored threads if you like, which will give you a different color of stitching on each side of your tuck.

Grab some test fabric. I’m using 10” tall strips of muslin that I can cut down into 10” squares once I’m done experimenting. (The idea is that we’ll have a bunch of 10” samples at the end of the Stitch-Along. For this exercise, you need to cut the squares down to size after stitching, since the tucks make the fabric smaller. Make sense?)

Now, just sew as you normally would! Start by sewing down the lengthwise grain of the fabric in rows. A tuck forms in the groove of your foot as you sew. When you go on to the next tuck, your first tuck should go into a parallel groove on your foot to keep the tucks evenly spaced.

Try making groups of tucks. 


Experiment with printed fabric too. I’m using a beautiful floral silk organza here. Make perpendicular groups of tucks for a plaid effect. I love this look! I will definitely be doing this when I finally make this fabric into a dress.

Next, try some creative loops and curves. When you’re using a pintuck foot, you don’t have to tuck along a straight grain. Go crazy! This would be a fun effect for whimsical home décor, especially in a child’s room. 

You can try all sorts of experiments with your pintuck foot: using stripes, prints, curved tucks, and different spacing options. Have fun!

Machine Tucks with a Single Needle

You don’t need a twin needle and pintuck foot to make pintucks. In fact, “authentic” pintucks (such as those used in historical costumes and heirloom sewing) are made by pressing the fabric in a fold and sewing along the fold with a single needle. This method is best used only on the straight grain of the fabric.

Start by marking your line with chalk or disappearing ink and then press the fabric on your line. Stitch 1/8” (or however far you choose) from the fold. Press the tuck to one side. That’s it!

Try groups of pintucks. To get evenly spaced tucks, mark all the lines on your fabric first, before you begin tucking. The distance between the lines should be the desired width between tucks plus two times the finished tuck width.

You can try bigger tucks too! (Though these aren’t technically pintucks anymore, just regular old tucks.) I had a dress from Anthropologie that had a series of big tucks placed horizontally around the hem. It was so cute! I tried out a 5/8” tuck on the bottom of my sample below. 


Pintucks by Hand

 You can also recreate this effect by stitching along the fold by hand rather than machine. Use the technique above, but substitute a running stitch by hand for the machine stitching. Use tiny stitches and press to one side.

Aren't pintucks fun? I can't wait to incorporate them into some garments. To do this, you'll likely want to pintuck your fabric first, and then cut out your garment pieces.

I hope you’ve enjoyed this installment of the Stitch-Along. How are your samples going?

Stitch Magic Stitch-Along: Quilting

Welcome to the first week of the Stitch Magic Stitch-Along! This week's theme is quilting, which begins on page 70 of the book Stitch Magic by Alison Reid. The book shows you several examples of hand and machine quilting and incorporates them into inspiring projects like a beautiful chair cushion and adorable egg cozies.

Here, I've taken the author's methods and practiced some of them exactly as written (like diamond quilting and tuft quilting with scraps), and also devised a few of my own exercises, like channel stitching and zigzag quilting, two techniques often used in clothing. If you’re a garment sewer like me, it’s tempting to write quilting off and never learn to do it! But quilted effects are not only great for home décor, they’re a staple of modern designer garments and vintage pieces alike. (See my quilted garment inspiration post for lots of ideas on how to incorporate quilting into fashion sewing.)

Now, on to the techniques! First you’ll need to prep your fabric squares. (If you'd like to read up on the prep process, Stitch Magic goes into a lot of detail on pages 74-75). Start by cutting eight 10” squares of muslin or other cotton fabric. Pink the edges so they don’t fray.

Now cut four 10” squares of your thin cotton batting. Sandwich the batting squares between two pieces of your cotton fabric and pin to secure. Now we’re going to hand baste the layers together so they don’t shift when we quilt them. Thread a needle with a single strand of all-purpose sewing thread. Start by making big diagonal running stitches from one upper corner to a lower corner. Repeat these lines of stitches in regular intervals. Now, do the same thing in the other direction. I used a different color thread so you can see my second direction of basting. As you can see, neatness doesn’t really count here! These are temporary stitches.


Now we’re ready to quilt! We’re going to start with some simple channel-stitching and diagonal quilting by hand. Prepare your square by marking it with a disappearing ink pen or some other removeable chalk. On the upper half of the square, draw about 7 parallel lines ¼” away from each other. On the bottom half of the square, make a 1” grid of diagonal lines. 

Now we’re ready to try some channel stitching. This just means simple rows of stitching ¼” away from each other. (I’ve been in love with channel stitching ever since I saw it on a beautiful Diane Von Furstenberg dress a couple years ago. It was a glorious bright red wool jersey with a full circle skirt and a wide midriff band with channel stitching.) Load a large-eye needle with some embroidery thread and make a running straight stitch across your lines. Here's what the running stitch looks like in process.


Now make the running stitch along your marked lines. Try to make your stitches as even as possible. Experiment with different effects by using fewer strands of embroidery floss. I started with 6 and then split the thread down to 3, 2, and 1 strands as I went up my lines. It gave a cool pseudo-ombre effect.


You can mark the back of your sample with the thread used (or any other notes) to remind yourself!

 Now for the diagonal quilting. Again, we’re just using a simple running stitch, but this time we’re quilting along our diagonal lines. I used 6 strands of embroidery floss for all of my lines here, but played around with two different colors to achieve an argyle effect.


Isn’t your sample pretty? 


Next, you can try the exact same exercise with machine quilting. I used regular all-purpose thread in my machine and used a 3.5mm straight stitch and a straight stitch presser foot. Make sure that you smooth out the square as you quilt to avoid puckers. 


Now you can play around with different patterns if you like. I was eager to try some zigzag quilting. I drew one big zigzag on the upper half of a new square. Then I quilted the line by machine (you can do it by hand if you prefer). Next, I used the edge of my presser foot to make ¼” lines that echoed the first zigzag. 


I found it a little difficult to get perfect lines using my presser foot edge, so  next I did a ½” zigzag pattern, making each line with disappearing ink before quilting. 

This is my favorite sample I think! I would love to make an entire circle skirt quilted in this pattern.

Last, you can try a fun effect that incorporates tiny fabric scraps and tufts made by tying off embroidery thread. Start by cutting small squares of two different fabrics, one a bit bigger than the other. I did my tiny squares in blue ultrasuede and my slightly bigger squares in a cotton print. 


Layer the squares on top of each other and arrange them on your fabric square. Load a needle with embroidery thread and stitch down and back up through each square. Tie the embroidery thread in a knot and cut it off at about ¼” for cute little tufts. 

 This would be really cute on a pillow, don't you think?

That’s it for this week, stitch-alongers. Next week we’ll be doing pintucks, which we’ll also do both by hand and machine. I’ll also discuss the pintuck presser foot and twin needles.

Happy stitching!

Gertie at STC Craft: A Stitch-Along!

While I’ve been gearing up to do some ribbon embroidery from the new Alabama Chanin book, I’ve also been thinking of ways we can make my posts here more interactive. And what better way than a little sew-along? Or rather, a stitch-along! I’ve been reading the book Stitch Magic by Alison Reid and it has tons of fun ways to spruce up your sewing. I can’t stop thinking about adding pintucks, pleats, and cording to my projects. Being a lover of vintage fashion, I see these details all the time in gorgeous dresses but have never taken the time to properly learn the techniques.

So here’s what I propose: each week we will do a little stitch sample trying out one of the techniques. I’ll guide you through the how-to and give you inspirational ideas for adding these flourishes to your handmade garments. At the end of the stitch-along, you’ll have a little sample book of swatches to refer back to!

The standard supplies needed will be thread, hand-sewing needles, and some cotton fabric. If you have a sewing machine, that's great. If not, I'll give hand-stitching options for each technique. Here’s what I’m thinking for the schedule (with special supplies needed in parentheses):


Week of 7/ 25: Quilting (six-strand embroidery floss, batting)

Week of 8/1: Pintucks (twin machine needle, pintuck foot helpful but optional)

Week of 8/8: Pleating

Week of 8/15: Cording (cotton piping cord, cording foot optional)

Week of 8/22: Smocking


Are you in? What do you think? Personally, I think this is going to be great fun! Please leave any questions in the comments.


Gertie at STC Craft

Hello there! I’m Gretchen Hirsch, but I’m better known as just “Gertie” in the blogosphere. I write Gertie’s New Blog for Better Sewing, where modern seamstresses come learn and share sewing tips and tricks. We also discuss vintage and contemporary fashion, body image, and feminism, and recommend good cat videos on YouTube. (Who doesn’t love a good cat video?)

I’m thrilled to be here blogging for STC Craft. I’m lucky to call this my publishing home, and now it’s my freelance work home too! Melanie Falick took on my book project last year, and I’m looking forward to its release in fall 2012. And if that weren’t enough, she also gave me the courage to quit my day job by giving me editing work at STC Craft. Needless to say, I’m a big fan of hers.

Last week, I spent my first couple days in the office. My inaugural task was to do a “cold read” of Natalie Chanin’s new book, Alabama Studio Sewing + Design, which will be published in spring 2012. This meant lending a pair of fresh eyes to the proofs in their late stage, and bringing a seamstress’s perspective to the instructions and projects. As someone who has read and loved both of Natalie’s previous books, it’s kind of hard to believe that this is called “work.” If you haven’t read Alabama Stitch Book or Alabama Studio Style, it’s high time you did. They have something to inspire every type of seamstress—whether you love sparkly embellishments, deconstructed fashion, or the art of hand sewing.

And Natalie’s new book is just as wonderful, filled with the beautiful garments and amazing embellishment techniques that her brand is known for. There are lots of patterns for garments and accessories, like a glamorous long dress with a small train and an adorable bucket hat. All the projects are gorgeous, but one of my favorites is her ribbon embroidery, done with cotton tape.

Which brings me to my next task here at STC Craft: blogging weekly about techniques from STC Craft books. I’ve decided that my first project just has to be the cotton tape embroidery from Alabama Studio Sewing + Design. So I’m going to be gathering up my supplies and getting ready to do some stitching. I can’t wait to share the results with you.

Until next time!