Spring may be the "time of plans and projects" but these slightly milder days demand more time in the sun when we can find it! Today’s crop of craft titles yields a pair of easy ways to keep two things in good working order: your wooden spoons and your relationships. Who can do without those?
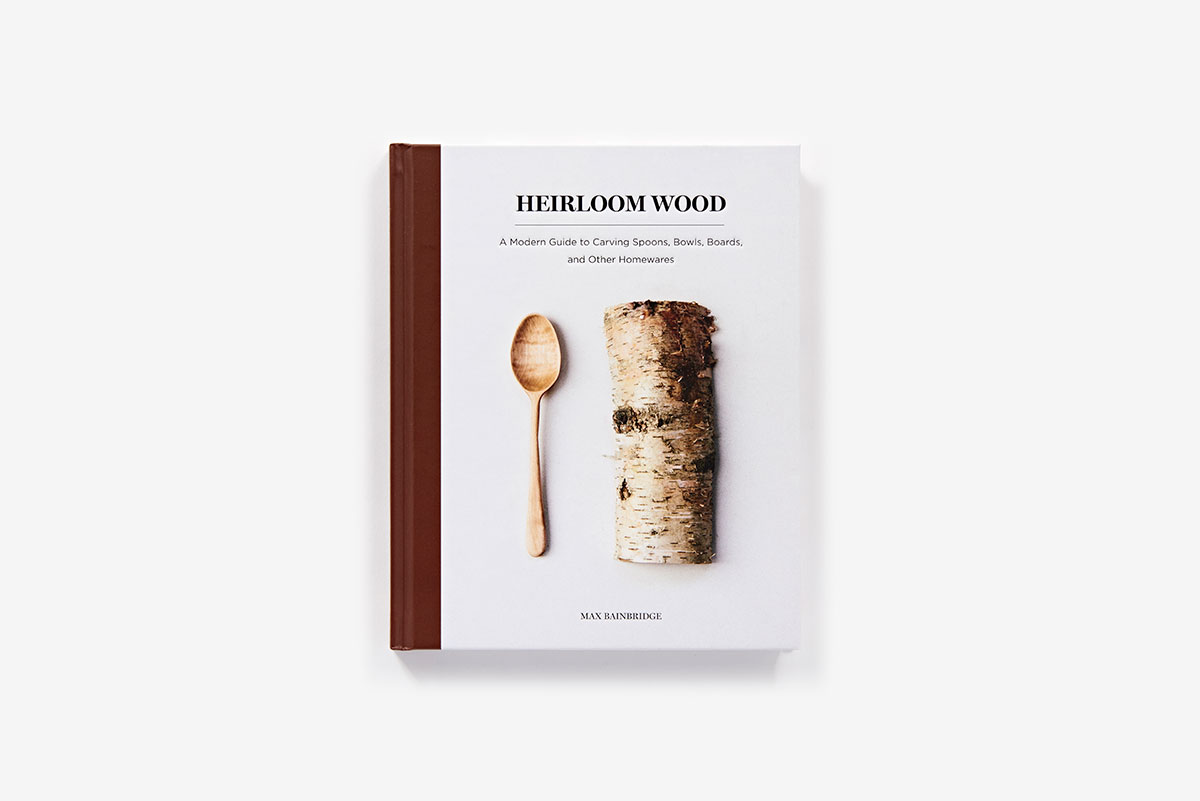
Max Bainbridge graduated from Chelsea College of Art and Design before setting up Forest + Found with his partner, quilter Abigail Booth. Based out of a workshop in his East London garden, Max works with sustainably sourced and reclaimed wood to hand carve and turn bespoke kitchen and homeware.

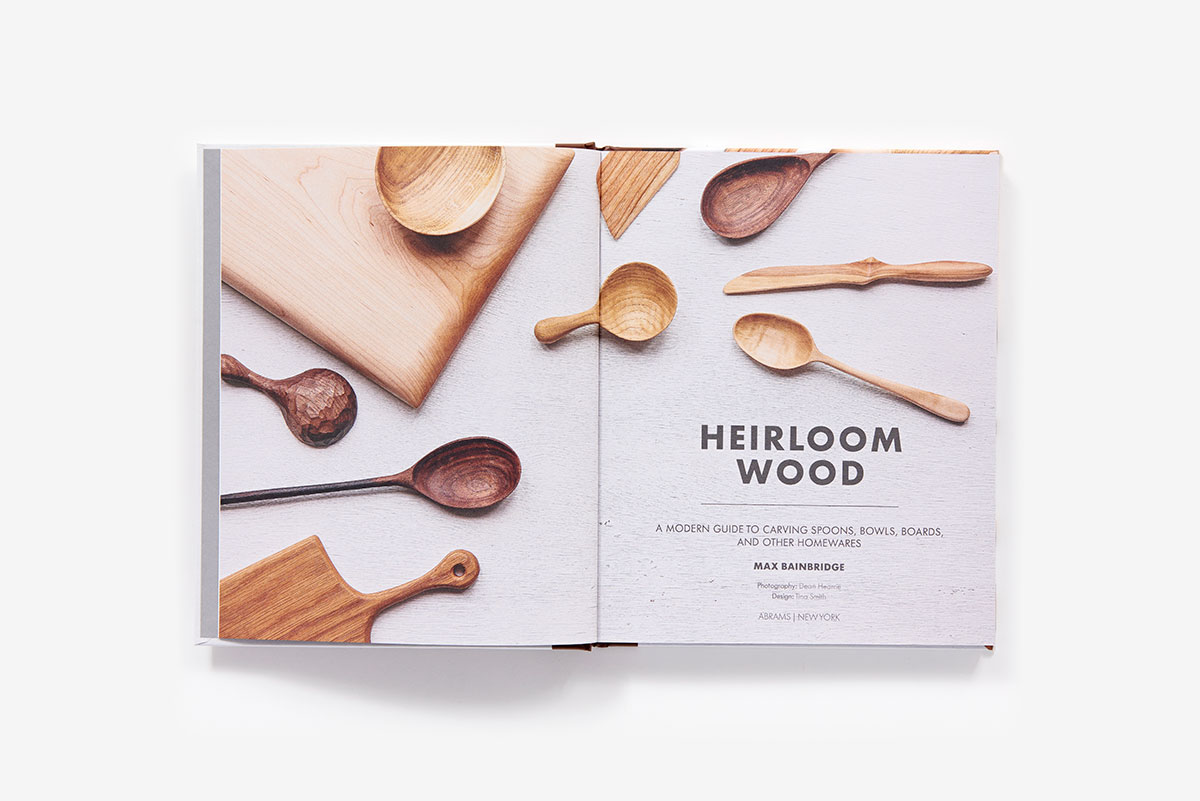
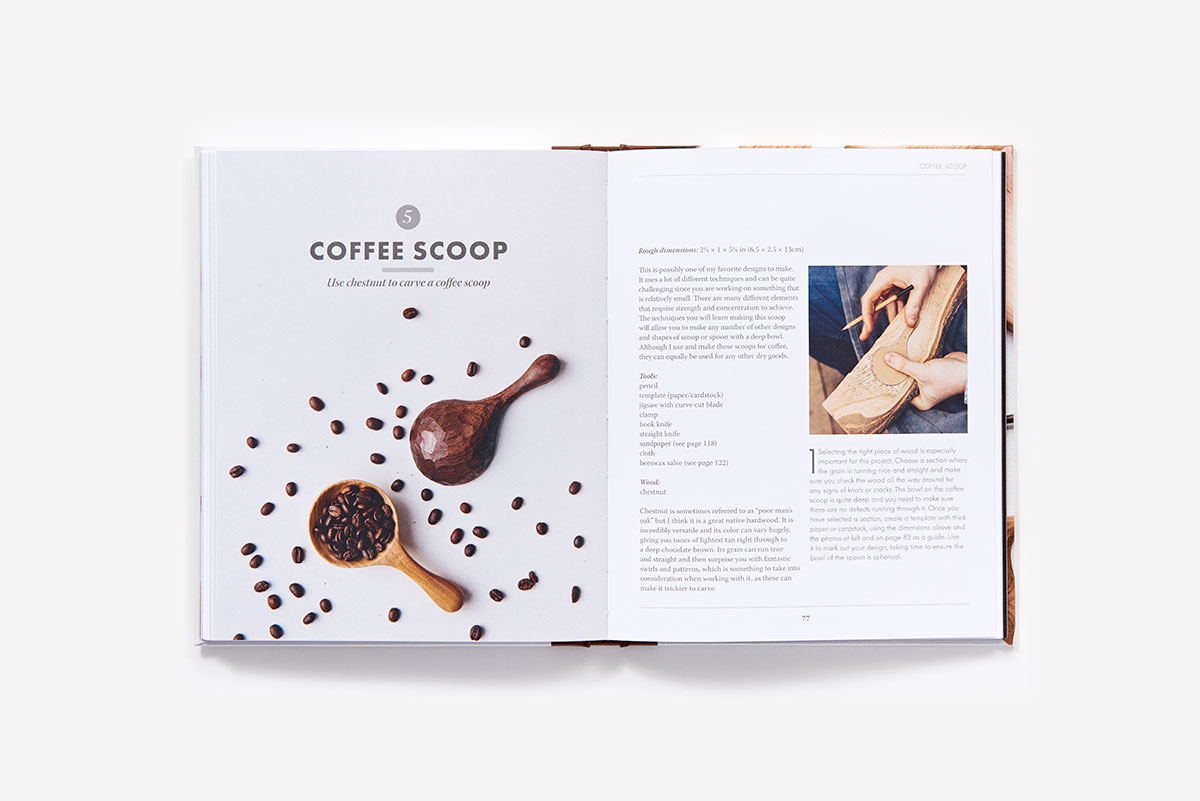
Max’s book, Heirloom Wood, is a beautifully photographed and clearly written guide to sourcing your own wood, setting up a basic toolbox, and then creating your own hand-carved bowls, cutting boards, spoons, spatulas, and more. He uses his own recipe for beeswax salve on every piece, to bring out the “natural color and patina of the grain.”
We recommend it even if you haven’t carved a thing—woodenware treated this way is not only protected against moisture, it stays usable, washable, and completely food-safe.

Learn to carve this birch eating spoon in Heirloom Wood.
Beeswax Salve
Excerpted from Heirloom Wood
This recipe will give you a large mason jar of salve, which should last you a good amount of time.
Tools and materials:
1 quart (1 liter) pure mineral oil
18 ounces (500g) pure beeswax pellets
large saucepan
heat source
mason jar
kitchen towel
1. Sterilize the mason jar using boiling water, or put it through a dishwasher cycle. Start by measuring out 18 ounces (500g) of beeswax pellets and 1 quart (1 liter) of mineral oil. The basic ratio is two parts mineral oil to one part beeswax.
2. Pour the oil into a large saucepan and set the heat to its lowest setting. Add the beeswax and heat gently until the pellets start to dissolve. Stir very gently to ensure the two ingredients have combined thoroughly. As soon as the mixture is clear, remove from the heat and set aside to cool.
3. Let the beeswax and oil cool for 5 to 10 minutes and then pour the mixture into the mason jar. Be careful in case the liquid is still hot.
4. Set aside and leave the lid open. Place a kitchen towel over the jar to ensure nothing drops in. Allow the salve to cure overnight and, once it is completely cool, it will set and turn cloudy. It is then ready to use.
5. Use a lid with a rubber gasket to seal the jar, and store in a cool, dark place.

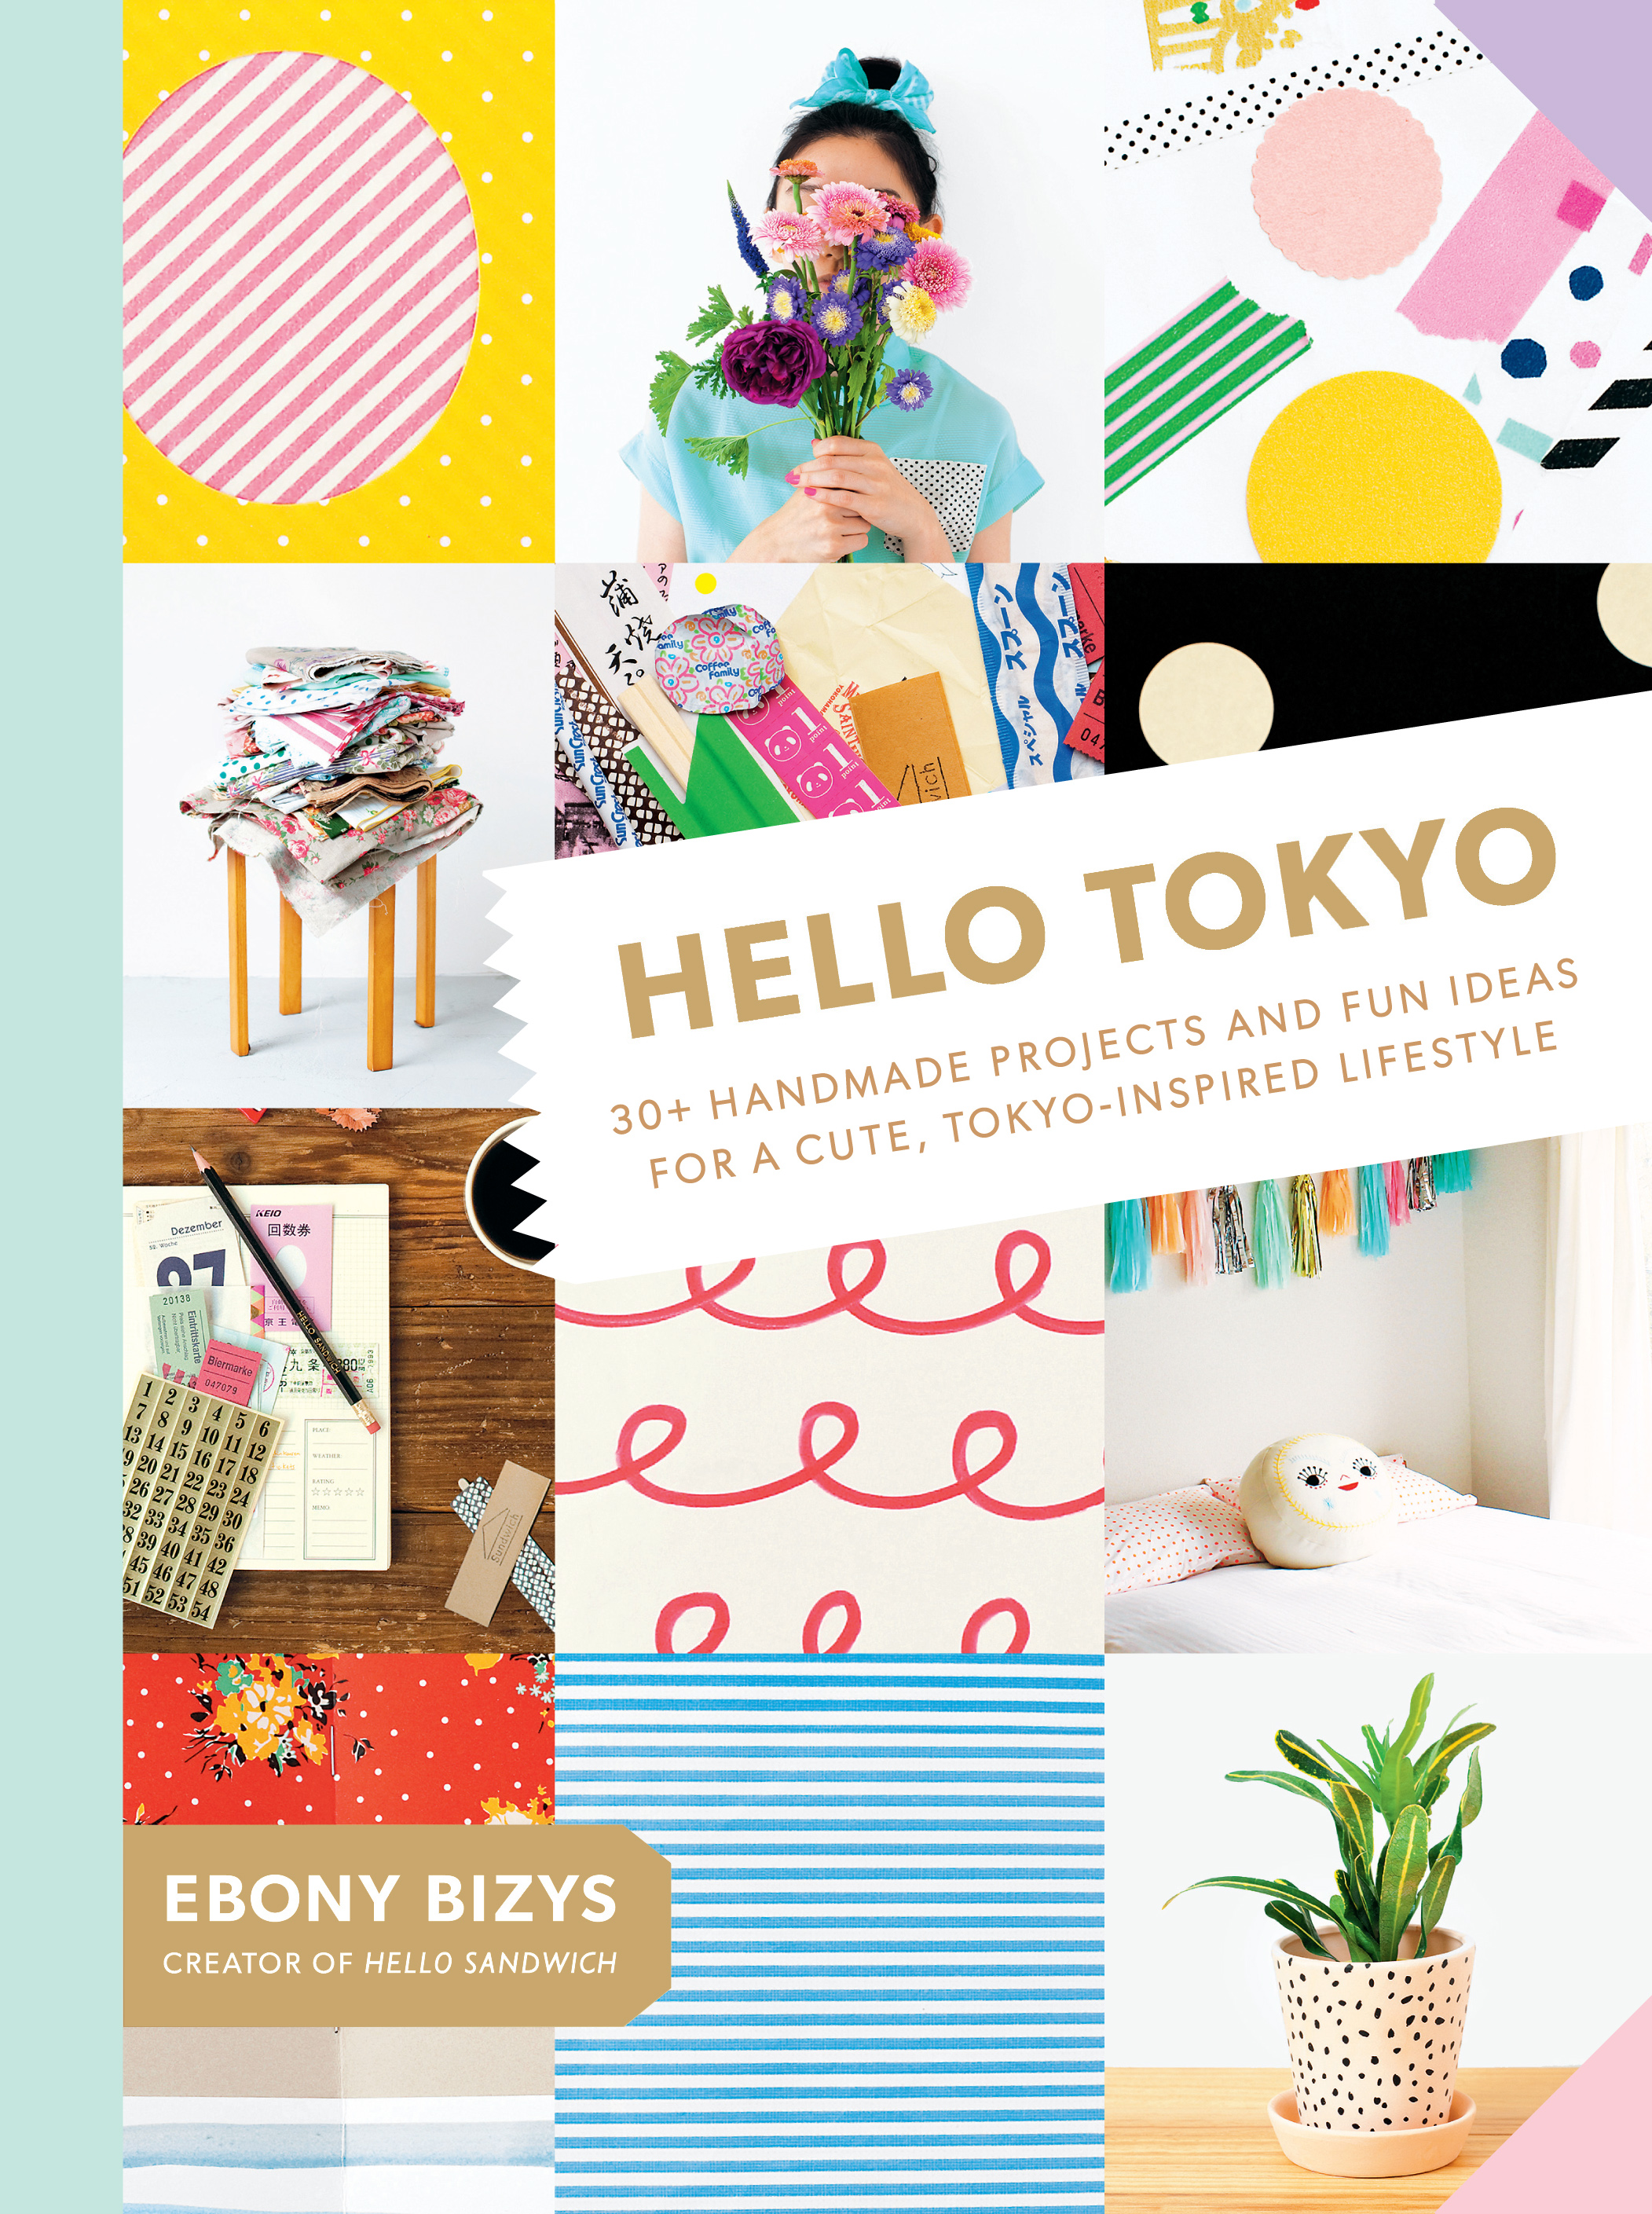
A long way away across the equator, Australian-Lithuanian photographer and designer Ebony Bizys had worked at Vogue magazines for 11 years before realizing, in 2010, that she felt most alive on her vacations to Japan, and making the move permanent.

Since moving to Tokyo, Ebony has art directed books, hosted solo exhibitions, designed a Japanese fashion website, been commissioned by Vogue Japan to make artworks for their publication, collaborated with Japanese masking tape brand mt, and on a fashion line with Romance was Born, styled for various magazines, trend reported for various companies and written for magazines including Vogue, British Airways, Inside Out, Real Living and Frankie. She chronicles her daily life in Tokyo at her blog Hello Sandwich.
Ebony describes the book Hello Tokyo as “a hard copy of the blog, with stories about living in Tokyo, projects to create a cute Tokyo-inspired lifestyle, and pages on collaborations and past projects.” We love her tips on picnics and party decorations, but most importantly, the entire chapter on correspondence!
Ebony recommends making your own envelopes as “a fun and simple way to set the mood for when the recipient opens their mailbox to find this handmade surprise. Plus, you’ll never have to spend money on envelopes again!”


Idea 1: Fabric-covered envelopes
Cover paper with pretty fabric before folding to make an unexpected envelope. Use spray adhesive to stick fabric to the envelope base, then use craft bond glue to hold the flaps in place. Line the envelope with tracing paper or patterned waxed paper.

Idea 2: Mini envelopes
These come in handy when you need to give someone something teeny, such as money or tickets. It’s also a great way to use up small pieces of cute paper. Adding a mock stamp is a fun way to play with scale, don’t you think?

Idea 3: Window envelopes
Here’s an envelope that lets you sneak a peek: Cut out a window shape with scissors or a craft knife. I also like to use a Martha Stewart Crafts All Over The Page Punch. Apply transparent paper to the back of the window using glue tape around the edges.

Idea 4: Envelope templates
I like to keep a stash of envelope templates on hand; however, if you don’t have an envelope template, you can easily make one from an existing envelope. Gently open up the glued edges, being careful not to damage the paper. Et voilà, your very own envelope template! Trace this opened-out envelope onto card stock to create a template built to last the crafter’s mile!

Idea 5: Hand-painted envelopes
Have you ever finished painting and been left with excess paint on your palette? If I find myself in this situation I like to paint pieces of paper in simple patterns, such as stripes, dots, or freestyle designs, to create decorative paper that can be used later for various craft purposes, such as original handmade envelopes.

Idea 6: Eyelet circle-closure envelopes
Use an eyelet punch and a circle of cardboard to create a unique closure for your envelope.

Idea 7: Transparent envelopes
Experiment with various transparent papers such as kitchen waxed paper, tracing paper, tissue paper, and translucent contact paper (with the sticky sides sealed together). If the paper is slightly creased, I like to scrunch it and smooth it out two or three times to enhance the textured effect. Use POSCA pens or other markers to add color. Some waxed papers can be pesky with glue, so craft bond glue might be your best bet. Colorful washi tape along the joins can add security and a nice design effect.
Both Hello Tokyo and Heirloom Wood are on shelves today! Take a peek at the books below.