“In our world, being an artist was the best thing you could do. That was my parents’ version of me being a dentist or a doctor or a lawyer.”
—Livia Cetti, in an interview with Martha Stewart Living
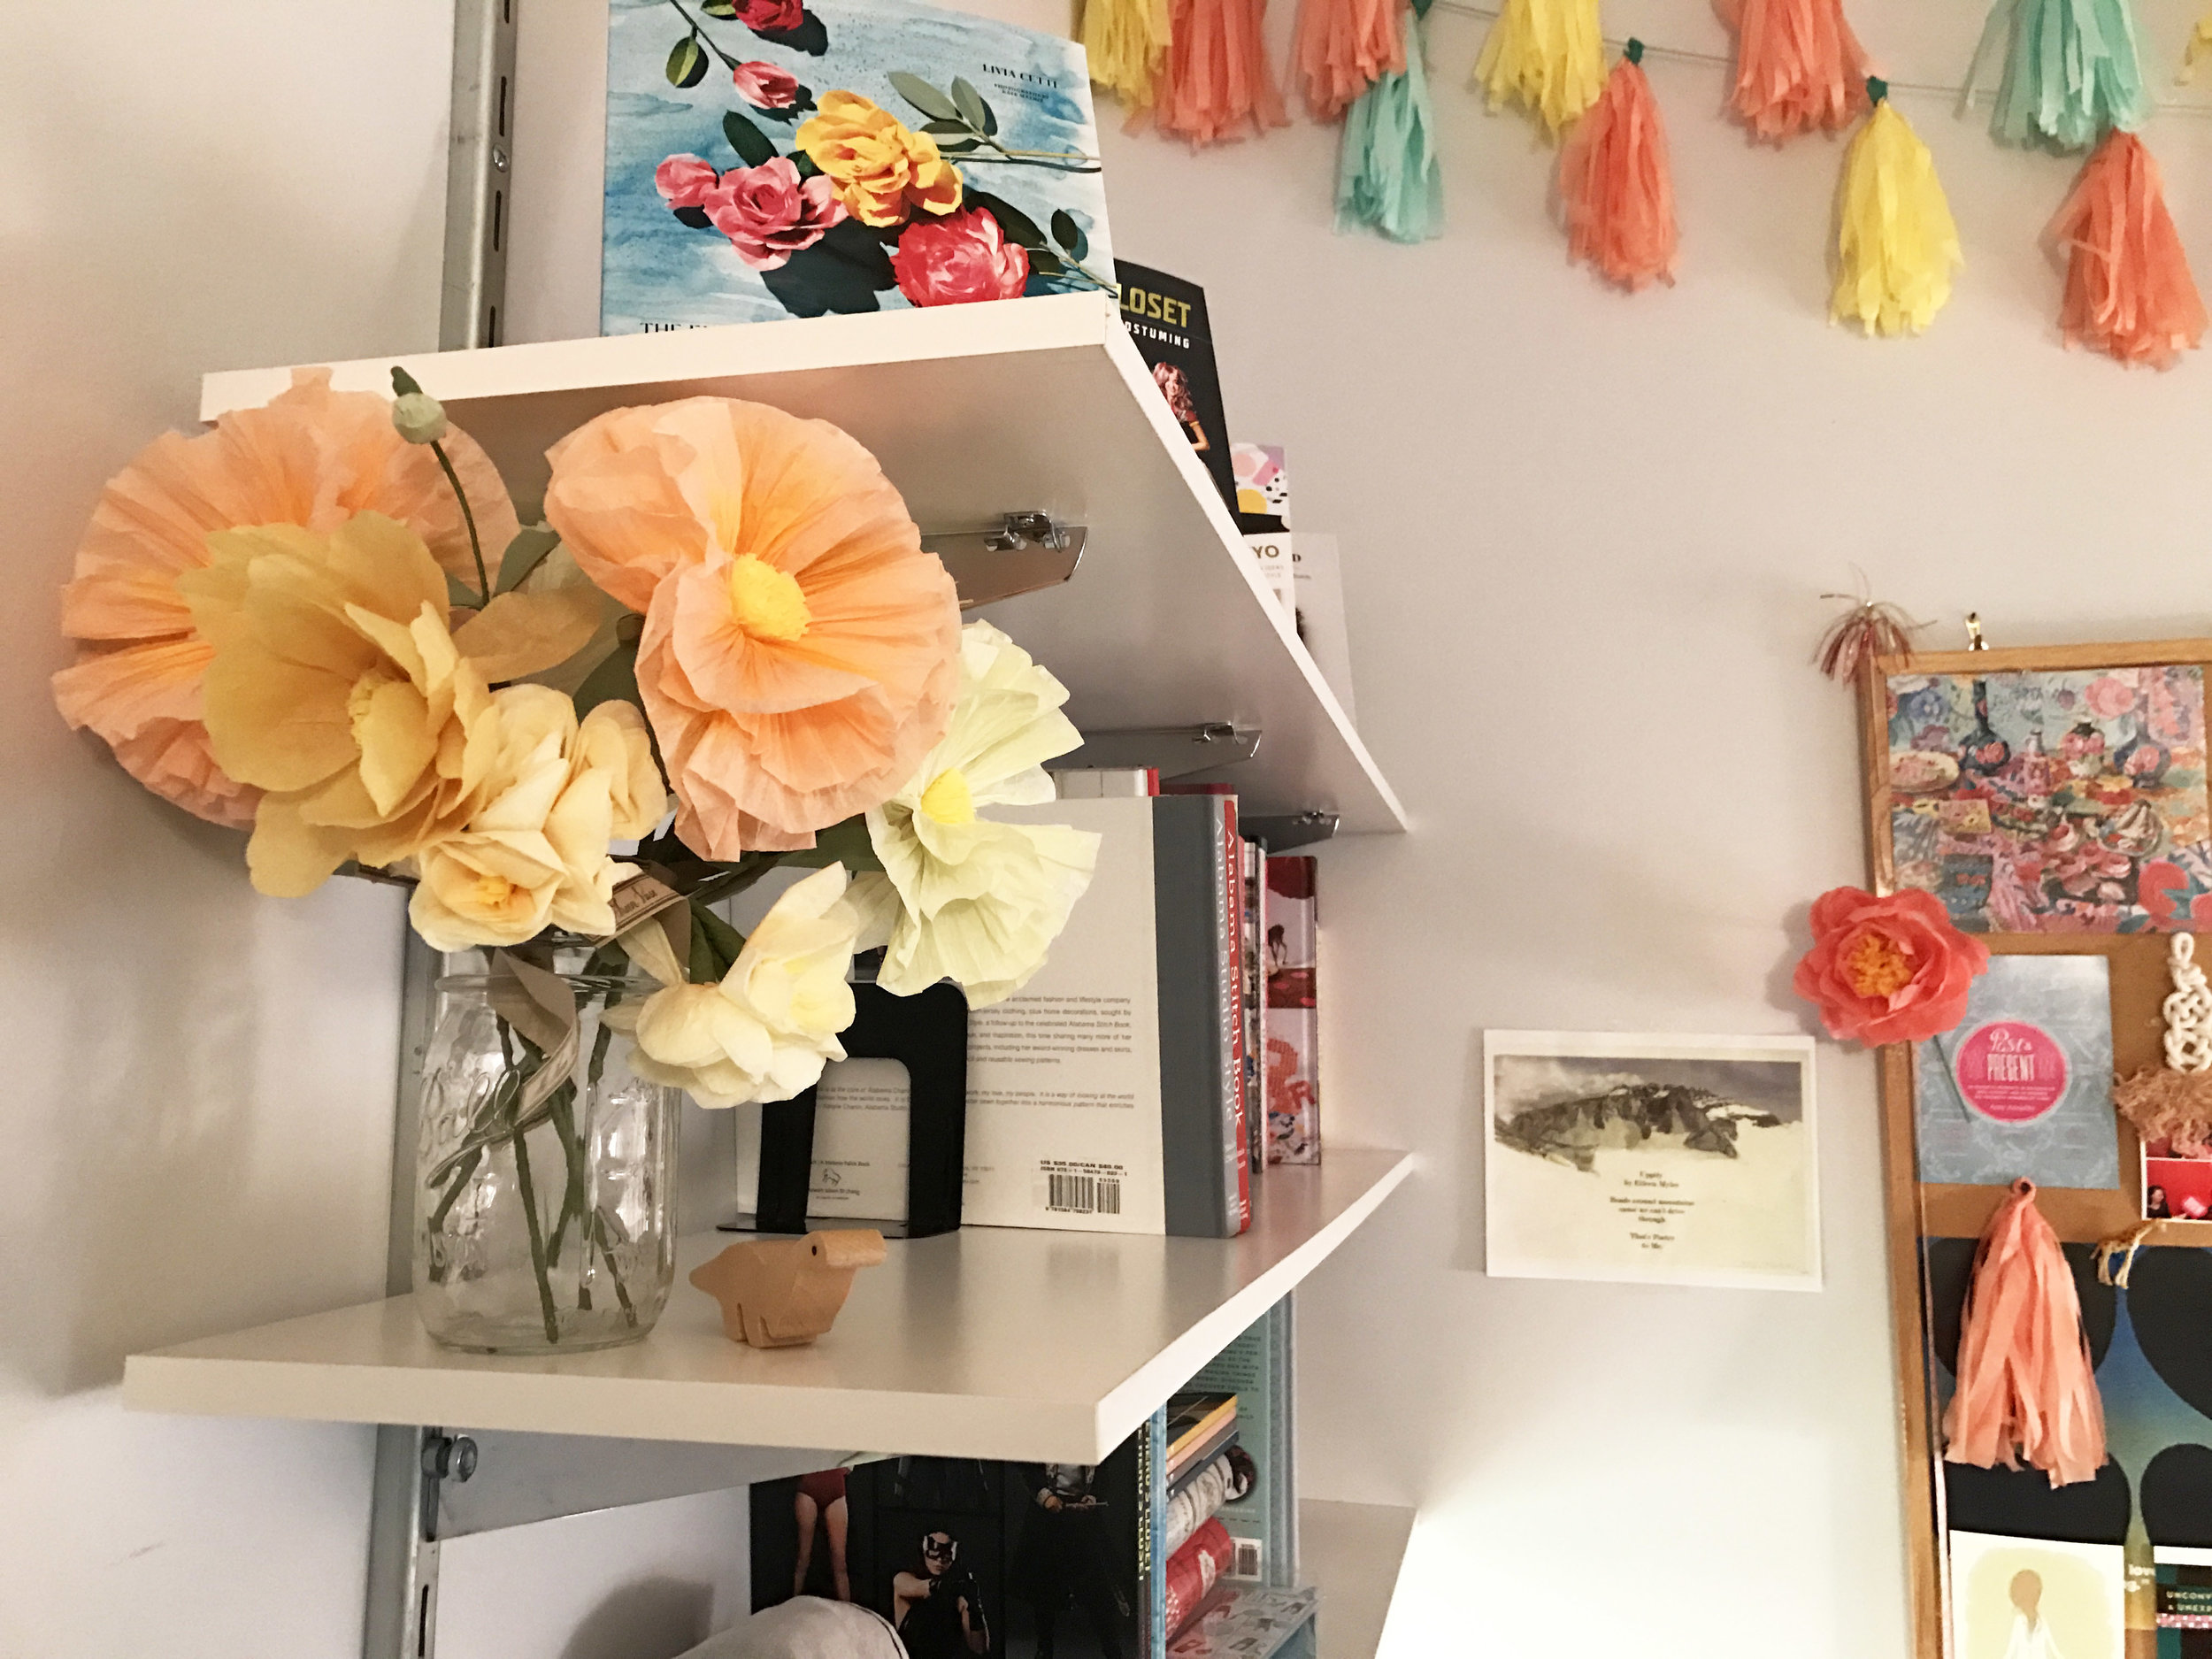
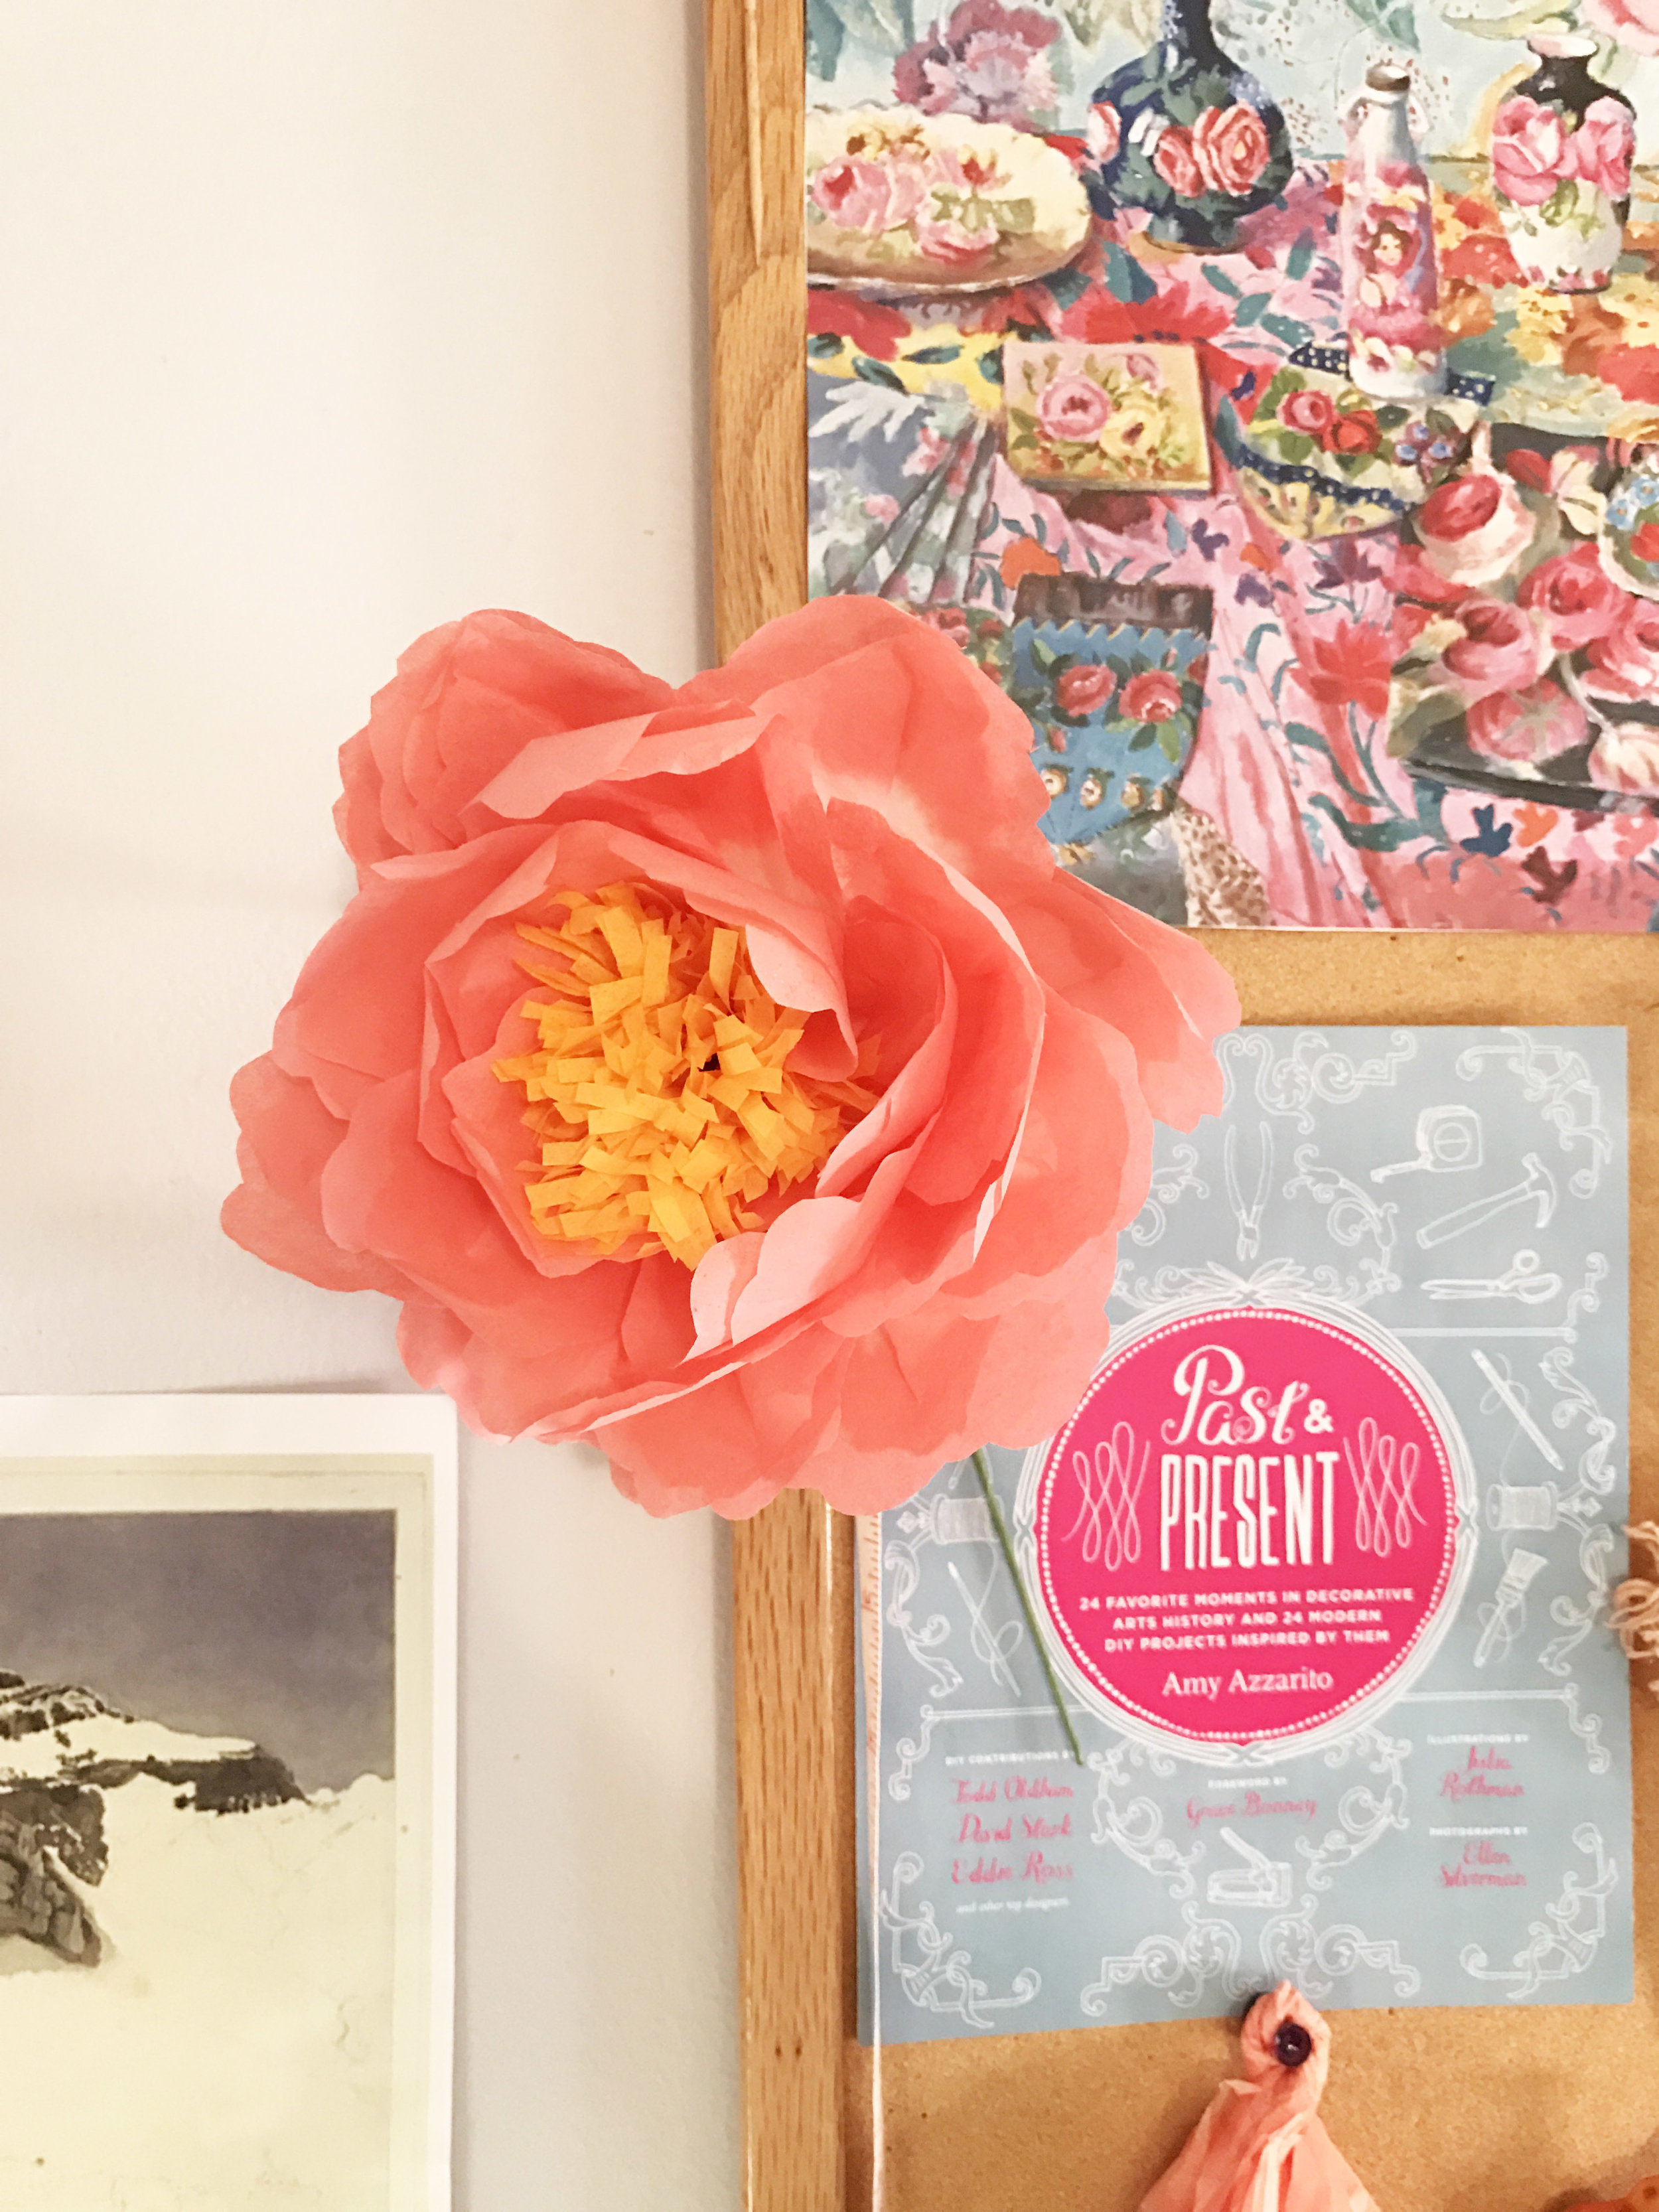
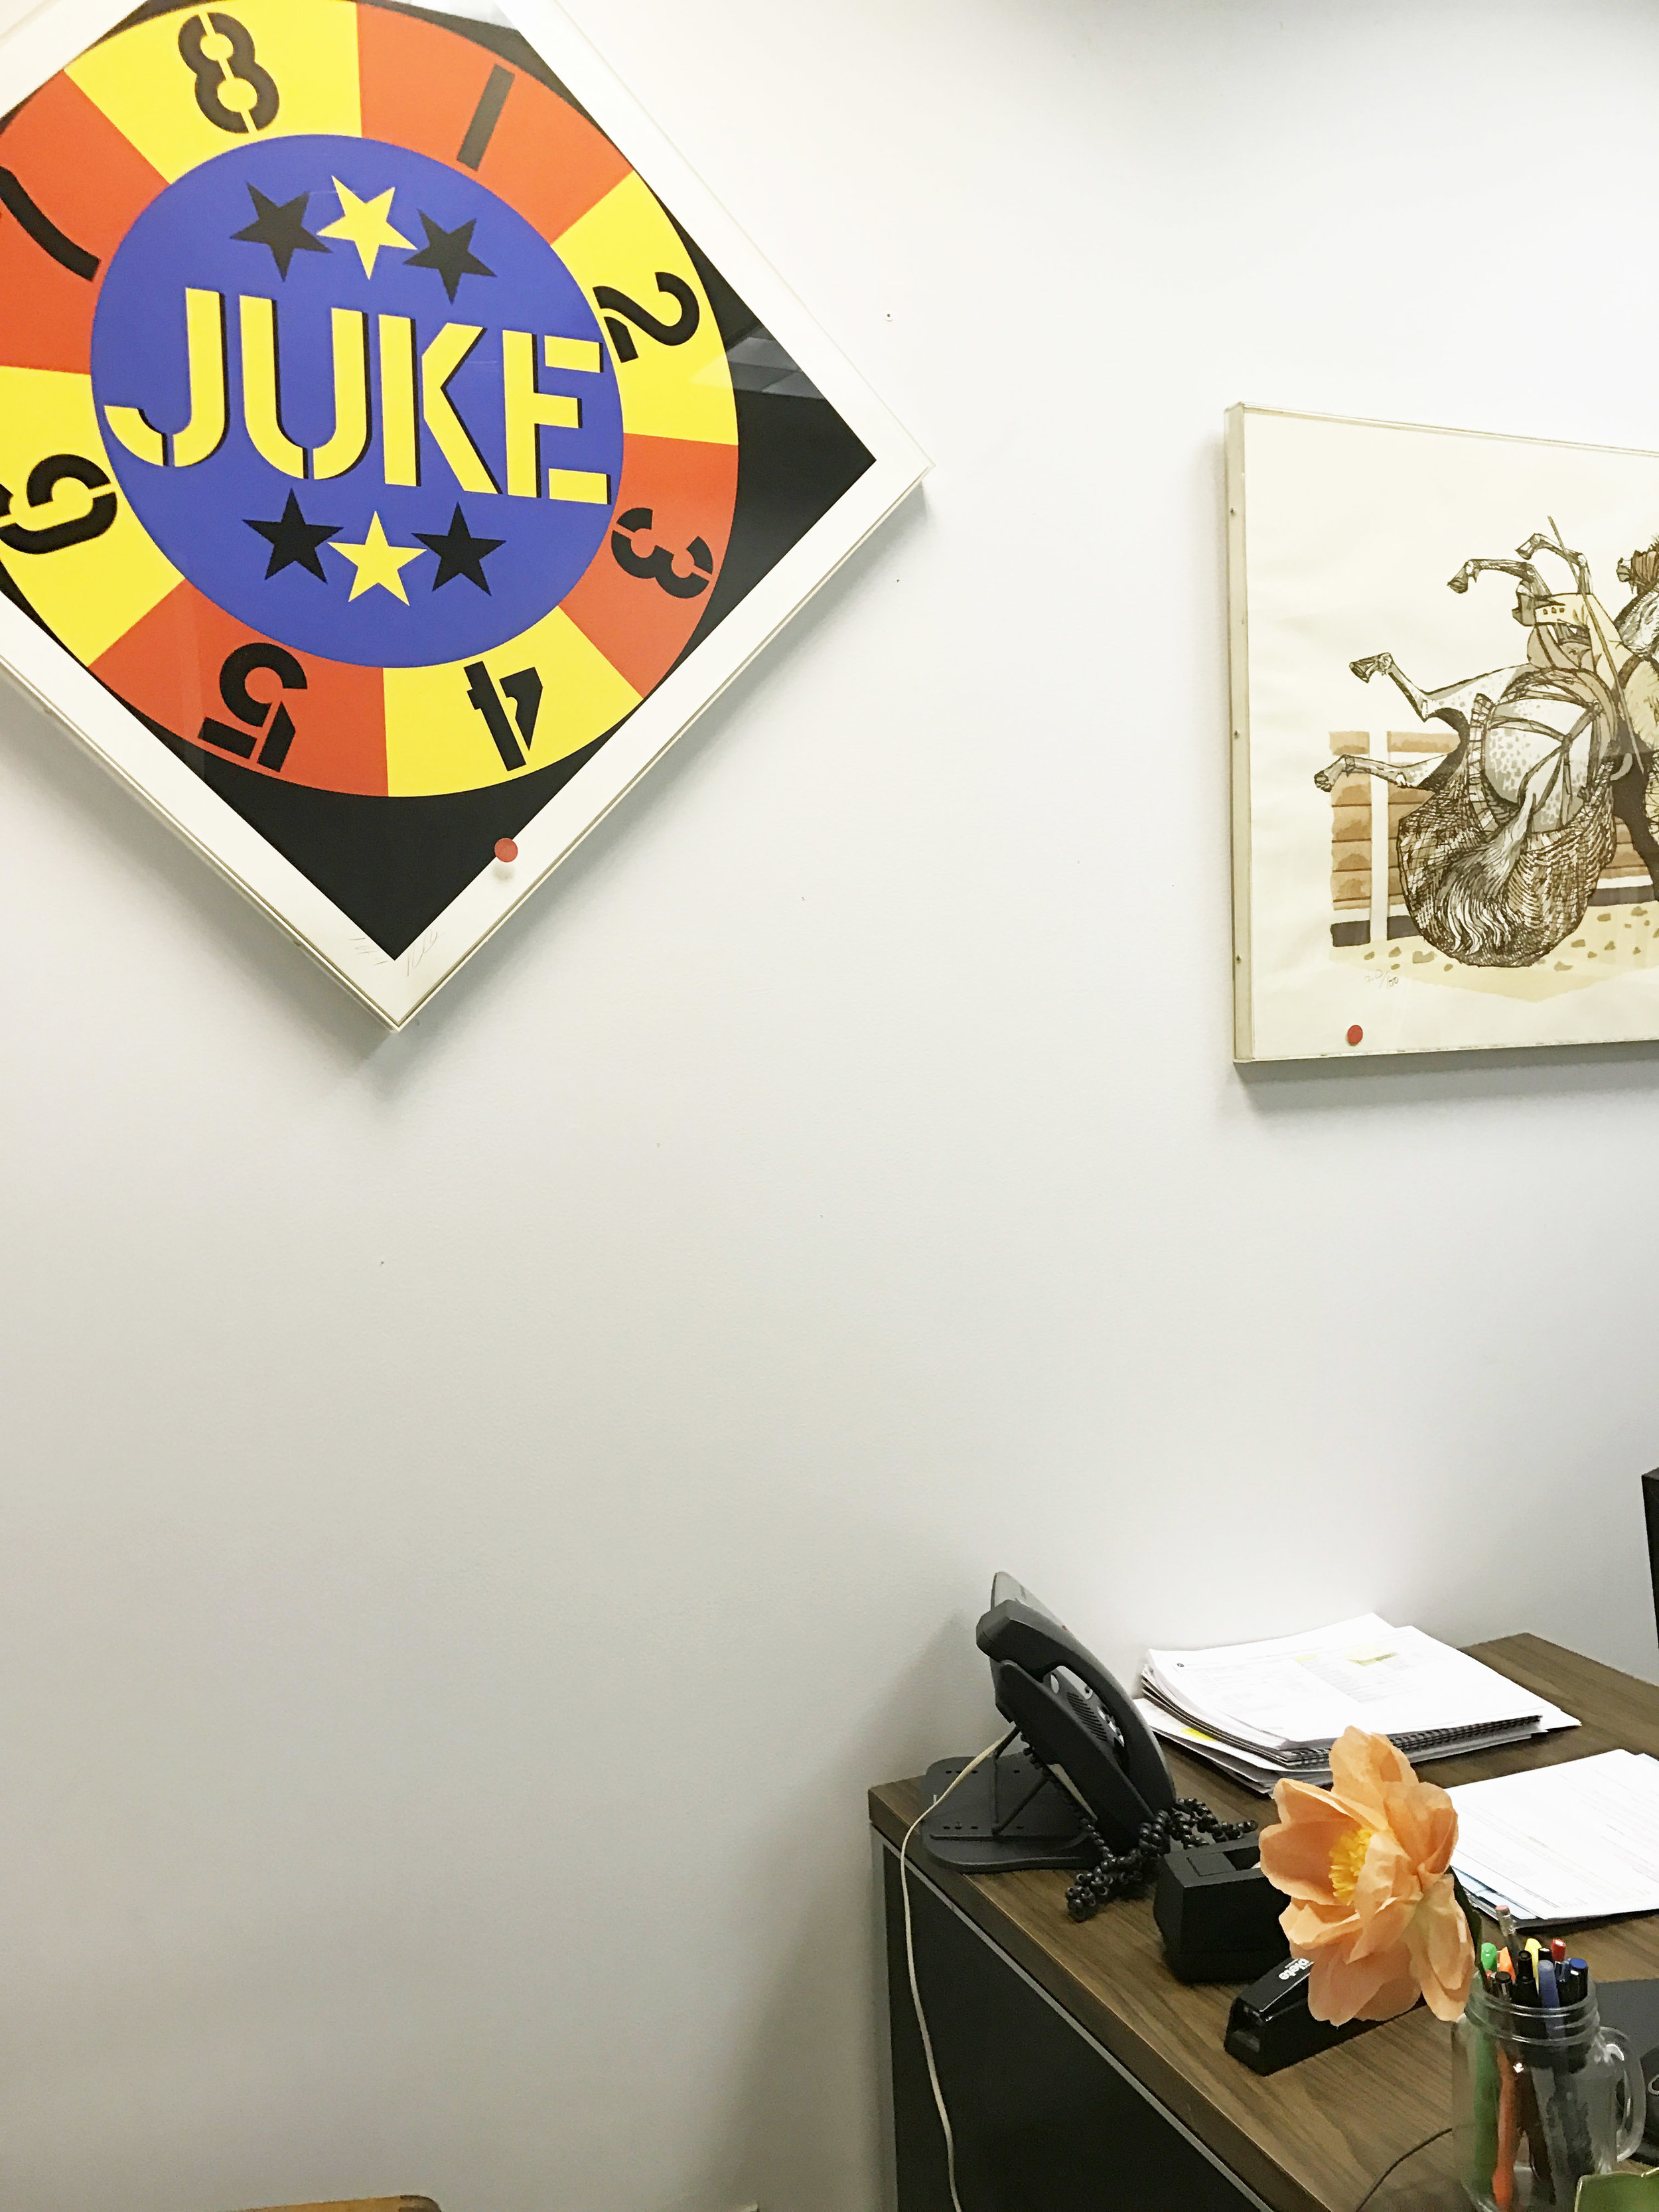
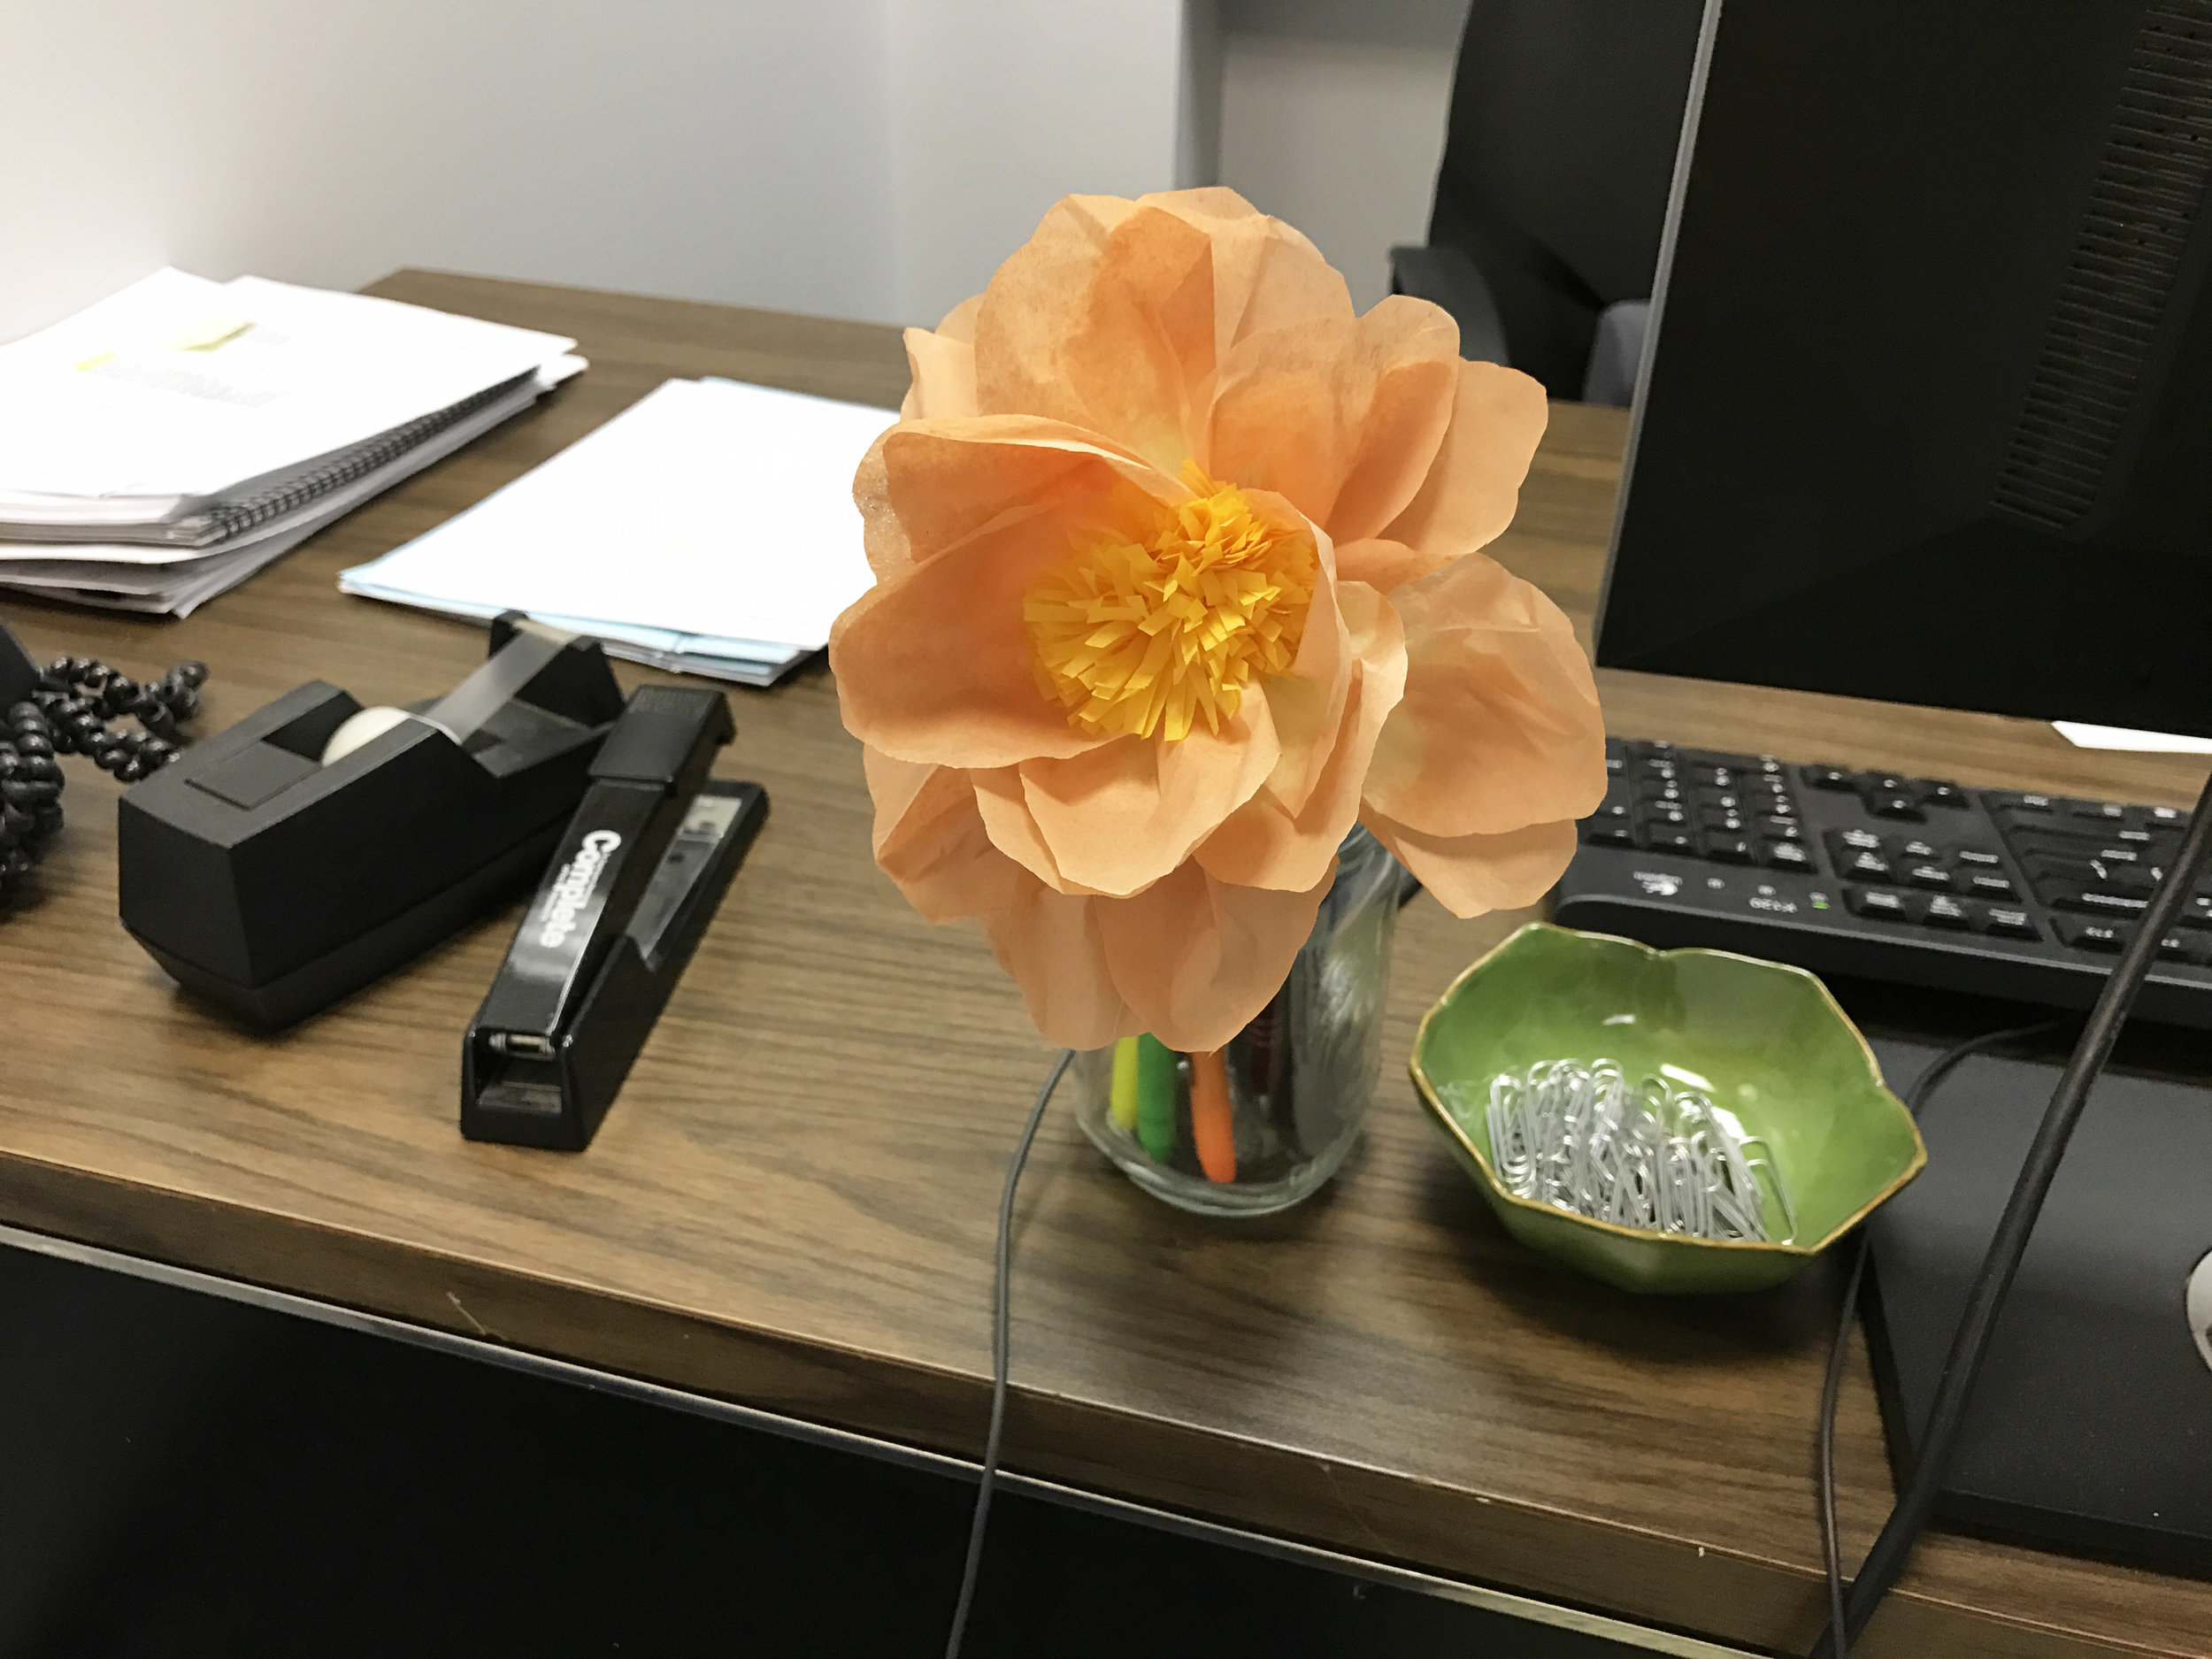
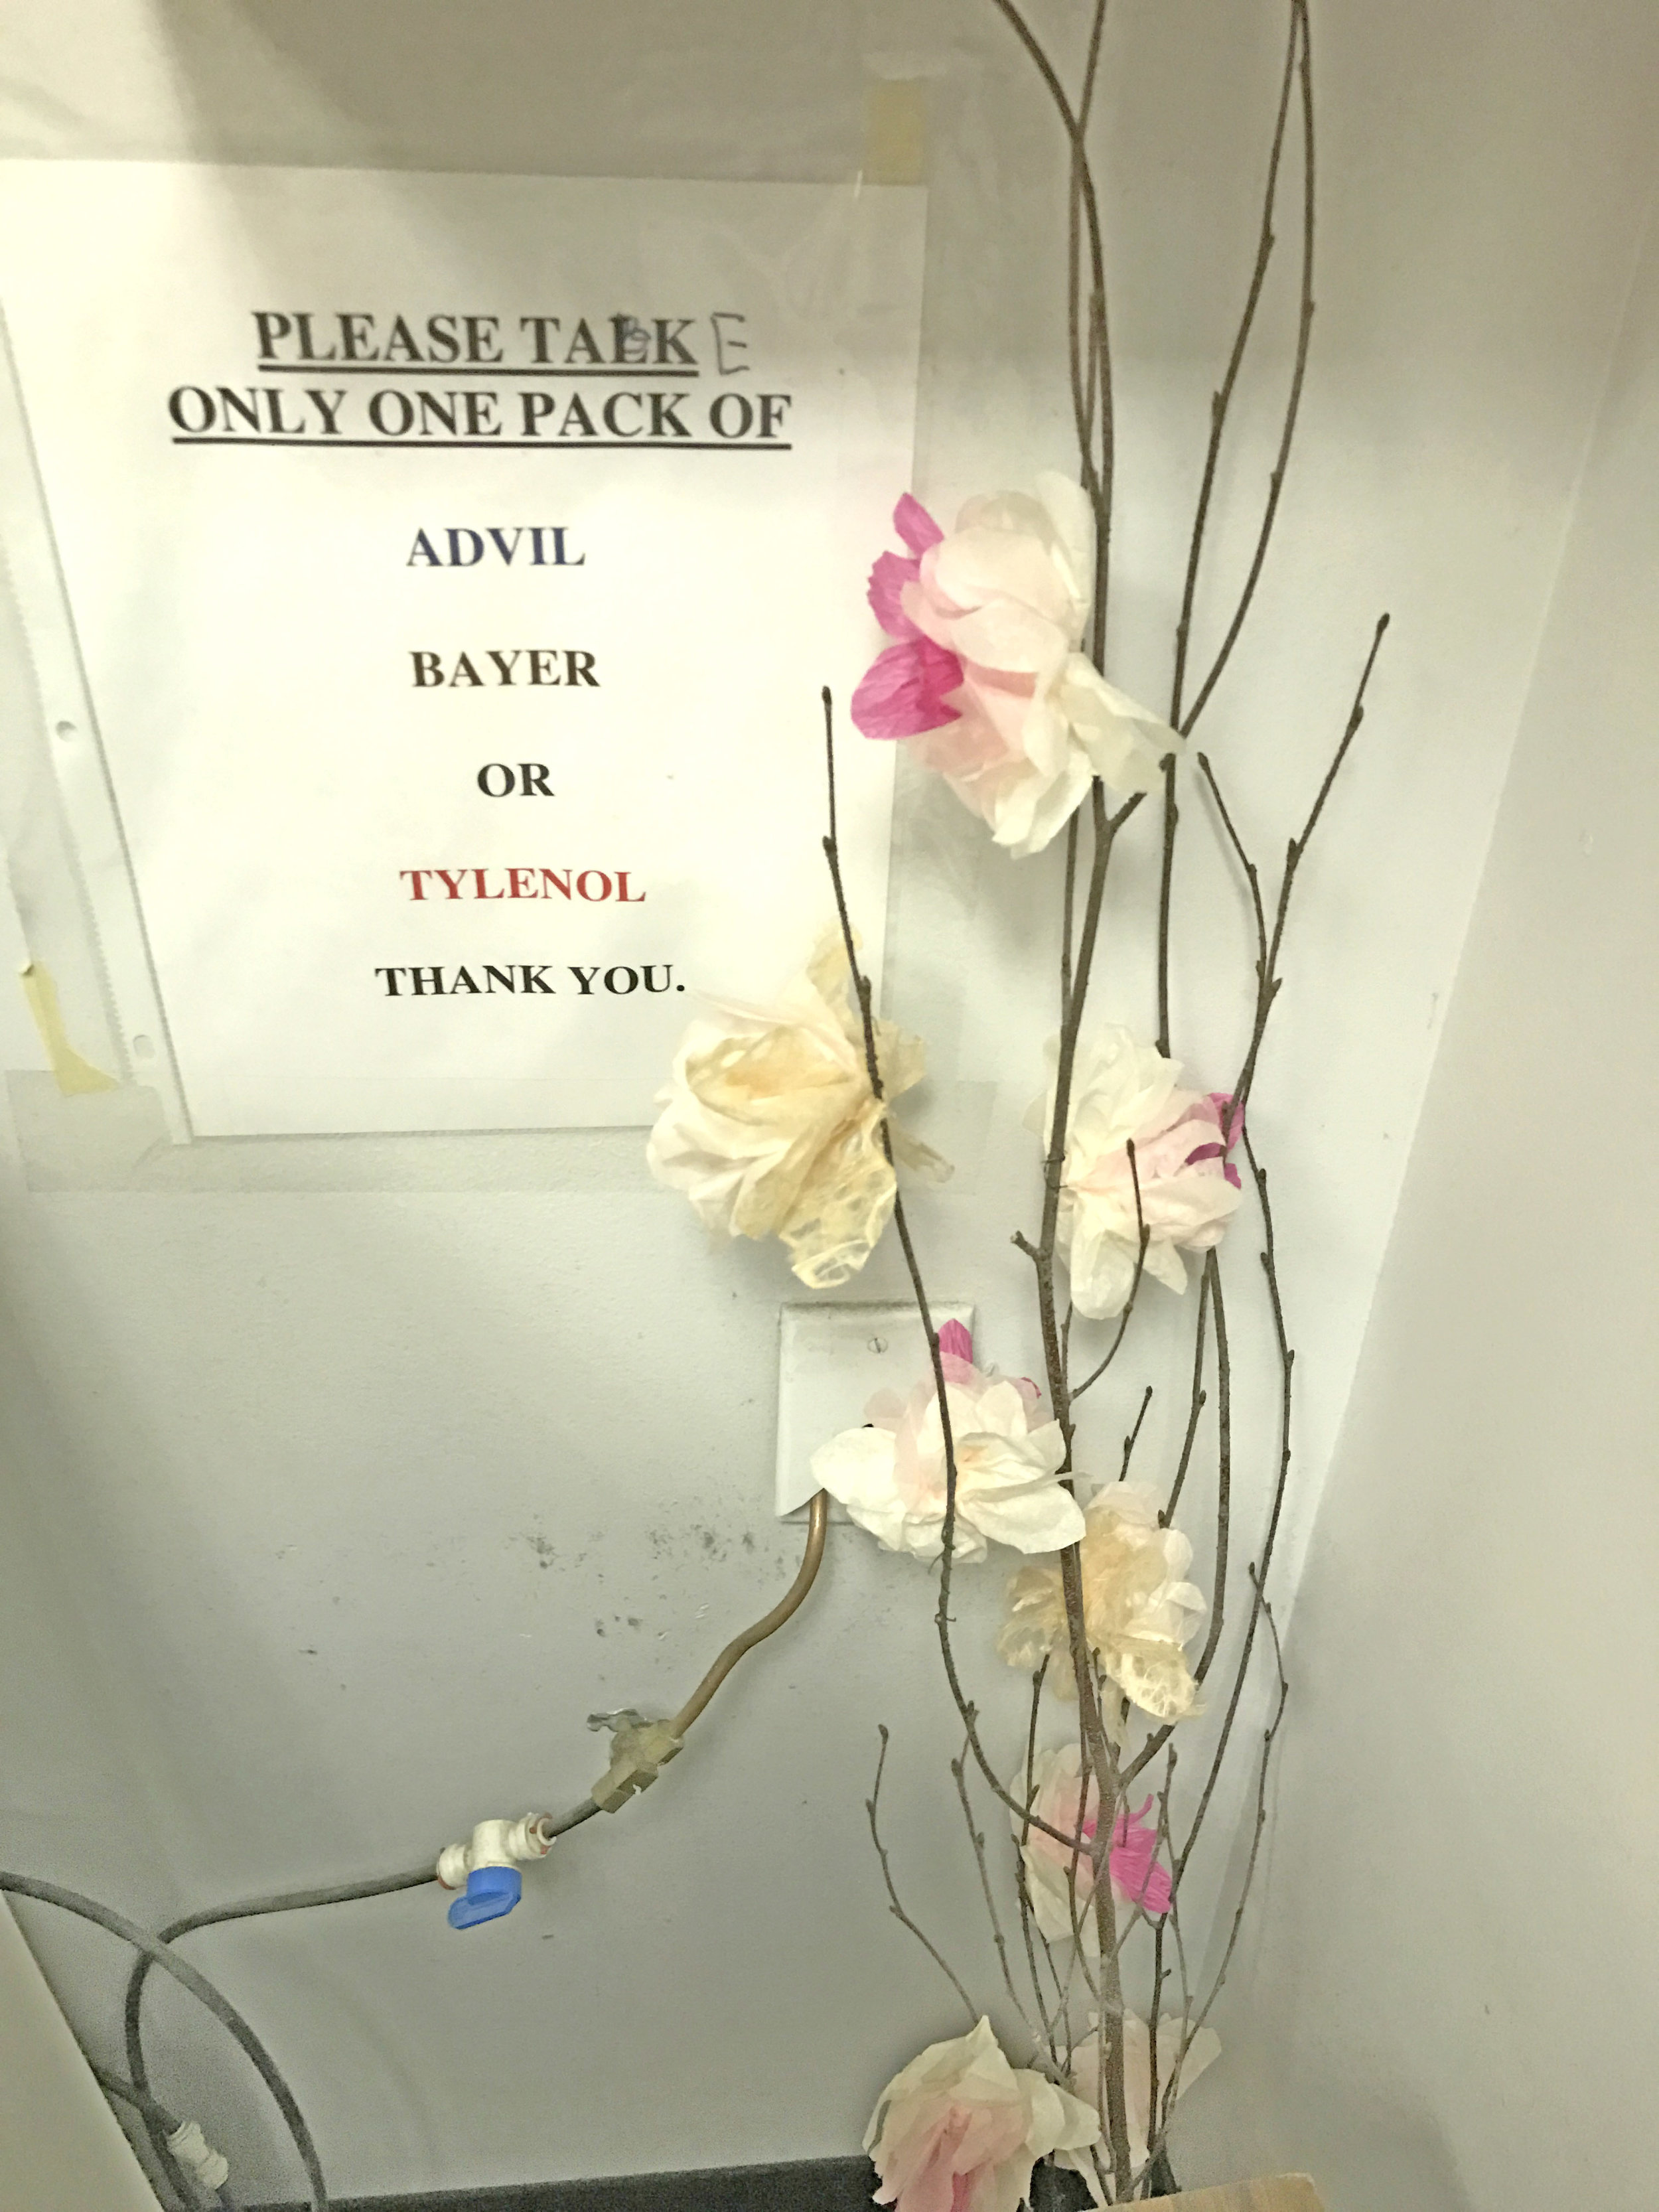
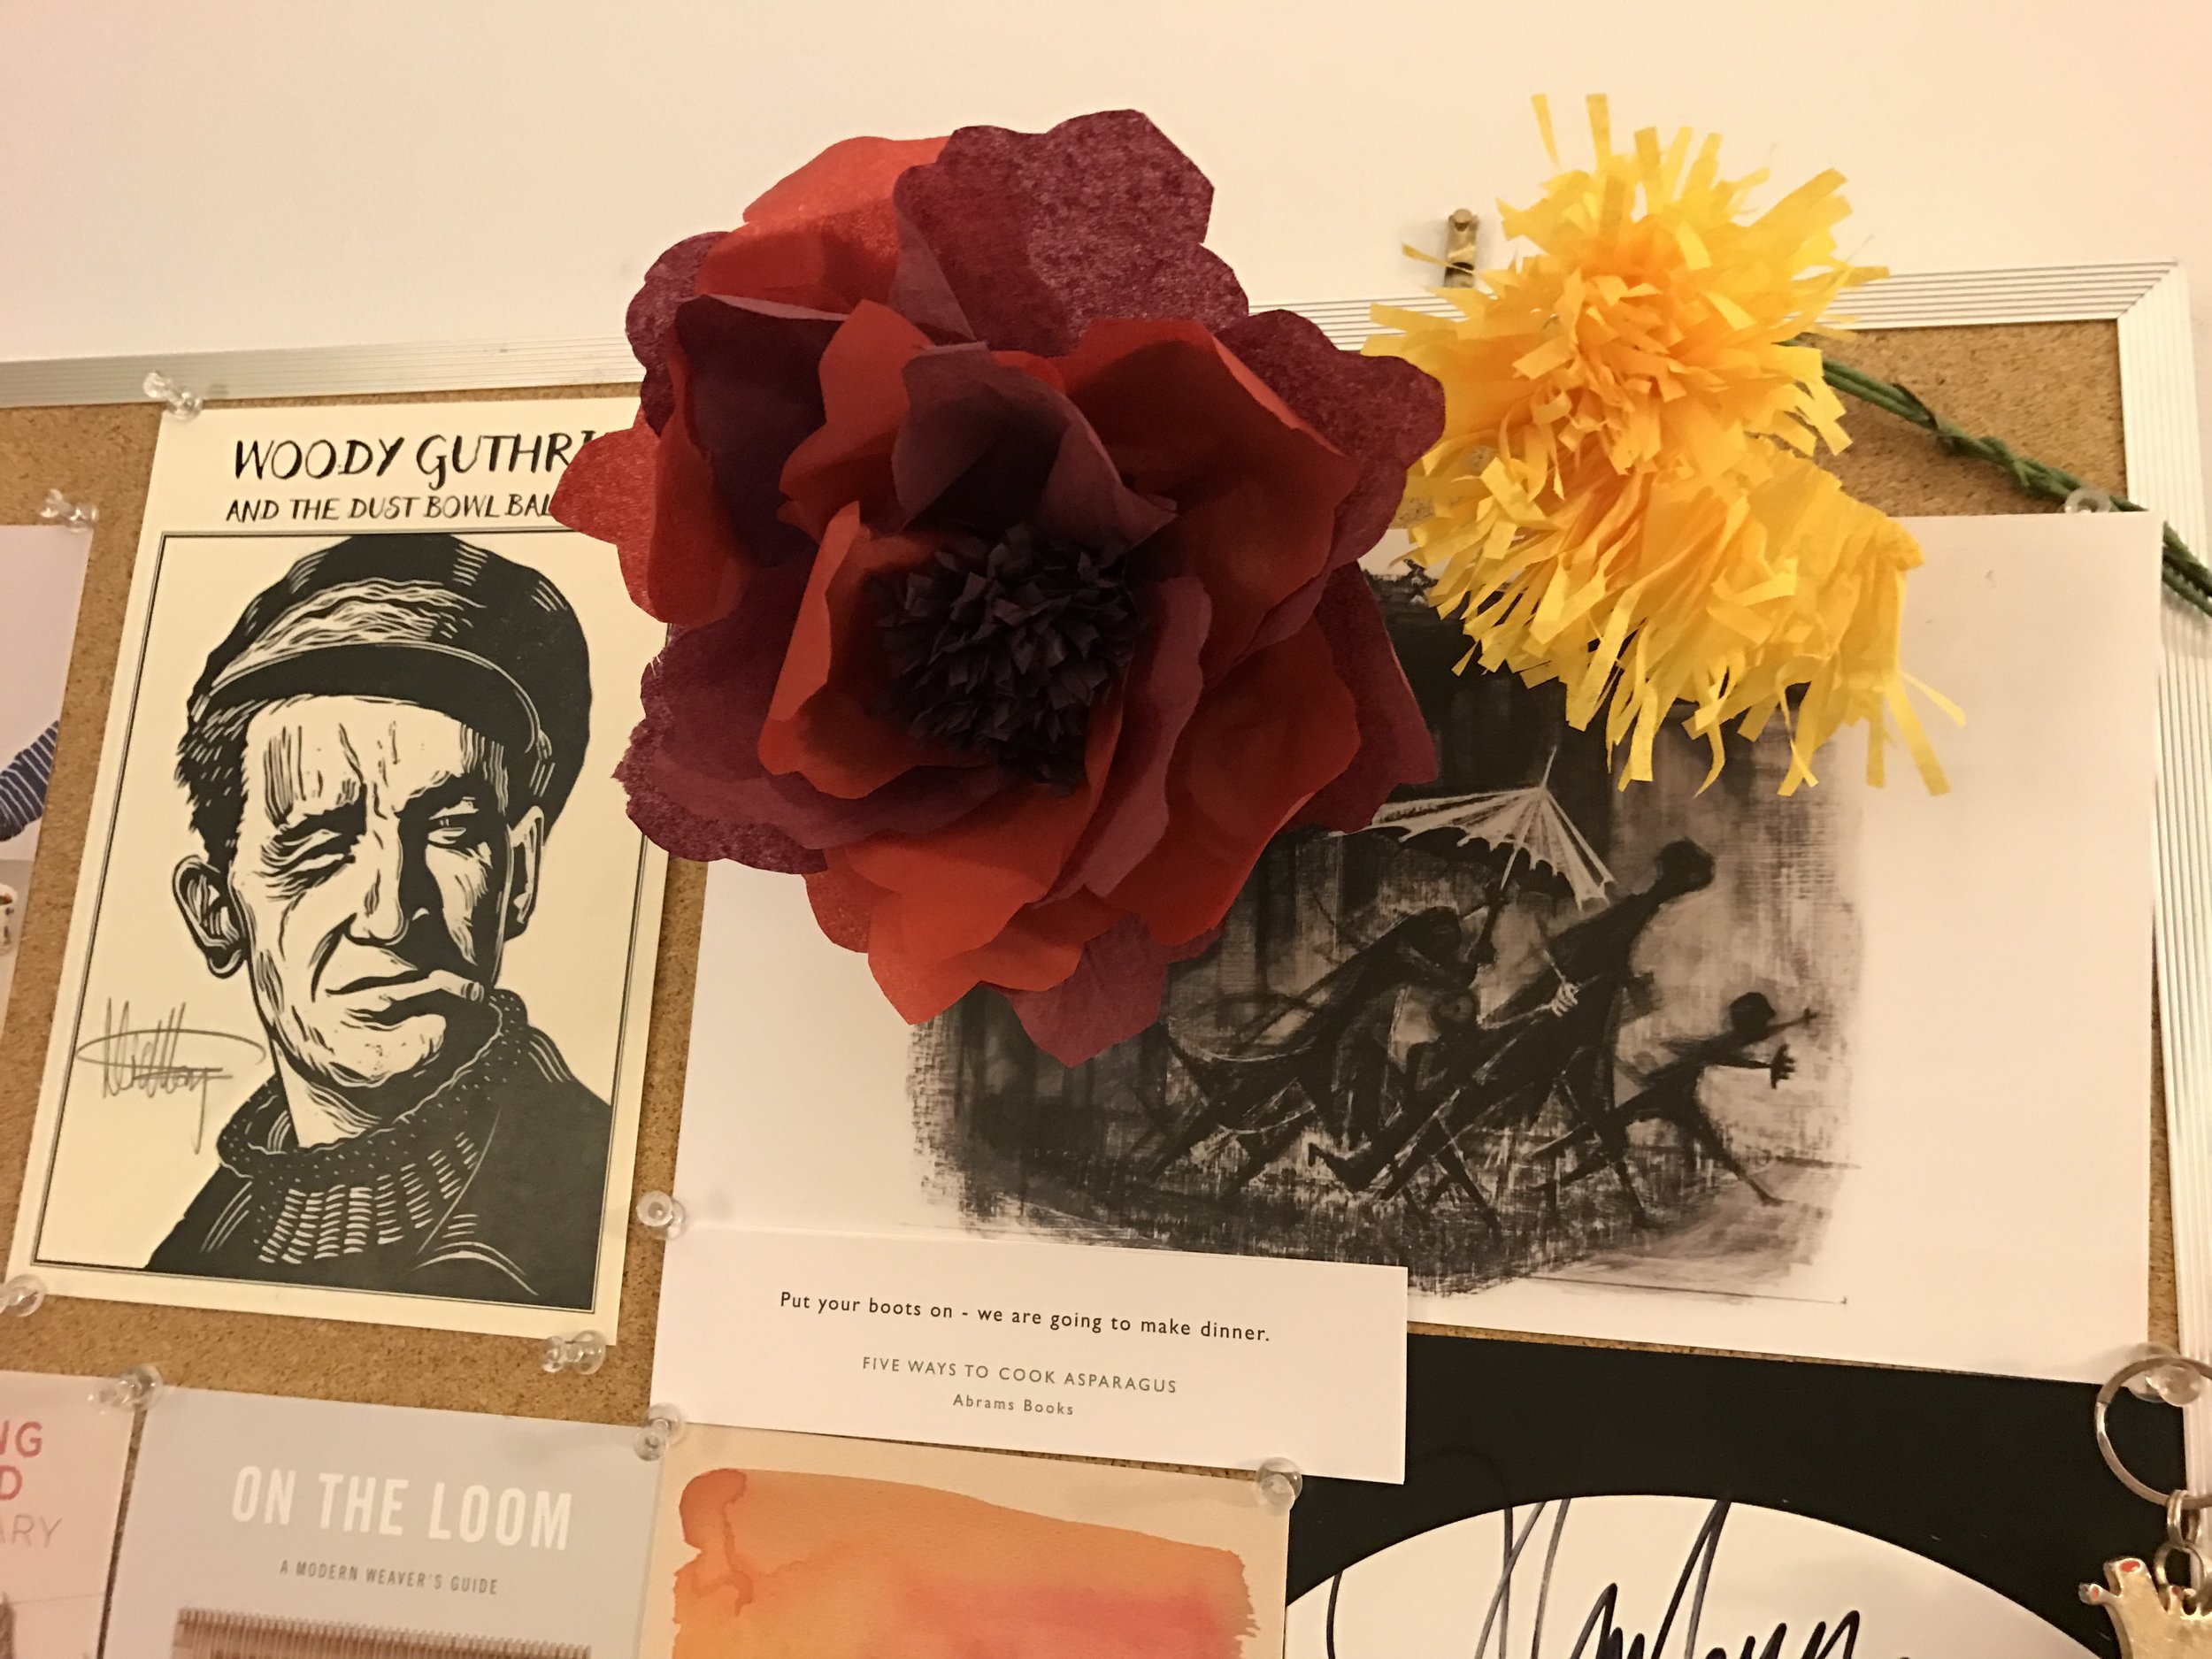
A new visitor to Abrams might be struck by the number of paper flowers in the office—cherry blossom branches are tucked into odd corners, and roses sit in pencil cups alongside prints by Robert Indiana and Fletcher Martin.
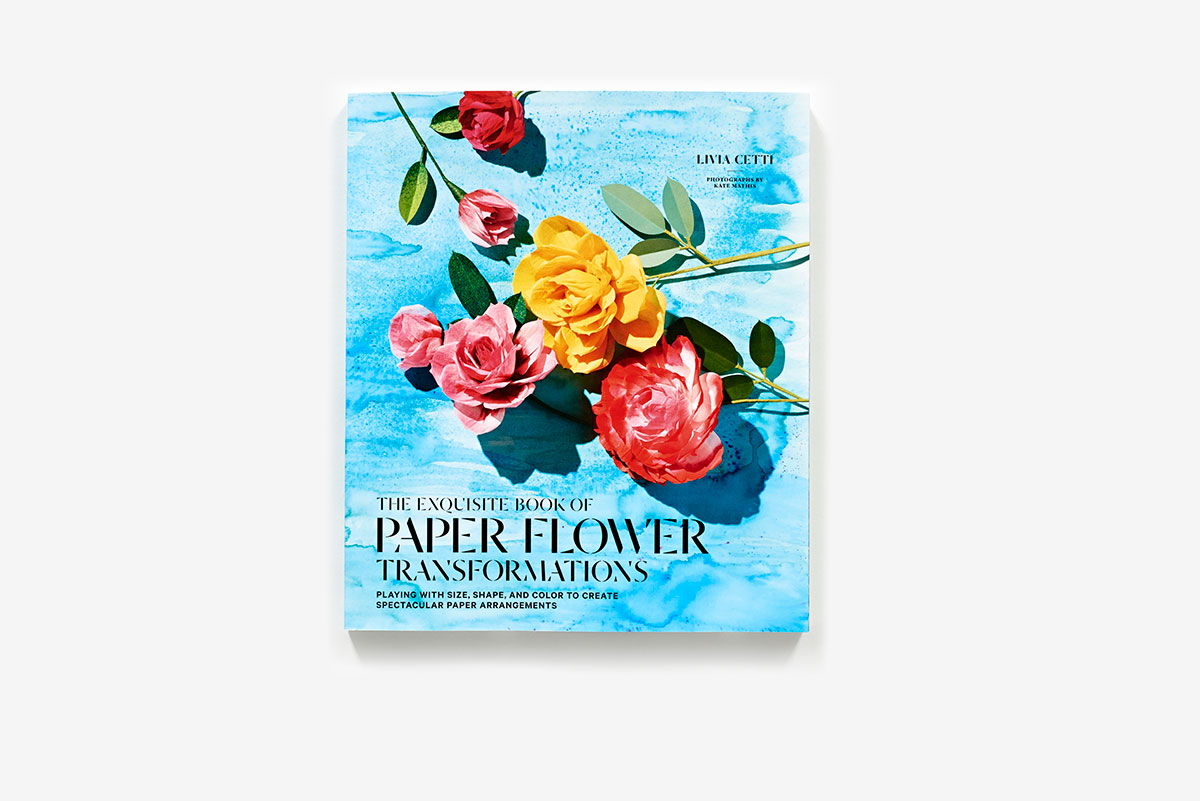
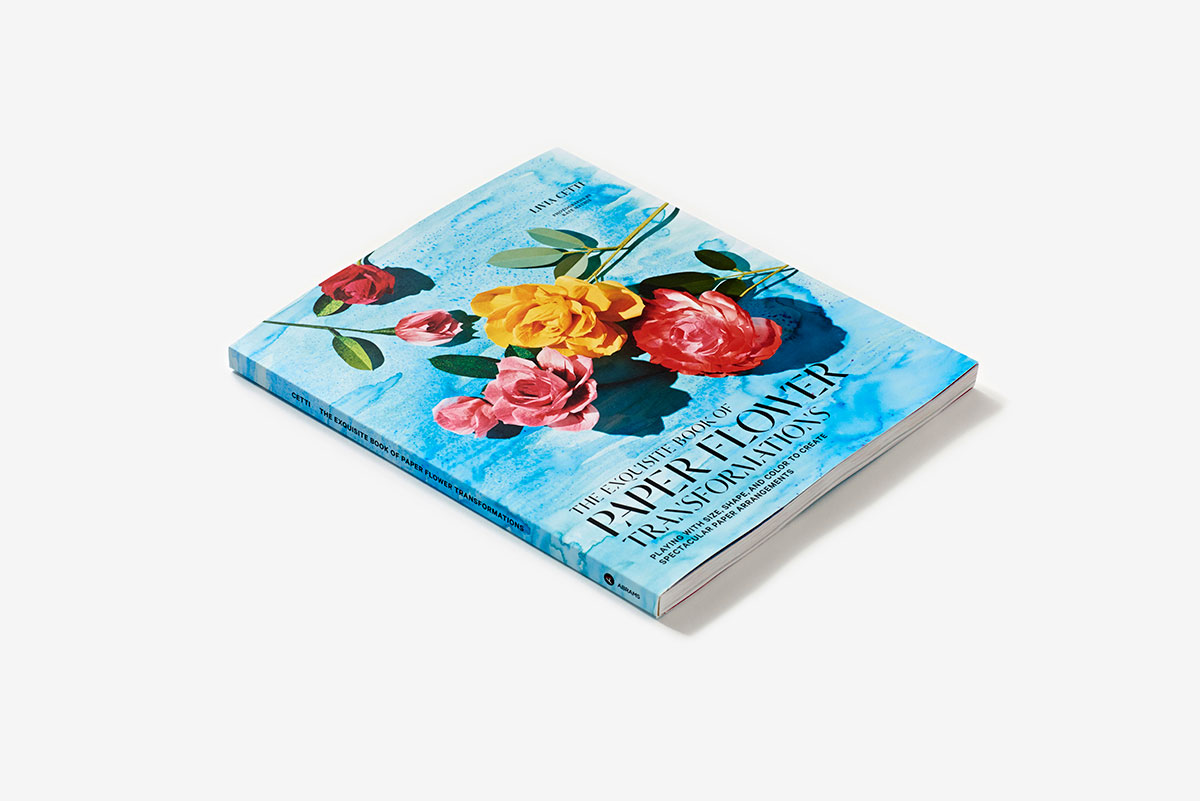
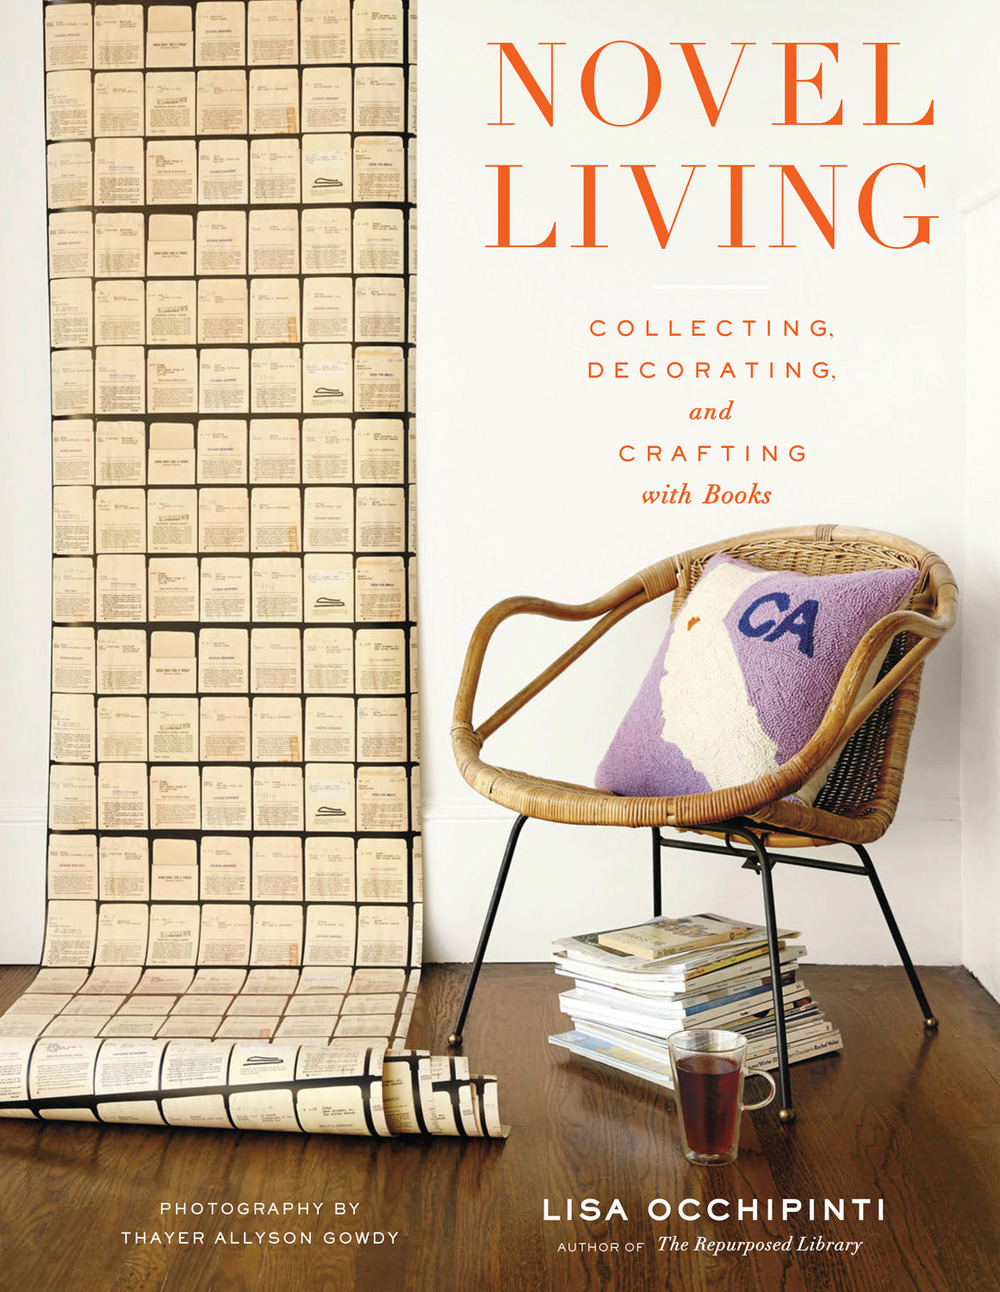
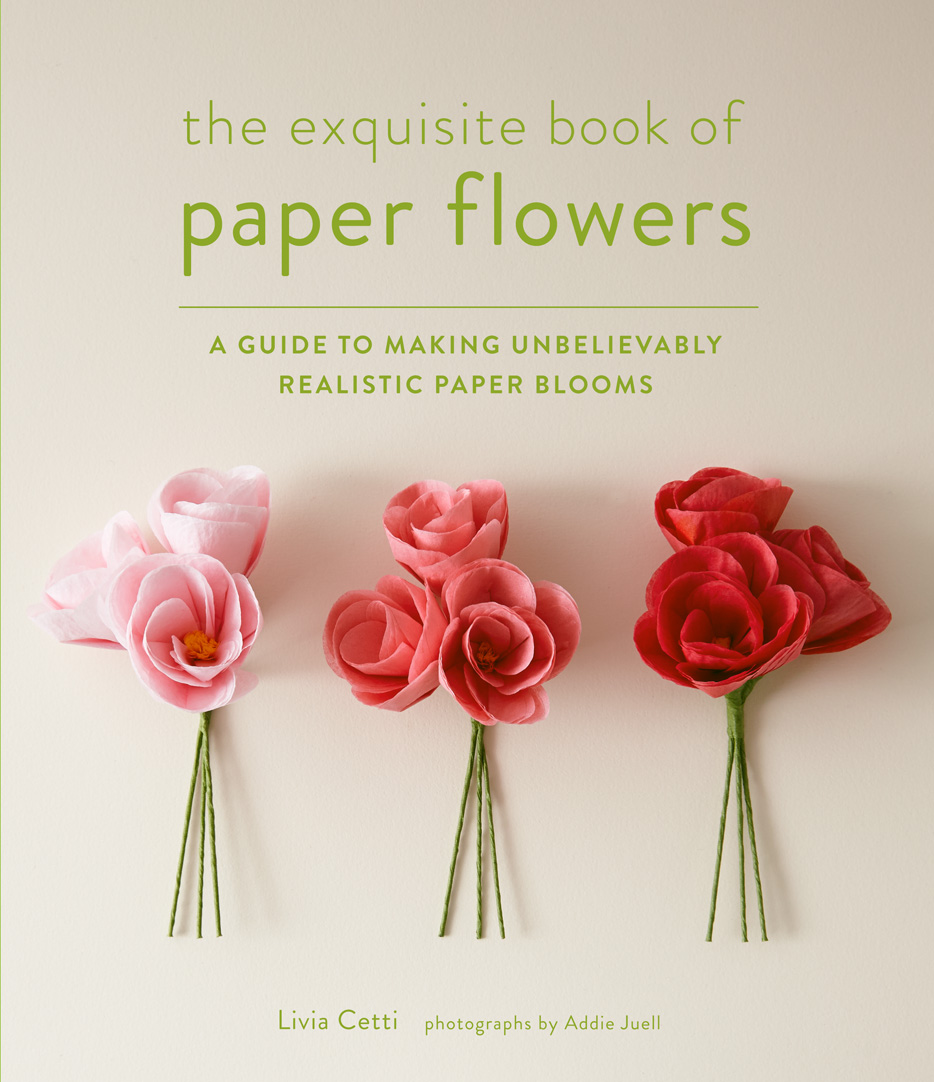
These were taught to us by Livia Cetti, whose first paper flower book was published here in 2014, and whose second—brighter, bolder—title is released this week. Livia describes The Exquisite Book of Paper Flower Transformations as “more me”—a quote she delivered along with a box of hand-dipped tissue paper and a bagful of clipped wire in the midst of an early-March snowstorm.
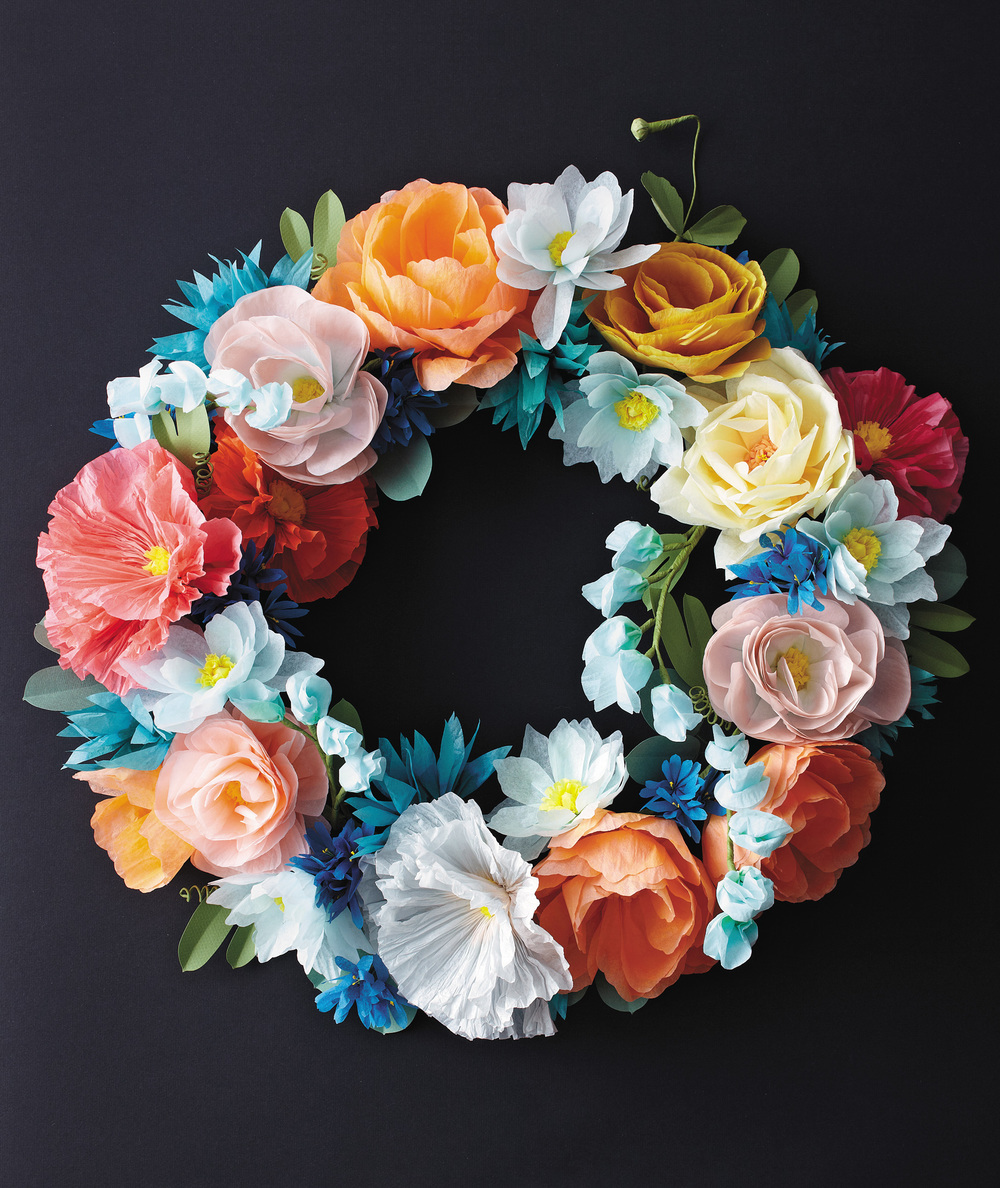
If that is the case, we are grateful for it! The startlingly realistic blooms are photographed by Kate Mathis against vibrant (near-neon) paint-spattered backdrops created by Livia herself, with the result that the book is as visually energizing as it is informative.
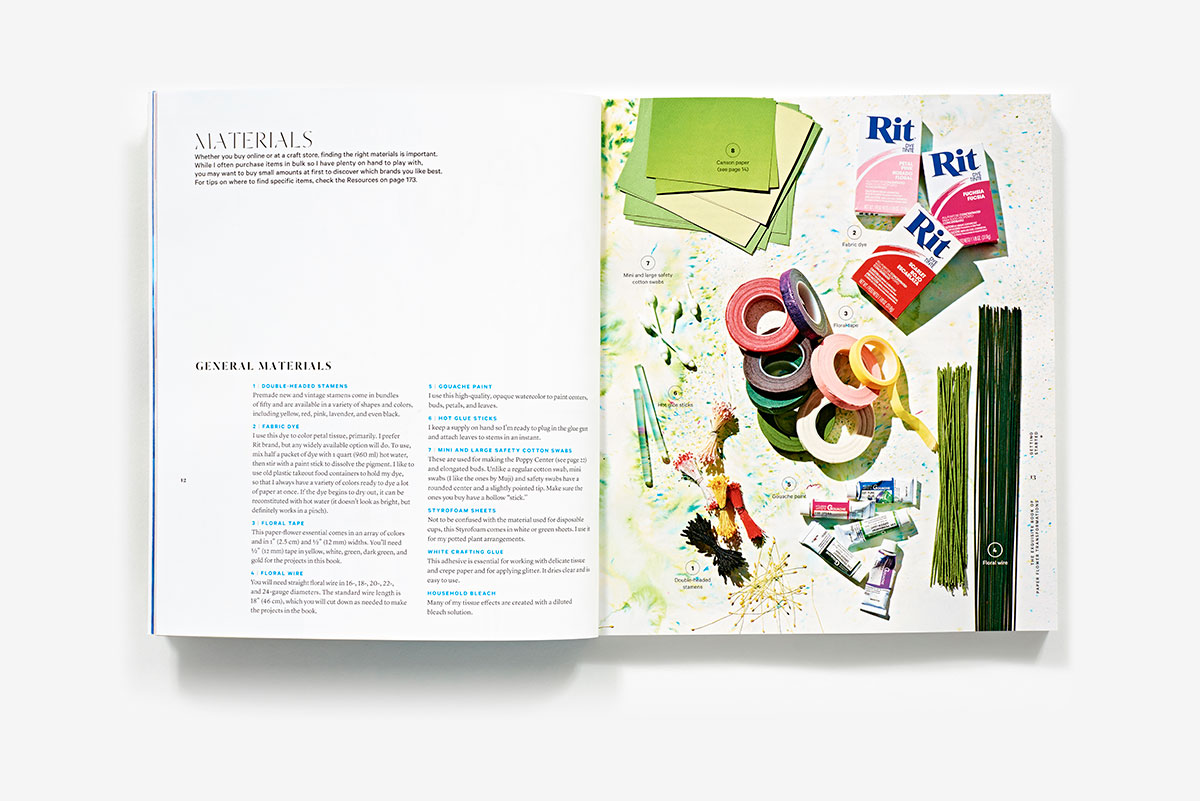
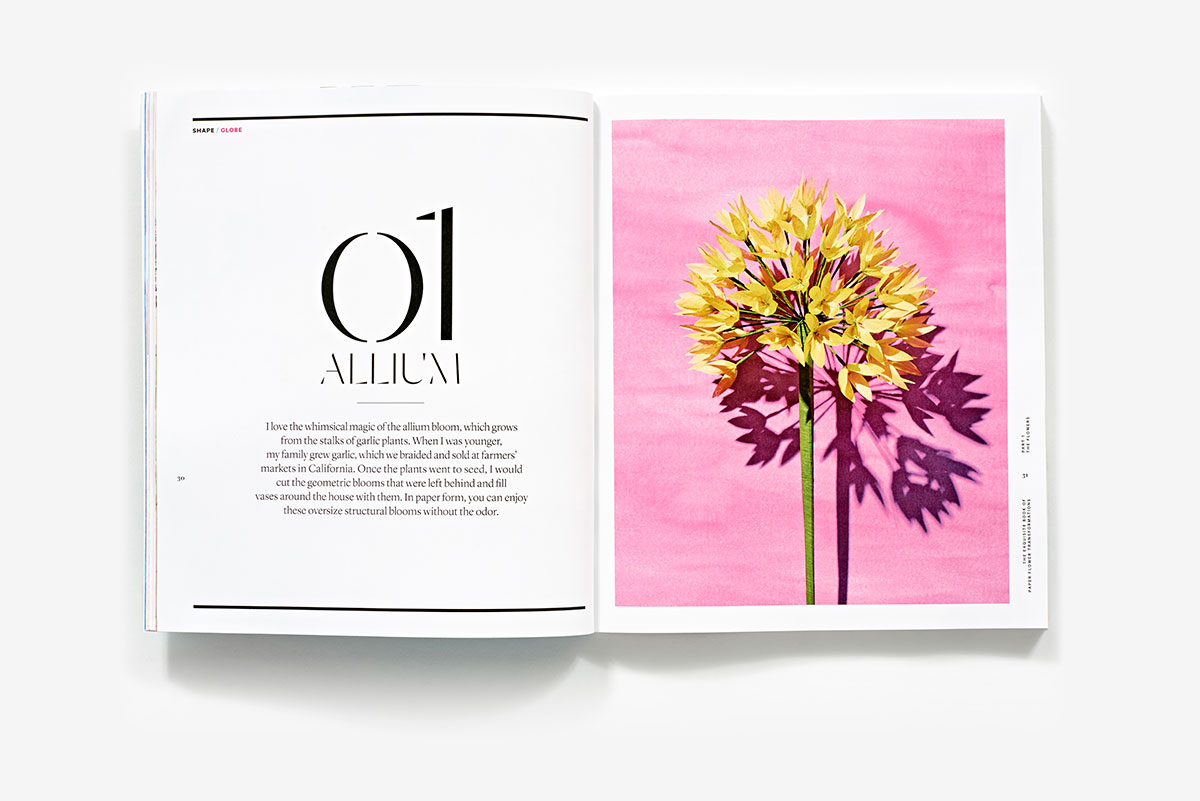
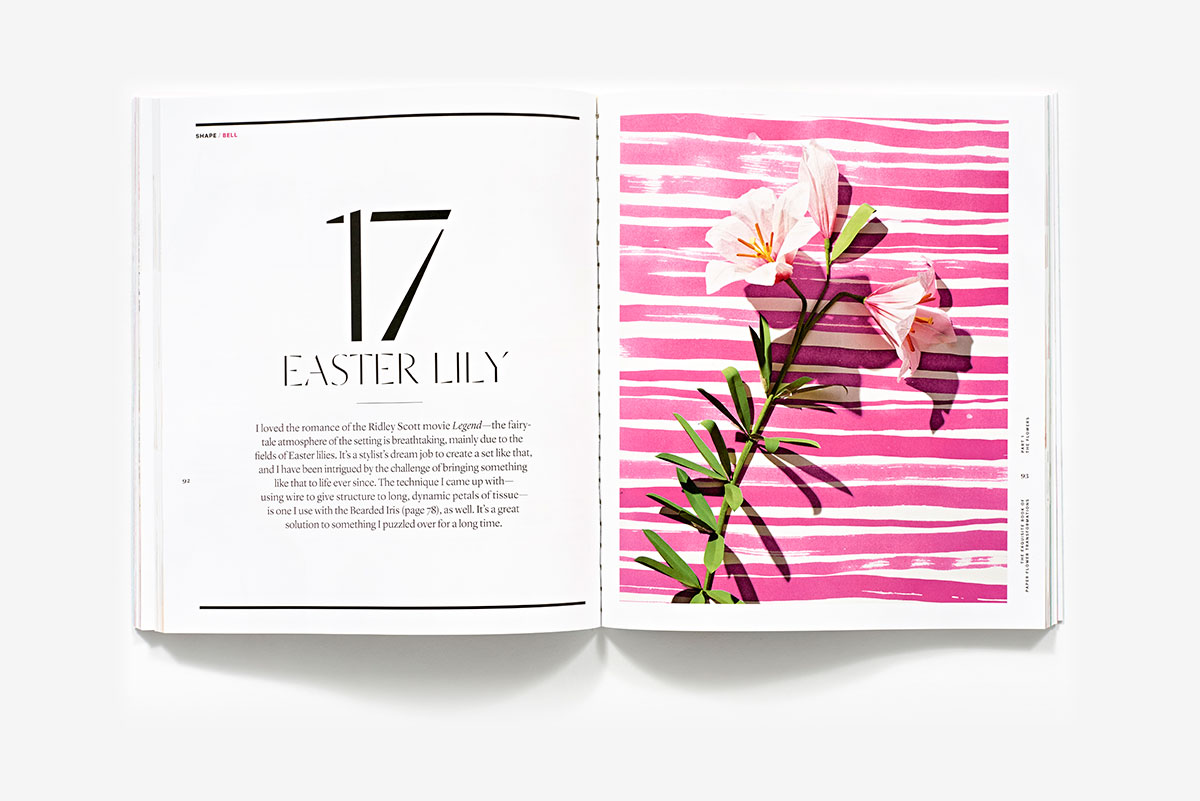
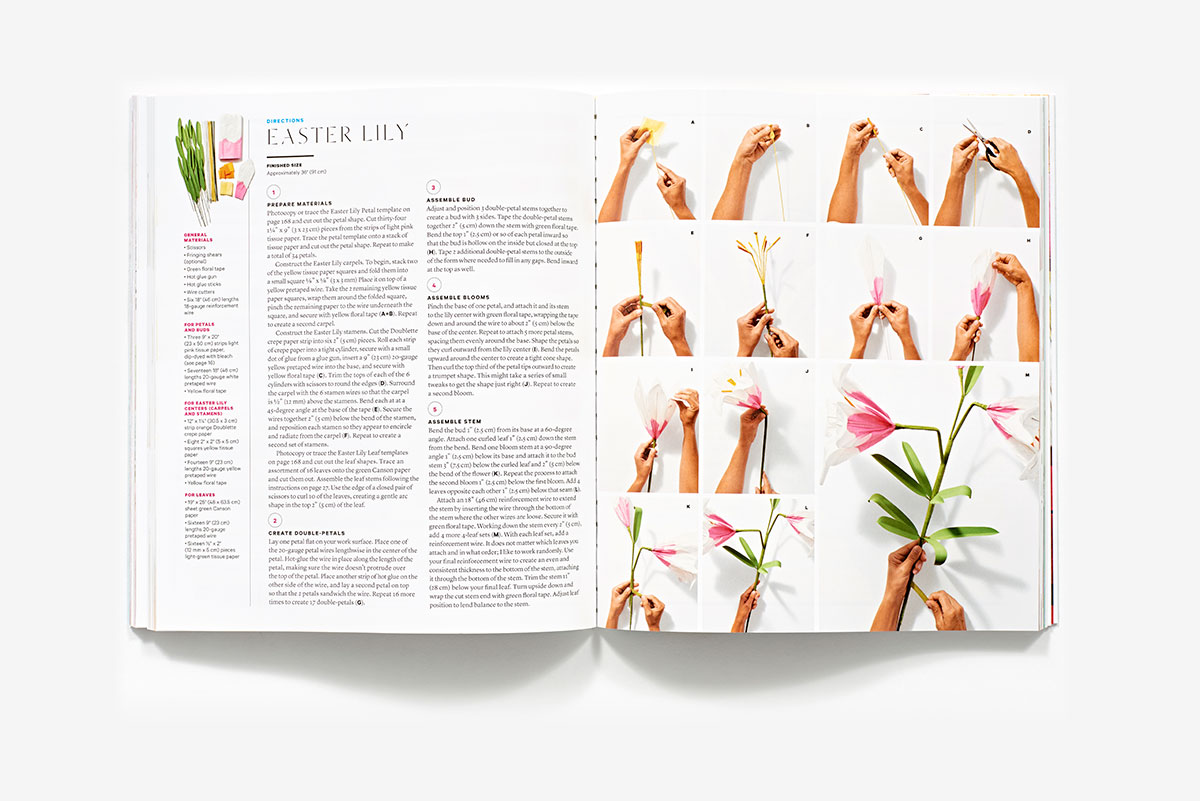
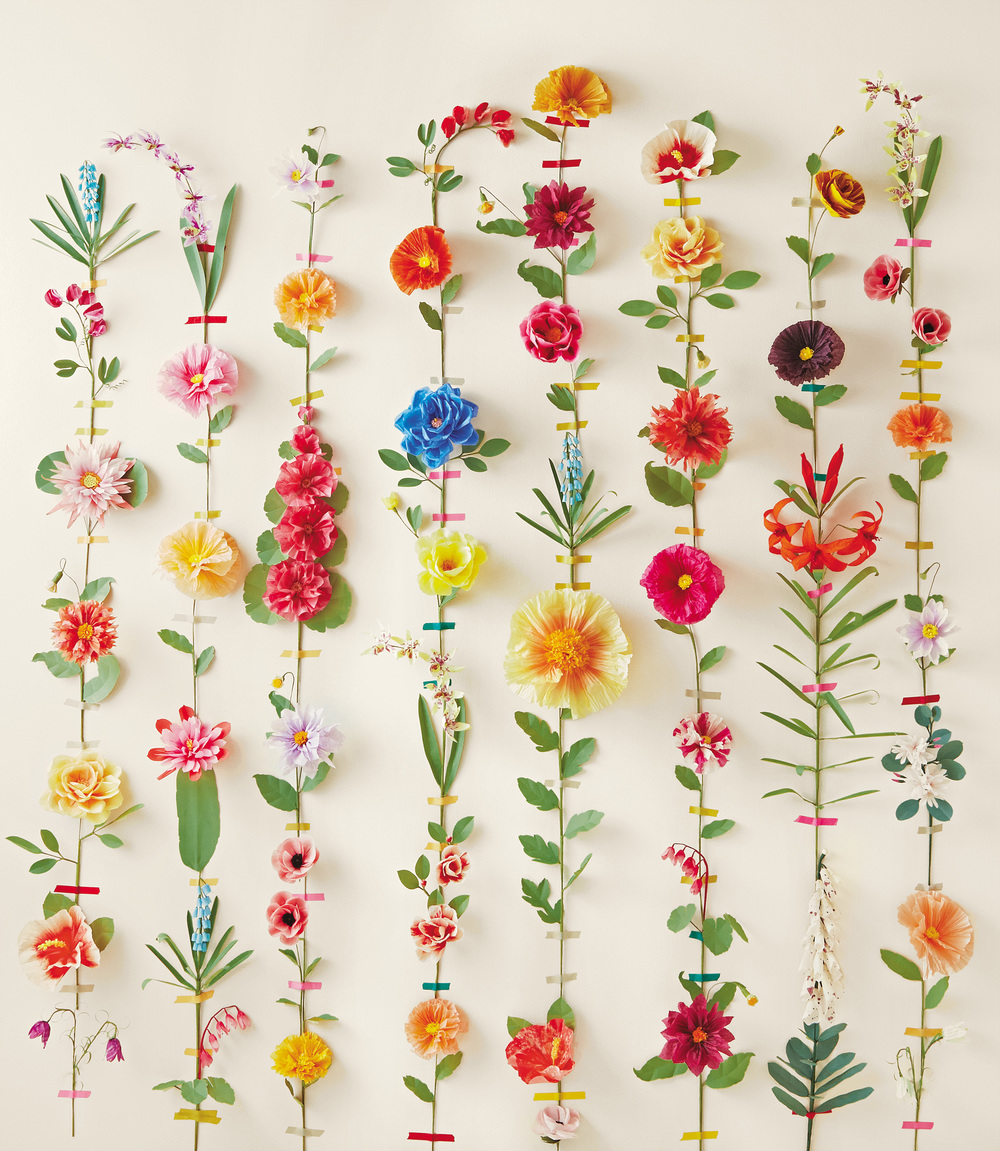
After a chapter on the deceptively simple dipping, cutting, and wrapping techniques that form the basis for each bloom (the most complicated items on a spread of tools are a hot glue gun and Fiskars zigzag scissors), readers learn step-by-step methods for 26 different flowers—from the globe-shaped Eden Rose and Hydrangea, to the arcs of Honeysuckle and Lily of the Valley, bells like Crocus and Narcissus, saucers, and even spikes: Delphinium, Lupine.

Eden Rose by Livia Cetti, photograph by Kate Mathis
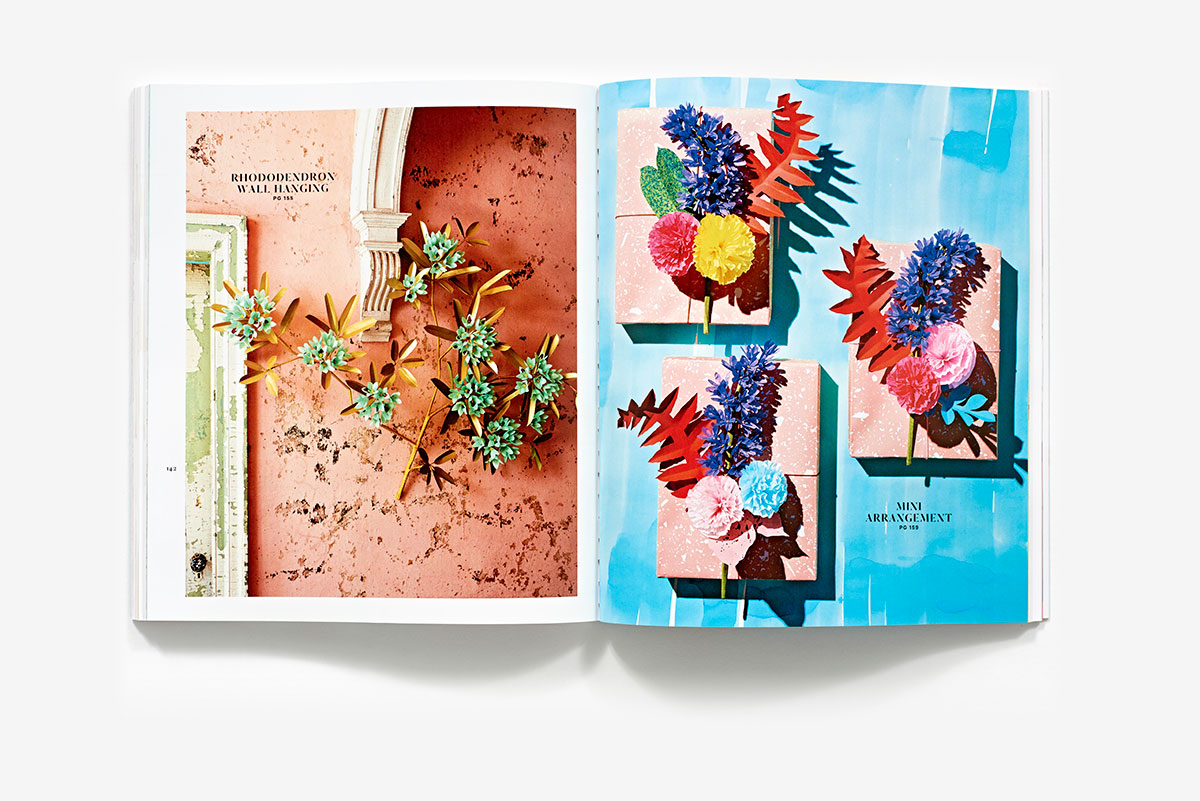
From there it’s on to a dizzyingly beautiful “Part 2” filled with decorative projects: garlands, wreaths, a Blooming Chandelier, and even a Dutch Still-Life Centerpiece.
Cetti credits her success as floral designer to her time spent observing nature over a childhood in the mountains outside of Santa Barbara, and now in her own yard in the Bronx’s Riverdale neighborhood. It’s a causal sequence that perhaps only sounds startling to city dwellers—we recognize her work from magazines and John Derian shops, ad campaigns for Burt’s Bees, or luxurious displays at Tiffany and Co. and the French ceramics boutique Astier de Villatte. But Cetti’s familiarity with her muses shines through on every page.
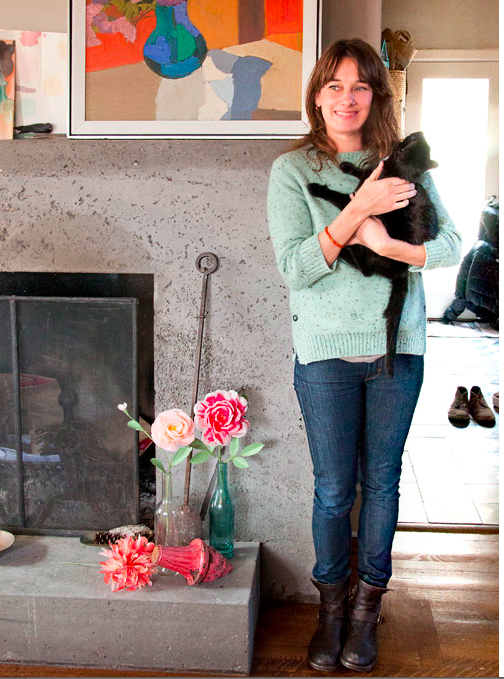
Author, floral stylist, and paper flower artist Livia Cetti
Pore over a sample of The Exquisite Book of Paper Flower Transformations below, or try your hand at two of the simplest projects here, or at The House that Lars Built.
We are also giving away several of her paper flower kits on Instagram! Until Friday, April 7 try The House that Lars Built, and check back over the next few weeks with Paper Trail and Flax and Twine.